The 'Polymer-Density' Calibration: Stabilizing Base-Gel Adhesion on Oily Nail Plates
Learn the scientific approach to prepping hyper-seborrheic nail plates by calibrating your dehydration sequence to ensure long-term base-gel adhesion and zero-lift results.
Understanding the Hyper-Seborrheic Plate
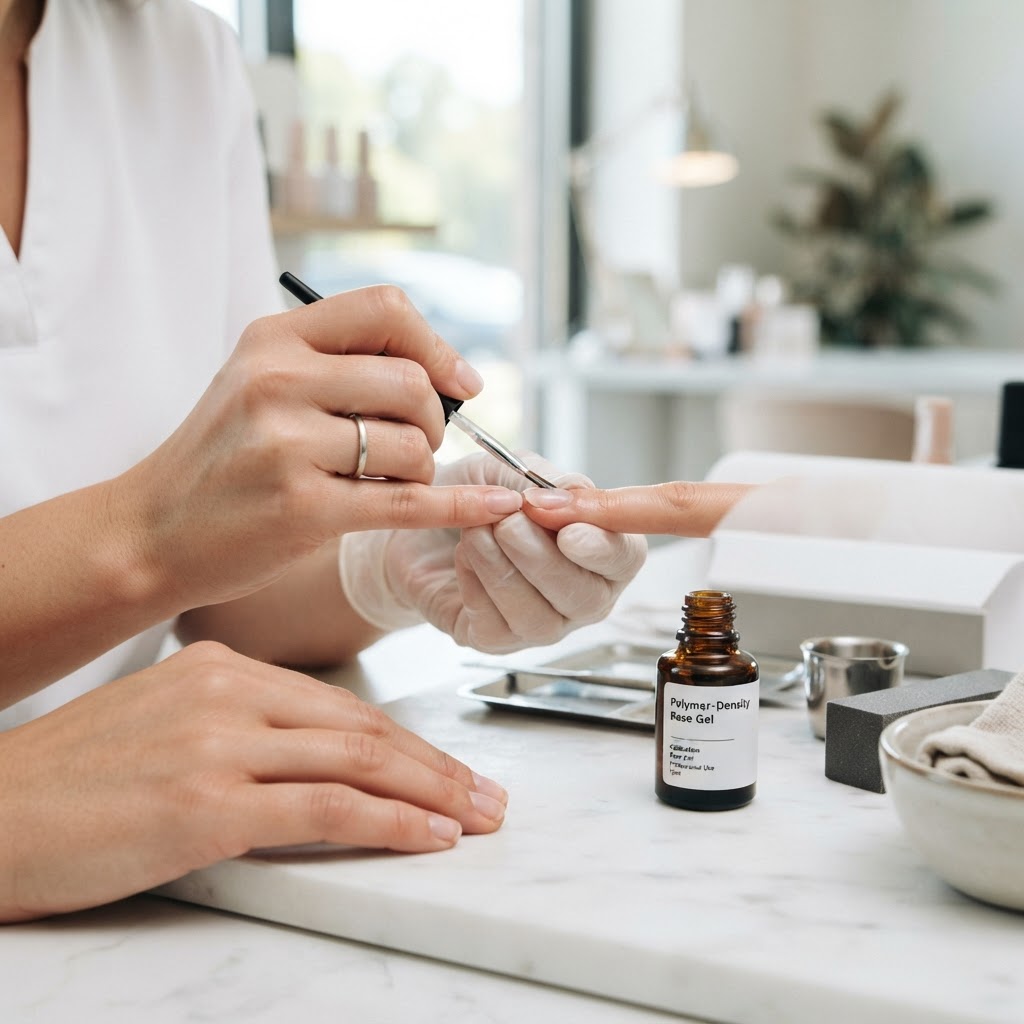
Every nail technician encounters the 'chronic lifter'—the client whose nails exhibit premature detachment regardless of the product brand or application technique. Often, the culprit is not the product, but the client’s biological chemistry. Hyper-seborrheic nail plates (excessively oily) create a hydrophobic barrier that prevents base-gel copolymers from achieving the necessary cross-linking at the surface of the nail plate. To solve this, we move beyond simple mechanical etching and adopt a 'Polymer-Density' calibration protocol.
The Three-Phase Dehydration Sequence
Mechanical prep alone—even with a 180-grit band—is insufficient for oily plates because the oils reside within the microscopic porous structure of the keratin. You must remove these lipids chemically before the product touches the plate.
Phase 1: Solvent-Based Lipolysis
Use a high-purity isopropyl alcohol (99%) combined with a lint-free wipe. Do not use standard rubbing alcohol (70%), as the 30% water content can actually cause the nail plate to swell slightly, which hides oil within the plate’s crevices. Cleanse the plate with a 'scrubbing' motion rather than a 'wiping' motion to agitate the lipids.
Join the newsletter
Get fresh nail tutorials, trends, and business tips straight to your inbox.
Phase 2: Targeted Acid-Base Equilibrium
If the client is a chronic lifter, introduce a mild, acid-free primer. The goal here is not to 'etch' the nail but to adjust the pH level to be more receptive to the polymer chain. Apply the primer in a very thin layer—if it pools in the lateral folds, you have used too much. Wait for the primer to become 'tacky' rather than fully dry before proceeding to the base application.
Phase 3: The Base-Gel Anchor
For high-oil plates, select a rubberized or high-flex base gel. These formulas contain urethane acrylates, which are more forgiving than rigid builders. Apply a 'scrub-in' layer—using a clean, stiff gel brush to massage the base gel into the microscopic grooves of the nail plate. This creates a mechanical anchor that mimics a 'velcro' effect for the rest of the service.
Calibrating Your Technique
To ensure your results, keep these three factors in mind:
* Bit Friction Management: Do not overheat the nail plate with your e-file during prep. Excess heat triggers the body’s natural response to produce more sebum.
* The 1mm Margin: Always leave a 1mm gap between your gel product and the proximal fold (cuticle area). If your gel touches living tissue, it will act as a bridge for oil and moisture, causing a 'lifting funnel' that will migrate down the nail.
* The Edge-Cap Protocol: Cap the free edge not just for durability, but to create a seal against the daily environmental moisture that eventually compromises the adhesion bond.
Troubleshooting Failure
If you find that products are still failing, conduct a 'Substrate Audit' at the next appointment. If the oil is pooling around the free edge, the client is likely using heavy cuticle oils or moisturizing creams immediately after service. Educate the client: the first 24 hours after a gel service require keeping the hands as dry as possible to allow the polymer-density to fully lock into the nail plate's keratin structure.
Join the newsletter
Get fresh nail tutorials, trends, and business tips straight to your inbox.
