
The 'Polymer-Bonding' Kinetic: Optimizing Monomer-to-Polymer Ratios for Humidity-Resistant Acrylics
Master the chemistry of acrylic polymerization to eliminate lifting in high-humidity environments through precise liquid-to-powder ratio calibration.
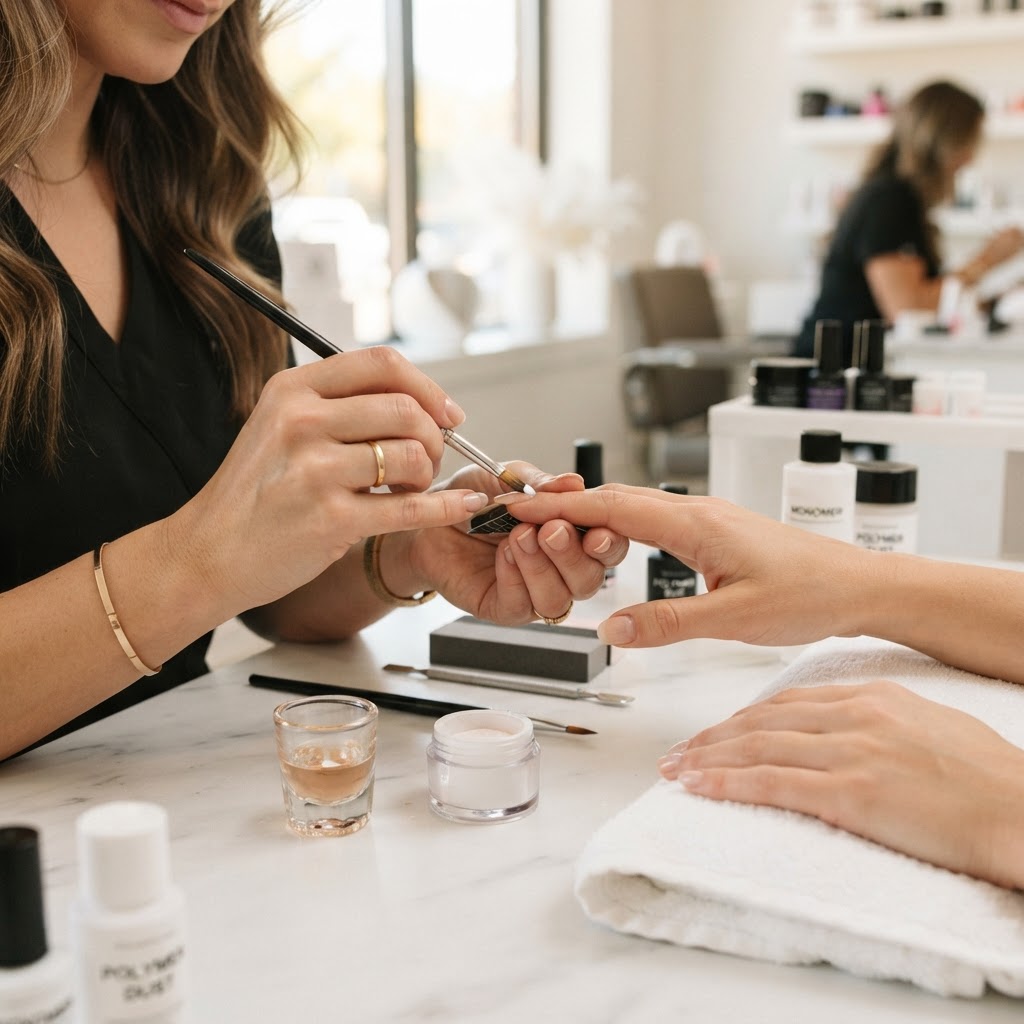
Understanding the Polymerization Gap
For nail technicians operating in humid climates, the most frequent point of failure in acrylic enhancements isn't a lack of prep—it's the improper cross-linking of the polymer chain during the setting phase. When ambient moisture interferes with the monomer-to-polymer ratio, it traps micro-pockets of air and water, leading to the dreaded 'halo' of lifting. Achieving a robust, long-wearing enhancement requires a mastery of the 'bead-ratio' kinetic.
The Science of the Bead
When you dip your brush into the monomer, you are creating a solvent-based delivery system for your polymer beads. A standard 'dry' bead (high powder-to-liquid ratio) contains excessive unreacted polymer particles that never fully melt into the matrix. Conversely, a 'wet' bead (high liquid-to-powder ratio) introduces excess monomer that cannot be fully cured, leading to a softer, more porous structure prone to chemical breakdown.
To ensure maximum structural integrity, you must aim for the 'satin-finish' bead. When placed on the nail plate, the bead should level itself within 5-8 seconds without running into the cuticles. If the bead remains chalky or powdery, your ratio is too dry; if it spreads like water, it is too wet.
Calibrating for Environmental Humidity
Humidity acts as a catalyst for evaporation. In high-humidity environments, your monomer evaporates faster than the polymer can 'grab' the powder, leading to a brittle structure.
Join the newsletter
Get fresh nail tutorials, trends, and business tips straight to your inbox.
Technical Adjustments:
* The 1:2 Rule: Start by measuring your liquid uptake. Tap your brush lightly against the side of the dappen dish to release excess monomer before picking up your powder.
* The Double-Dipping Technique: If you find the bead is setting too quickly due to humidity, try a 'tacky-base' application. Apply a thin layer of base primer, followed by a very small, wet 'anchor bead' at the cuticle line to serve as a surfactant that helps the larger structural beads adhere to the plate.
* Temperature Management: Keep your monomer dappen dish covered when not in use. Even a 5-degree temperature shift can alter the viscosity and evaporation rate of the liquid, throwing off your established bead-ratio rhythm.
The 'Cross-Linking' Stress Test
Once the product is applied, the final strength of the nail depends on the density of the cross-linked chains. To prevent future lifting:
Troubleshooting Checklist
If you are experiencing premature lifting, audit your process against these three variables:
* Brush Saturation: Are you using a kolinsky brush that has lost its belly? A worn brush won't hold the correct amount of monomer, forcing you to use 'drier' beads.
* Polymer Porosity: Are you using a fine-milled polymer? Extra-fine powders require more liquid to reach saturation; ensure your brand's monomer is optimized for that specific polymer density.
* Application Velocity: If you take longer than 90 seconds per nail, the ambient humidity has already begun to compromise the curing monomer. Practice 'bead-loading'—picking up and placing the entire required amount for the zone in a single, fluid motion.
Join the newsletter
Get fresh nail tutorials, trends, and business tips straight to your inbox.
