
The 'Peripheral-Sealing' Technique: Preventing Micro-Lifting at the Proximal and Lateral Grooves
Master the precision mechanics of product placement and sealing to eliminate premature lifting and extend your gel overlay longevity.
The Core Problem: Micro-Lifting Defined
Micro-lifting often originates not from product quality, but from the physical interface between the gel and the soft tissue surrounding the nail plate. When the proximal or lateral grooves are not correctly isolated during application, the product can pool, cure against the skin, or fail to achieve a seamless bevel. Over time, the tension caused by nail growth and daily wear causes these edges to separate, creating a trap for moisture and debris that leads to full-scale service breakdown.
Step 1: The 'Floating' Margin
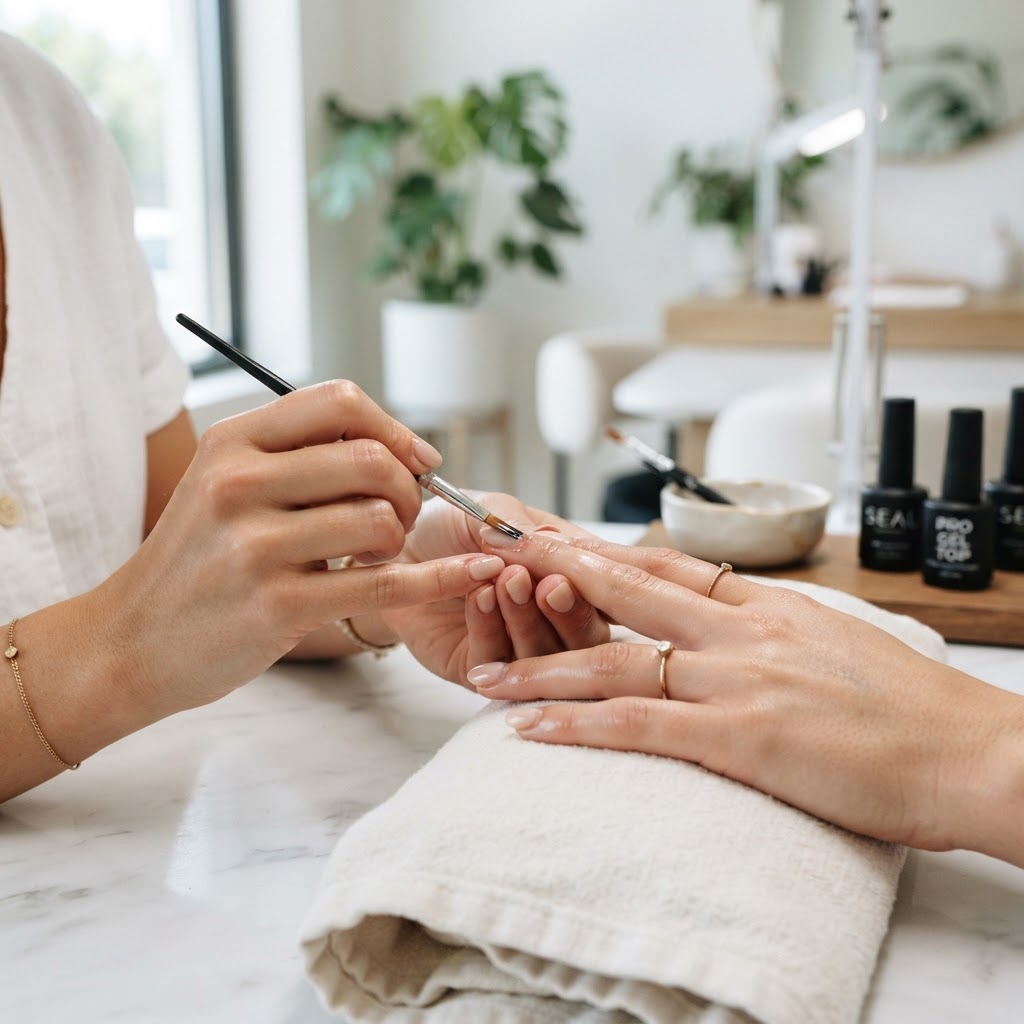
To achieve a flawless seal, you must understand the 'floating margin.' This is the 0.5mm buffer zone between the product application and the skin. Most artists apply too close to the cuticle, resulting in flooding. Instead, use a liner brush to 'float' your base or builder gel toward the proximal fold, rather than pushing it with the primary application brush. By stopping just short of the skin and then utilizing the capillary action of the brush to gently ease the product toward the margin, you ensure a crisp edge that remains disconnected from the skin.
Join the newsletter
Get fresh nail tutorials, trends, and business tips straight to your inbox.
Step 2: The 'Reverse-Tension' Lateral Stroke
Lateral walls are the most vulnerable points for structural stress. If your product is too thick at the sidewall, the natural curve of the nail will cause the gel to pull away from the nail groove. Use a 'reverse-tension' stroke: after applying your product, flip your brush so it is parallel to the sidewall. Use the very tip of the bristles to sweep the product inward toward the center of the nail, thinning out the layer as it approaches the lateral edge. A taper that creates a 'feather-edge' finish at the sidewall prevents the rigid product from catching on items during daily activity.
Step 3: Mechanical Curing Synchronization
Even with perfect application, improper curing angles can cause the product to retract away from the edges before it hardens. Ensure your client's hand is placed perfectly flat in the lamp. If the hand is tilted, gravity pulls the semi-cured gel away from the lateral grooves. For maximum adhesion, utilize a 5-second 'flash-cure' for each finger before full-hand curing. This locks the product in place, preventing the 'crawling' effect that often occurs when a full hand of wet product sits for a few seconds before the lights activate.
The Final Audit: The 'Look-Down' Test
Once the final top coat is cured, hold the hand at eye level and look down the barrel of the nail. If you see a 'step' or a shelf between the product and the nail plate, you have failed to bevel properly. A well-sealed manicure should look like a continuous, seamless slope. If you detect a ridge, use a 180-grit buffer to gently smooth the edge before applying your final seal. This extra thirty seconds of refinement is the single most effective way to increase your retention rates from two weeks to four weeks.
Join the newsletter
Get fresh nail tutorials, trends, and business tips straight to your inbox.
