
The 'Dermal-Integrity' Assessment: Mastering Cuticle Hydration Analysis for Product Adhesion
Learn to diagnose the specific moisture profile of your client’s nail folds to select the ideal preparation protocol and prevent premature lifting.
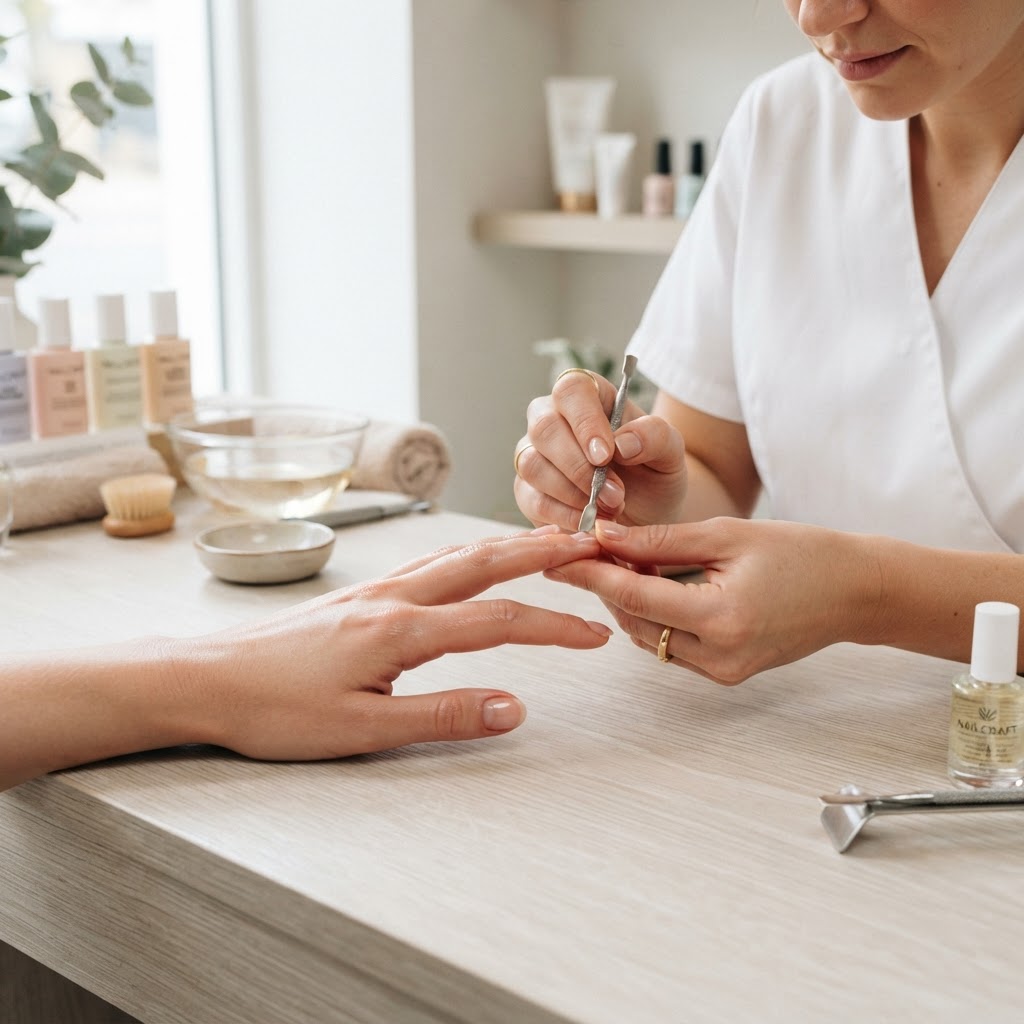
Understanding the Dermal-Plate Interface
For many nail technicians, lifting at the proximal nail fold is treated as a blanket failure of product application or primer chemistry. However, true clinical consistency requires moving away from one-size-fits-all prep. The 'Dermal-Integrity' Assessment focuses on the biological hydration levels of the perionychium—the skin surrounding the nail plate—to determine the exact chemical and mechanical prep required for long-term adhesion.
Diagnosing Hydration Profiles
Before you reach for your e-file, take a moment to classify the client's skin tissue into one of three primary categories:
The Preparation Protocol Based on Profile
Join the newsletter
Get fresh nail tutorials, trends, and business tips straight to your inbox.
#### For Desiccated Tissue
When the tissue is dry and tight, mechanical removal should be minimal. Use a fine-grit diamond bit (a flame or ball bit) at a low RPM (below 5,000) to gently exfoliate the non-living tissue without stimulating the living skin. Avoid heavy alcohol dehydration here; it will cause further tightening, leading to 'fissure-lifting' where the product pulls away as the skin relaxes later.
#### For Hyper-Hydrated Tissue
Excess moisture is the enemy of polymer bonding. For these clients, implement a 'Double-Dehydrator' step. First, use a pure isopropyl alcohol (99%) wipe to remove surface lipids. Second, use a pH-balancing bond agent specifically designed to pull interstitial moisture out of the nail plate surface. Avoid applying cuticle oil within 24 hours of the appointment, as the residual occlusives can be trapped under the product margin.
#### For Compromised Tissue
If the skin is inflamed, the pH of the area is likely altered. Avoid acidic primers, as they can cause irritation to open micro-fissures. Opt for a non-acidic primer and ensure a 0.5mm 'safety margin'—a clean gap between the product application and the skin. This prevents the uncured product from touching the irritated dermal layer, which is the most common precursor to the development of contact dermatitis.
The 'Mechanical-Buffer' Technique
Regardless of skin type, the way you clear the proximal fold dictates the longevity of the cuticle-to-product transition. Use a 'micro-lifting' movement: gently push the cuticle back to expose the 'dead' tissue, remove it, and then finish by buffing the nail plate surface with a 240-grit sponge buffer. This creates the necessary surface area for the base gel to 'lock' into the plate’s microscopic grooves.
Summary Checklist for Success
* Analyze before you file: Spend 30 seconds assessing the skin elasticity.
* Match the bit to the skin: Never use the same bit speed for dry, brittle skin that you would for soft, hydrated skin.
* Respect the margin: Always leave a microscopic gap if the skin shows signs of previous trauma or sensitivity.
* Log your findings: If a client consistently experiences lifting, note their skin profile in their client card. If they return with oil-slicked fingers, recommend they pause oil use for 12 hours prior to their next visit.
By tailoring your prep to the specific hydration needs of the individual, you move beyond mere artistry and into the realm of biological engineering, ensuring your sets remain anchored even in the most challenging conditions.
Join the newsletter
Get fresh nail tutorials, trends, and business tips straight to your inbox.
