
The 'Volumetric-Fill' Technique: Mastering Apex Reconstruction for Structural Integrity
Learn how to move beyond basic infills by utilizing volumetric mapping to restore the apex, preventing stress fractures and future breakage in long-term gel clients.
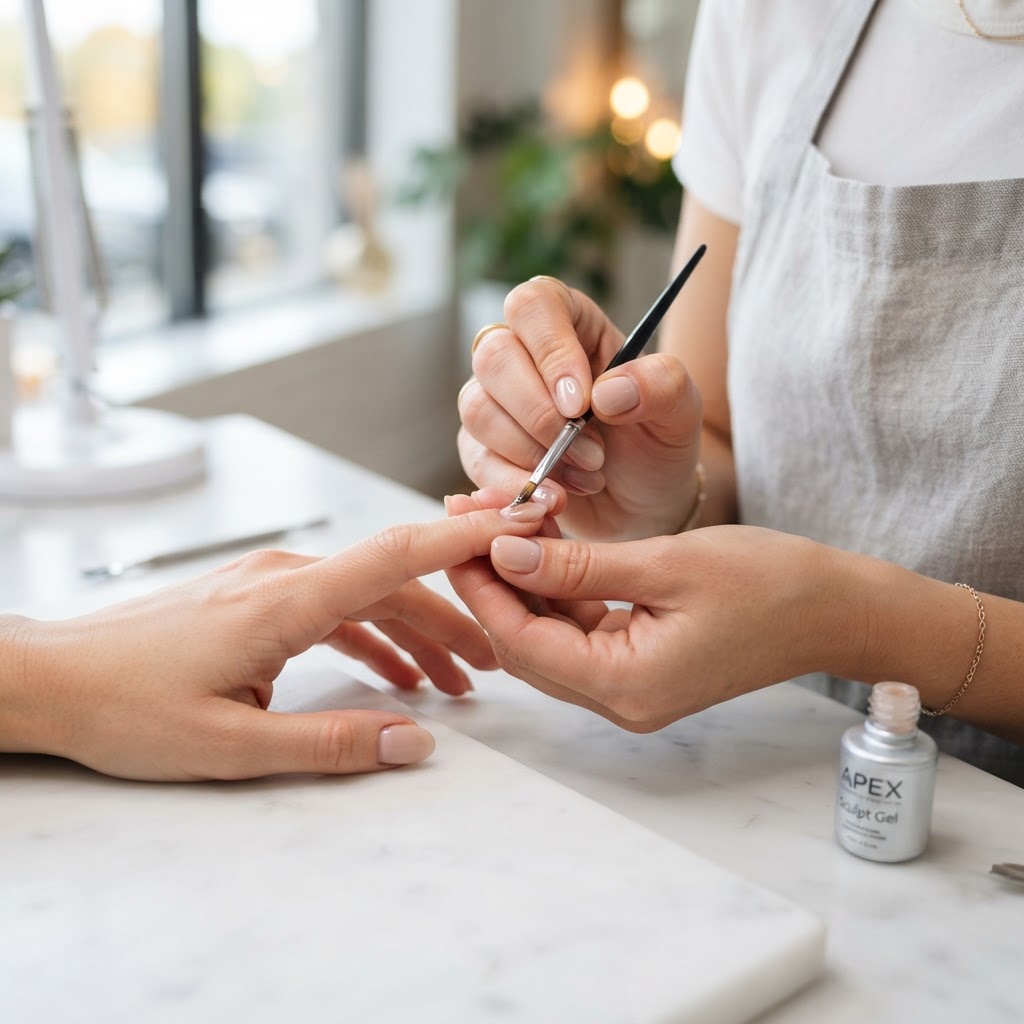
The Architecture of the Refill
For many nail technicians, the fill is viewed as a maintenance task—a simple matter of filing and reapplying color. However, when we treat the fill as an act of 'Volumetric Reconstruction,' we shift from merely patching growth to maintaining the structural integrity of the entire extension. Neglecting the shift of the apex as the natural nail grows is the primary cause of mid-nail fractures and 'smile line' cracks.
The Physics of the Shift
As the natural nail grows, the apex (the highest point of stress resistance) migrates away from the cuticle toward the free edge. When this happens, the 'lever' of the nail becomes longer, and the balance of the extension becomes compromised. If you simply apply new product at the cuticle without re-establishing the apex, you are effectively creating a 'weak bridge' where the old product meets the new.
The Three-Step Volumetric Protocol
Join the newsletter
Get fresh nail tutorials, trends, and business tips straight to your inbox.
To ensure your clients retain their length without micro-cracking, follow this sequence during every infill:
Troubleshooting Structural Instability
If your clients consistently return with cracks at the stress zone, audit your 'Volumetric Fill' process against these three indicators:
* Insufficient Curing Depth: In high-viscosity gels, the center of your apex may be under-cured if the bead is too large. If you are struggling with a deep apex, perform two thinner 'volumetric' passes rather than one massive bead.
* The Filing Trap: Are you filing the sides too thin while trying to blend the apex? If your lateral walls are paper-thin, the apex serves no purpose because the base of the nail cannot handle the lateral torque.
* Client Activity Profile: A client who uses a keyboard all day experiences different apex stress than a client who uses their hands for manual labor. Adjust your apex height based on their daily mechanical impact.
By treating every appointment as a structural audit, you transition from being a 'nail painter' to a 'nail engineer.' This not only increases client retention but drastically reduces the time spent on emergency repairs and broken-nail appointments.
Join the newsletter
Get fresh nail tutorials, trends, and business tips straight to your inbox.