
The 'Volumetric-Fill' Technique: Calculating Product Displacement for Ergonomic Apex Sculpting
Move beyond guessing your apex placement. Learn the mathematical approach to calculating product volume for structurally sound, natural-looking enhancements.
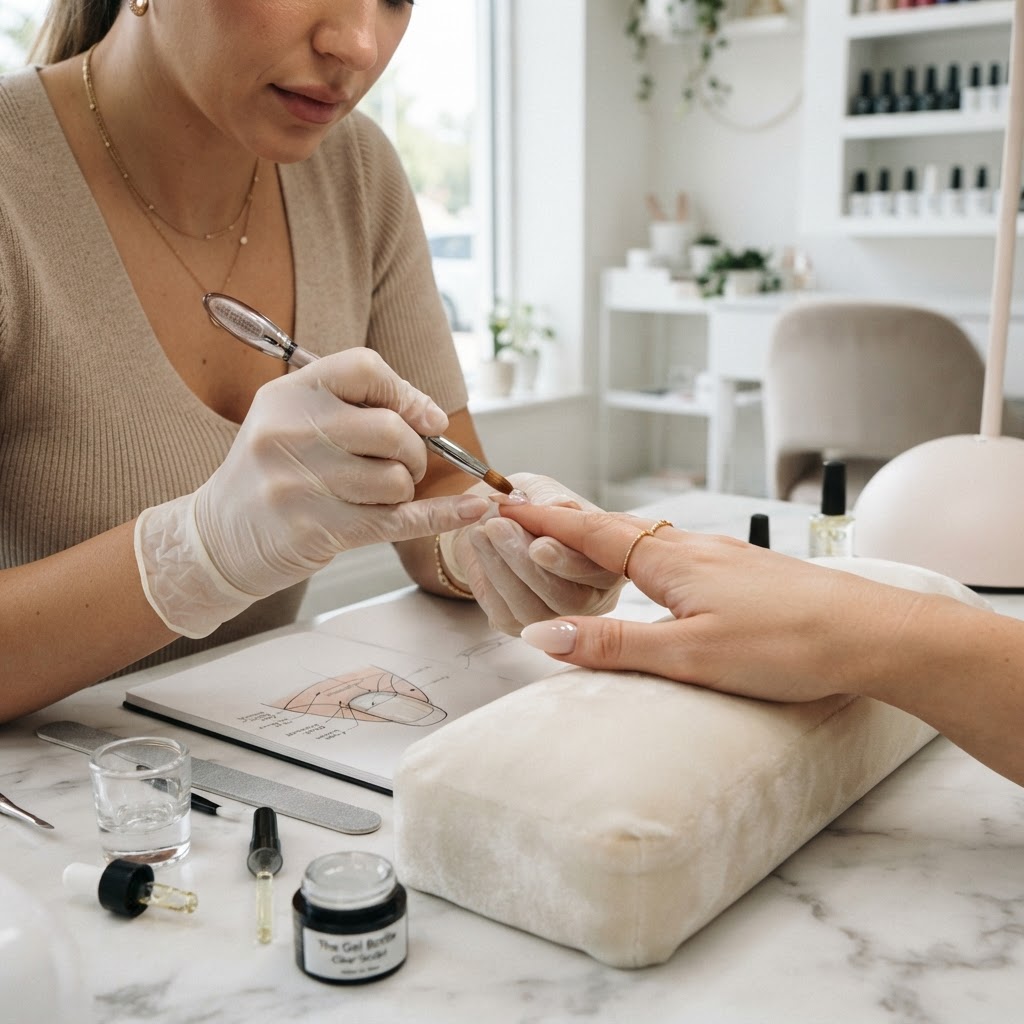
The Math Behind the Apex
Many nail technicians rely on 'eye-balling' the apex, which leads to structural inconsistencies and, ultimately, premature fractures. To master long-wear enhancements, we must treat the nail as a bridge. The 'Volumetric-Fill' technique relies on understanding the relationship between the nail plate's surface area and the necessary product density required to support that specific length.
The Geometry of the Stress Zone
To achieve the perfect apex, you must visualize the 'Stress Zone'—the point where the free edge meets the nail bed. A common error is placing the apex too far toward the cuticle or too far toward the free edge. By utilizing a 'Volumetric-Fill' strategy, we target the specific center of gravity of the nail extension.
Step-by-Step Implementation
Join the newsletter
Get fresh nail tutorials, trends, and business tips straight to your inbox.
Avoiding Over-Bulking
Clients often complain of 'thick, plastic-looking' nails. This occurs when technicians add volume vertically rather than laterally. By calibrating your product density based on the curvature of the natural nail bed, you can achieve maximum strength with minimal vertical height. If you find yourself filing away more than 20% of your applied product during the shaping phase, your initial volume application was likely imprecise. Use the 'Volumetric-Fill' approach to apply only the product necessary for the final structure.
The 'Stress-Point' Audit
Once finished, perform a lateral compression test. If the nail exhibits 'micro-flex' at the sidewalls, the volume distribution is too thin. If it refuses to move entirely, you may have used too much product, increasing the risk of thermal spike. The perfect enhancement should have a subtle, unified flex across the entire arch.
Why This Matters for Your Business
Mastering this level of precision reduces your finishing time significantly. When you apply the correct volume the first time, you reduce E-filing time by approximately 30-40%. This is the hidden key to scaling your salon; by standardizing your product application, you ensure every technician in your shop can produce the same high-quality, long-lasting results every single time.
Join the newsletter
Get fresh nail tutorials, trends, and business tips straight to your inbox.