
The 'Volumetric-Equilibrium' Protocol: Mastering Surface Tension for Gel-Bead Distribution
Learn the physics of gel self-leveling to achieve perfectly balanced, gravity-defying apex structures without excessive filing.
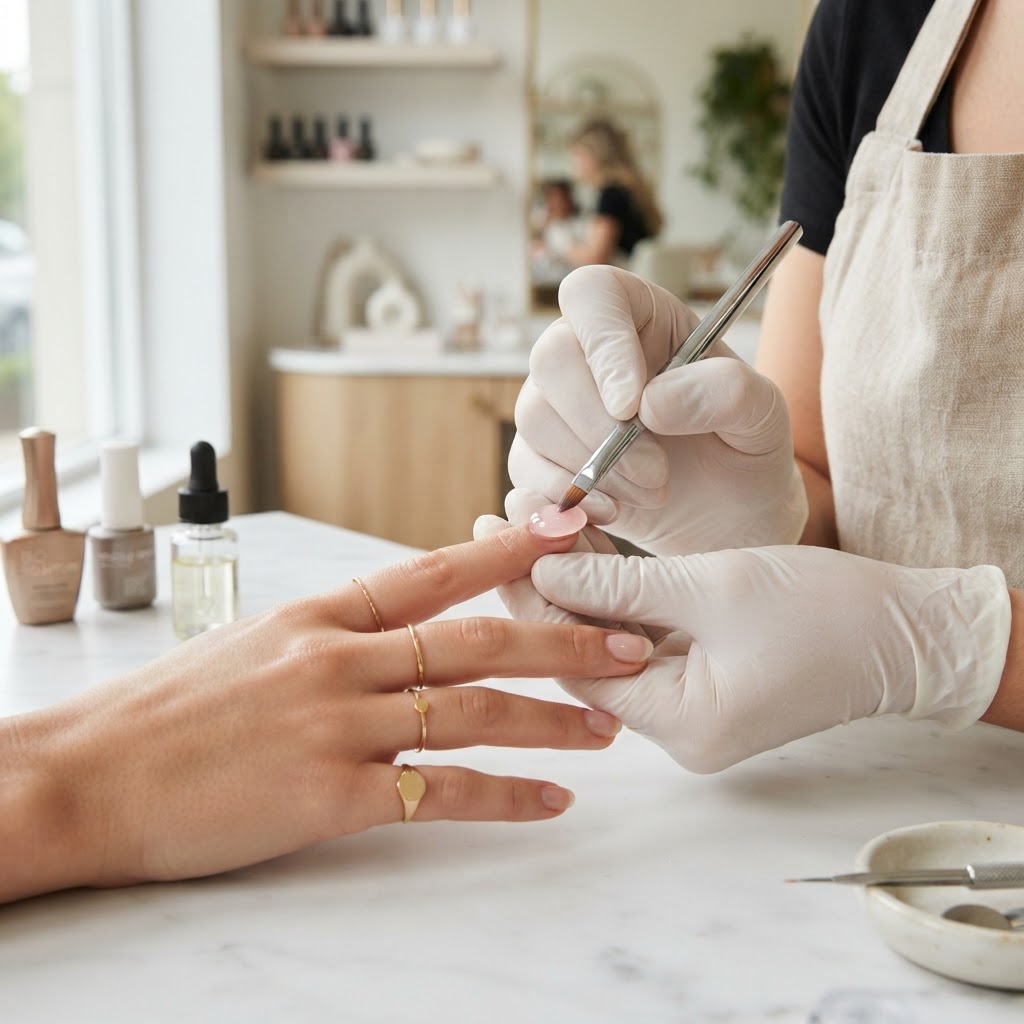
Mastering the Physics of Gel Application
For many nail technicians, the struggle to create a flawless apex often ends in a battle with the file. By understanding the concept of 'Volumetric Equilibrium'—the point at which a gel bead maintains its shape against the forces of gravity and surface tension—you can drastically reduce your finishing time and eliminate over-filing.
The Science of Surface Tension
Surface tension is the elastic tendency of a liquid surface which makes it acquire the least surface area possible. In nail enhancement, we manipulate this through the viscosity of the gel and the geometry of our brush strokes. When you apply a bead, it is not just sitting on the nail; it is a dynamic system. If the gel is too thin, surface tension pulls it into the lateral grooves, leading to flooding. If it is too thick, it refuses to level, leaving behind 'ghost' lines from the brush.
The Volumetric-Equilibrium Method
Join the newsletter
Get fresh nail tutorials, trends, and business tips straight to your inbox.
To achieve a perfect structure every time, follow this three-stage protocol:
Troubleshooting Common Failures
* Flooding the Cuticle: You are likely using too much product at the proximal nail fold. Always start your bead 1-2mm away from the cuticle and use a fine-liner brush to push the gel toward the groove after the initial self-leveling.
* Visible Ridges: This is a result of 'breaking' the surface tension too early. Avoid over-manipulating the gel once it has started to settle. If you see a ridge, gently vibrate the brush at the center of the product rather than pulling it across the entire surface.
* Structural Collapse: If the extension loses its strength, your apex placement is likely too distal. Ensure your structural bead is positioned at the stress point of the nail—the intersection of the free edge and the nail bed.
Refining Your Workflow
By mastering these physics-based techniques, you shift from 'sculpting by force' to 'sculpting by flow.' Your clients will experience less heat spike because you aren't overworking the gel, and your final buffing process will take seconds rather than minutes. Focus on the behavior of the gel during that first 10-second window, and you will see an immediate improvement in the symmetry and durability of your enhancements.
Join the newsletter
Get fresh nail tutorials, trends, and business tips straight to your inbox.
