
The 'Volumetric-Density' Control: Eliminating Surface Ripples in High-Viscosity Builder Gels
Learn how to master the distribution of viscous gels to prevent uneven surface tension and structural ripples, ensuring a glass-like finish on every extension.
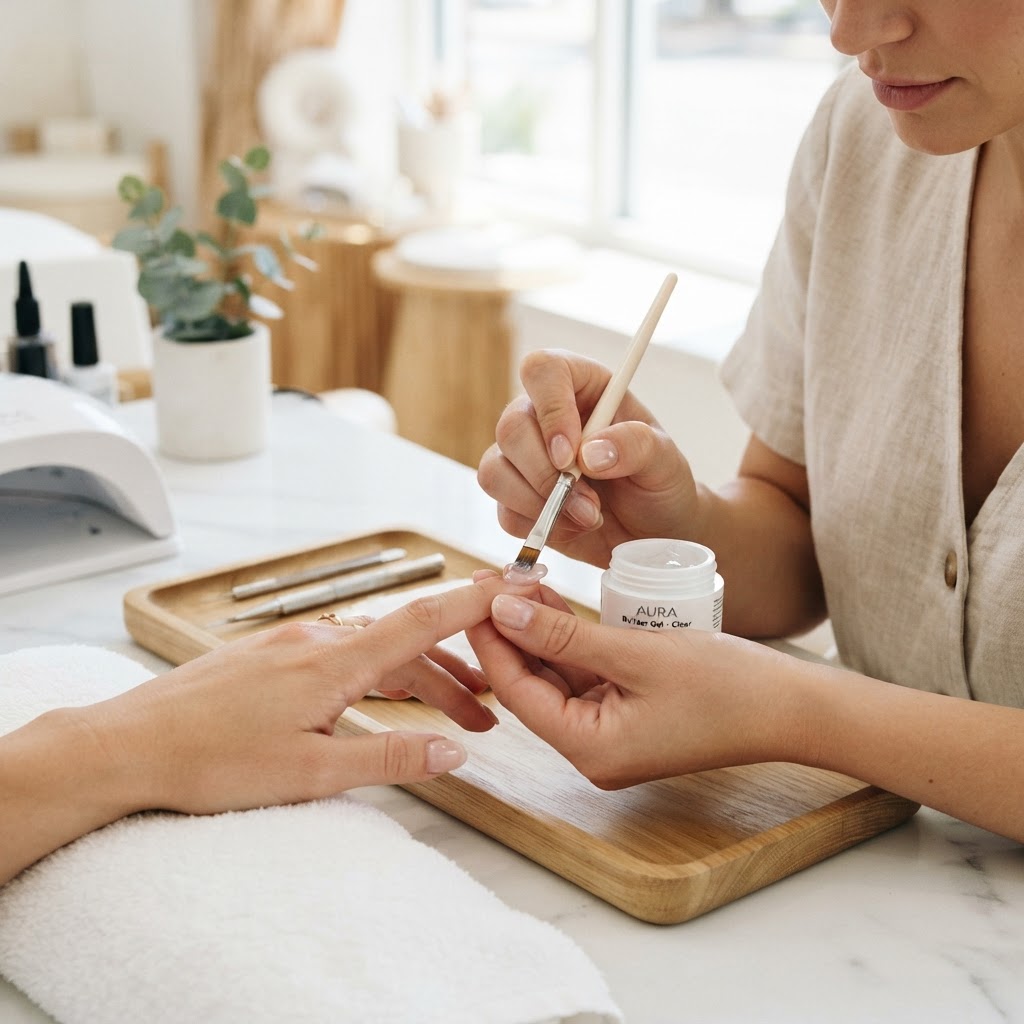
Understanding the Physics of High-Viscosity Gel Flow
High-viscosity builder gels are essential for structural integrity, but their resistance to flow often leads to 'rippling'—those frustrating micro-undulations that appear during the leveling process. These ripples occur because the gel's internal friction resists gravity, causing the surface to freeze in an uneven state before the product fully self-levels. To achieve a perfectly smooth finish without aggressive filing, you must master the 'Volumetric-Density' control protocol.
The 'Micro-Bead' Application Technique
Instead of applying a single large bead and attempting to push it into place, which creates a 'tug-of-war' between your brush and the gel's surface tension, use the micro-bead method:
* Primary Anchor: Place a smaller, calculated bead at the cuticle area, leaving a 1mm gap to prevent flooding.
* Secondary Bridge: Place a larger secondary bead at the stress point (the apex area).
Join the newsletter
Get fresh nail tutorials, trends, and business tips straight to your inbox.
* The Hover Technique: Rather than dragging the brush through the product, use the tip of your brush to 'hover' just above the surface, using the brush's bristles to gently guide the gel laterally. This minimizes the displacement of product that causes rippling.
Troubleshooting Structural Ripples
If you notice persistent waves in your gel, look for these three common culprits:
The 'Inversion-Leveling' Method
For artists struggling with uneven apex distribution, turn the hand upside down (palm up) for exactly 5–7 seconds after application. This utilizes gravity to pull the product toward the center of the nail, creating a natural, rounded apex. Once the gel has shifted, immediately return the hand to the flat position and place it in the lamp. This gravity-assisted shaping significantly reduces the need for manual filing and ensures a perfectly smooth surface profile.
Final Polish Protocol
To ensure your surface is flawless before top coating, perform a 'Light-Refraction Test.' Turn off your primary desk lamp and use a single, focused light source (like your phone flashlight) held at a 45-degree angle to the nail. Any remaining ripples will cast a distinct shadow, indicating exactly where a light buffing pass is required. By mastering these volumetric controls, you transition from 'corrective filing' to 'precision sculpting,' saving you time and reducing physical fatigue.
Join the newsletter
Get fresh nail tutorials, trends, and business tips straight to your inbox.
