
The 'Vitreous-Layering' Method: Mastering Translucency and Depth in Jelly Gel Systems
Learn the precise science of pigment-to-medium ratios to achieve high-depth, glass-like jelly nail effects without compromising structural integrity.
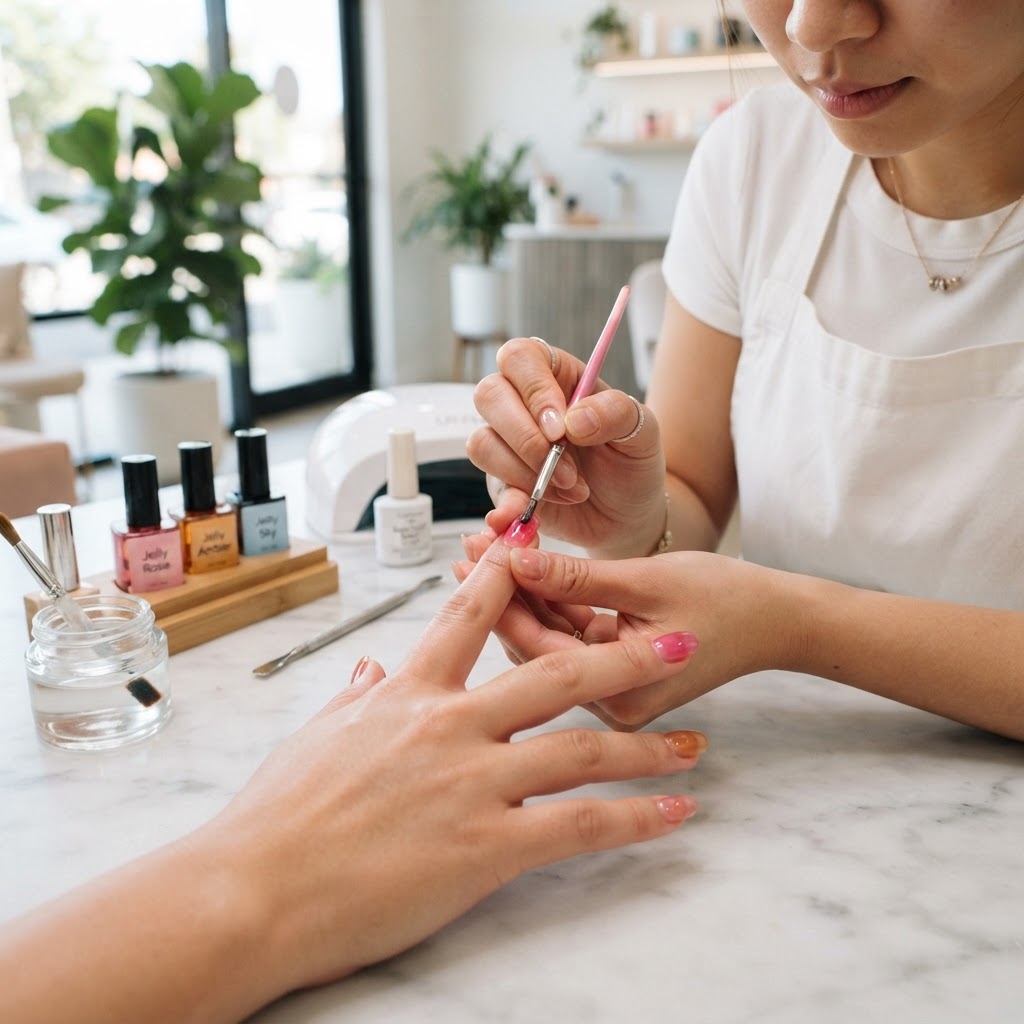
The Art of the Vitreous Finish
The popularity of 'Jelly Nails' has shifted from a novelty trend to a sophisticated aesthetic requirement for high-end salons. However, the common struggle lies in achieving that deep, 'stained-glass' look without creating a gummy, uneven, or overly bulky nail. The 'Vitreous-Layering' method focuses on controlled saturation and refractive light management to create the illusion of depth using standard gel systems.
The Anatomy of a Jelly Layer
The secret to the Vitreous-Layering method isn't just buying expensive jelly gels; it’s about controlling your medium-to-pigment ratio. To master this, you must treat your top coat as a structural component rather than a final sealant.
Required Materials:
* High-clarity, non-yellowing clear hard gel or builder-in-a-bottle.
* Highly concentrated gel pigments or artist-grade gel liners.
* A dedicated flat-paddle brush for smoothing.
Step-by-Step Execution
Join the newsletter
Get fresh nail tutorials, trends, and business tips straight to your inbox.
1. The Saturation Gradient
Instead of applying a single coat of tinted gel, you must build the color in three distinct stages.
* Base Layer (The Tint): Mix your clear gel with a 1:10 pigment ratio. Apply a thin, even layer. This provides the 'anchor' color that sits closest to the nail plate.
* Mid-Depth Layer (The Clarity): Increase the clear gel ratio to 1:20. This layer provides the 'volume' of the color. Use a tapping motion rather than long strokes to ensure the pigment is evenly distributed across the surface tension.
* The Vitreous Cap (The Seal): Apply a clear, non-tinted high-viscosity top coat. The goal here is to create a 'lens' effect that magnifies the color layers beneath.
2. Managing Viscosity and Migration
The greatest challenge with jelly gels is 'pooling' at the cuticle. Because these formulas are often thinner than standard pigments, they are prone to migration during cure. To mitigate this, perform a 'Flash-Staging' sequence:
* Apply the first color layer and flash-cure for 10 seconds.
* Check for pigment migration at the sidewalls using a thin detail brush to wipe away excess before the full 60-second cure.
Avoiding the 'Cloudy' Finish
Cloudiness in jelly nails is almost always caused by air bubbles trapped during the mixing process or over-brushing. When mixing your custom jelly tints, use a slow, folding motion rather than stirring rapidly. If you notice micro-bubbles, let the mixture sit for 5 minutes before application to allow the gases to escape.
Troubleshooting for High-Stress Clients
Jelly nails are structurally thinner because they lack opaque pigment, which typically provides strength in standard gels. If you have an active client, use a clear fiber-infused builder gel as your base structure. This provides the necessary scaffolding to prevent snapping while keeping the nail completely translucent.
By adopting the Vitreous-Layering method, you elevate a simple color service into a premium design offering, allowing you to charge a higher ticket price for the artistic precision required to achieve that perfect, glass-like finish.
Join the newsletter
Get fresh nail tutorials, trends, and business tips straight to your inbox.
