
The 'Vector-Alignment' Sculpting Method: Achieving Precision Sidewall Symmetry
Master the art of perfect structural balance by utilizing geometric vector lines to eliminate asymmetrical sidewall growth in long-length extensions.
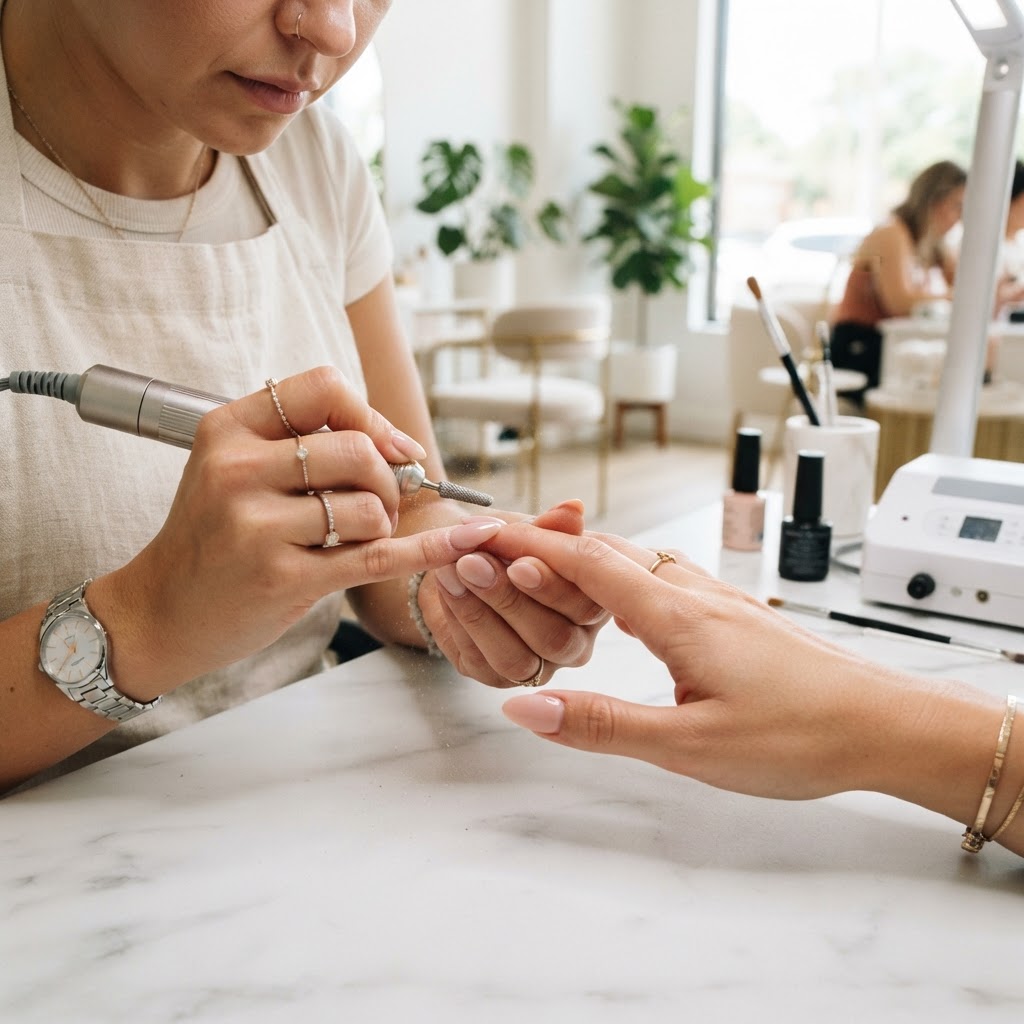
The Geometry of Sidewall Stability
Many nail artists struggle with 'sidewall migration'—where the extension begins to lean or deviate from the natural longitudinal axis of the finger. This is rarely a result of poor sculpting technique alone, but rather a lack of 'Vector-Alignment' during the application phase. When you fail to establish a rigid geometric anchor, the product follows the path of least resistance during the curing process, leading to a loss of architectural integrity.
Mapping the Central Axis
Before applying any product, you must establish the 'True Center.' Use a thin stylus or a dry brush to mark a light line from the cuticle center through the center of the free edge. This serves as your primary vector. If your extension does not mirror this axis, your client's nails will appear 'hooked' or twisted once they grow out.
The Three-Point Taper Protocol
Join the newsletter
Get fresh nail tutorials, trends, and business tips straight to your inbox.
To achieve consistent, sharp sidewalls, we use the Three-Point Taper method:
Correcting Lateral Deviation
If you notice a sidewall beginning to bow, do not attempt to 'file it straight' after curing. Filing into a cured, asymmetrical structure compromises the tensile strength of the polymer. Instead, use a 'flash-cure' technique:
Architectural Maintenance
Beyond the initial application, maintain your vector alignment during fills. Always re-establish your central axis by filing away the old, shifted apex before applying new product. By treating every fill as a re-sculpting of the original vector, you ensure that the client's nails retain their structural integrity over multiple cycles, preventing the 'bulky look' common in older sets.
Join the newsletter
Get fresh nail tutorials, trends, and business tips straight to your inbox.