
The 'Vascular-Mapping' Technique: Customizing Neutral Tones for Undertone Harmonization
Move beyond generic 'nude' shades by mastering the science of vascular-mapping to select nail pigments that perfectly calibrate with your client's skin undertones.
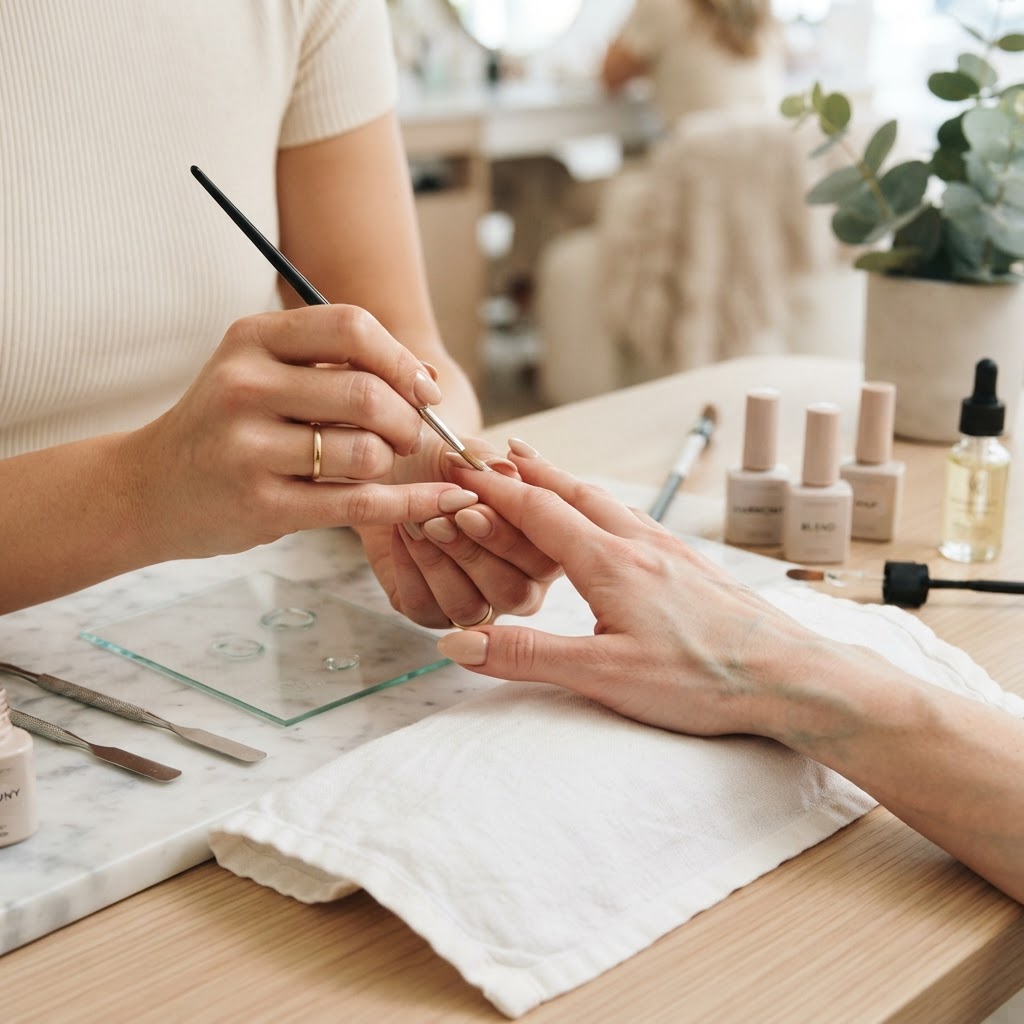
The Science of Pigment Harmonization
Finding the perfect neutral is the most requested service in any salon, yet it remains the most common source of client dissatisfaction. When a 'nude' shade looks chalky or turns sickly yellow on a client, it is rarely a quality issue with the polish. It is a failure in undertone calibration. By adopting the 'Vascular-Mapping' technique, you can move from trial-and-error color matching to a precise, anatomical approach that guarantees aesthetic harmony.
Step 1: The Vascular Assessment
The color of the veins on the underside of the wrist acts as a primary diagnostic tool for skin undertone. Instruct the client to place their inner wrist under neutral daylight—avoiding the warm glow of task lighting or the cool blue of digital displays.
* Cool Undertones: Veins appear blue or violet. These clients thrive in sheer, milky pinks, cool-toned mauves, and grays.
* Warm Undertones: Veins appear green or olive. These clients need pigments with yellow, orange, or golden bases—think creamy peaches, warm caramels, and terracotta-nudes.
* Neutral Undertones: Veins are indistinct, often matching the skin tone itself. These clients possess the most flexibility, but generally look best in balanced, 'true' beiges that lean neither too warm nor too cool.
Step 2: The 'Saturation-Depth' Protocol
Join the newsletter
Get fresh nail tutorials, trends, and business tips straight to your inbox.
Once the undertone is identified, you must account for the depth of the skin. A common mistake is selecting a nude that is too close to the client's skin depth, which creates a 'washed out' effect.
* For Fair Skin: Avoid colors that are lighter than the client's skin, as this creates a lack of contrast. Aim for pigments two shades darker than the cuticle line to provide a grounding effect.
* For Medium Skin: Focus on 'depth matching.' Choose shades that mimic the richness of the client’s skin but add a slightly cooler or warmer contrast to highlight the undertone.
* For Deep Skin: The goal is high-pigment saturation. Avoid sheer, translucent formulas that can appear 'ashy.' Look for deep chocolate, rich espresso, or spicy undertones that lean into the warmth of melanin-rich skin.
Step 3: Executing the 'Triple-Dot' Comparison
Never rely on the bottle color or a plastic swatch alone. To ensure a perfect match, apply three small dots of your top-tier candidates directly onto the client's nail plate or the skin near the cuticle.
Allow the gel to self-level for 30 seconds before making a final choice. The way the light reflects off the cured surface is significantly different from the wet pigment.
Elevating the Client Experience
By explaining the 'why' behind your color selection, you position yourself as a consultant rather than a service provider. When a client sees you analyzing their vascular tone and pigment saturation, you are no longer just 'painting nails'—you are providing a bespoke style service that justifies higher price points and builds deeper loyalty. Remember: The perfect nude is not a singular color; it is a complex relationship between light, pigment, and biology.
Join the newsletter
Get fresh nail tutorials, trends, and business tips straight to your inbox.