
The 'Vantage-Point' Design Principle: Curating Nail Shape for Hand Anatomy
Move beyond trends and learn to calibrate nail shapes based on finger morphology, joint articulation, and natural nail bed geometry for superior aesthetic balance.
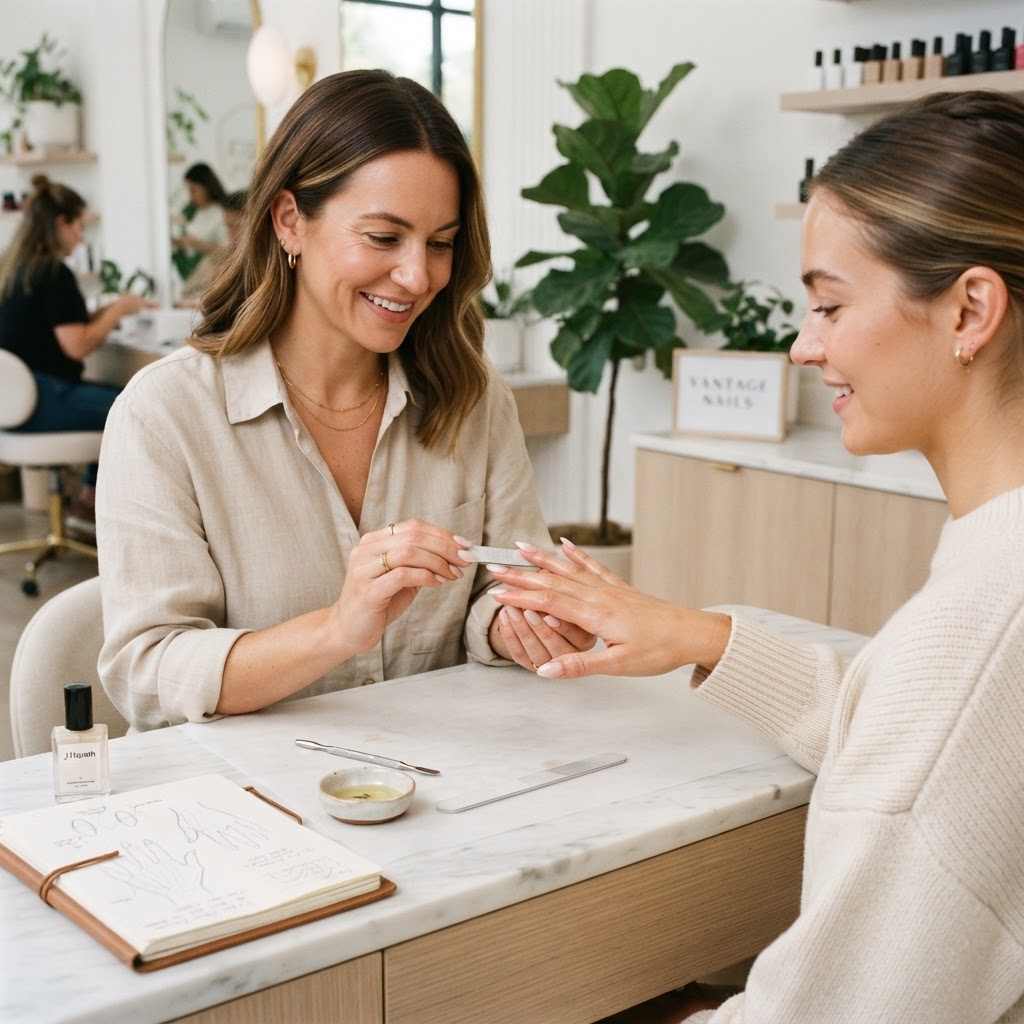
The Case for Anatomy-First Design
Too often, nail design is dictated by social media trends—coffin, stiletto, or square—without regard for the unique biological "canvas" of the client's hand. The 'Vantage-Point' Design Principle posits that the most flattering manicure is one that visually compensates for specific finger proportions and joint characteristics. By applying structural geometry, you can create the illusion of elongation, width, or tapering where it is most needed.
Analyzing Finger Morphology
Before picking up an e-file or a form, perform a 'Morphology Scan' on the client’s hands. Observe three specific markers:
* Joint Prominence: Are the PIP (proximal interphalangeal) joints large? If so, ultra-sharp stilettos will accentuate the width of the joint, creating a 'clubbed' look. A soft almond or oval shape draws the eye toward the center of the finger, minimizing the appearance of the knuckle.
* Nail Bed Ratio: A short, wide nail bed benefits from a soft, rounded square to bridge the width, while a long, narrow bed can handle aggressive tapering like a tapered coffin or ballerina shape.
* Digit Length: For clients with shorter fingers, maintain a '1:1 ratio'—the length of the extension should not exceed the length of the natural nail bed. Exceeding this often results in a loss of structural proportionality, making the hand look stunted.
Structural Calibration Techniques
Join the newsletter
Get fresh nail tutorials, trends, and business tips straight to your inbox.
The 'Vertical Axis' Alignment
To create a sense of length, ensure the lateral sidewalls of your extension are filed perfectly parallel to the vertical axis of the finger bone. If the sidewalls flare even two degrees outward, the finger will appear wider. For tapered shapes, initiate your taper at the 'stress zone' (the junction of the free edge and nail bed), not at the cuticle. This creates a continuous, clean line that draws the viewer’s eye upward.
Managing Optical Weight
Light and dark colors behave differently on the hand. A dark, opaque polish adds visual weight; on a shorter finger, this can make the nail look like a 'cap' sitting on top of the finger. If the client insists on dark tones, steer them toward a 'micro-French' or a negative-space design. This breaks the visual mass, allowing the natural skin tone to create a vertical 'break' that elongates the appearance of the nail.
The 'Three-Point' Finish
When shaping, verify your work from three distinct vantage points:
Strategic Recommendations for Clients
* For Wide Nail Beds: Utilize 'Side-Wall Contouring.' Remove a minimal amount of bulk from the side walls, effectively narrowing the visual footprint of the nail without compromising the integrity of the natural nail wall.
* For Downward-Curved Nails: Avoid long, square shapes. The natural curvature will be exaggerated by the straight lines of the square, leading to a 'hooked' appearance. Opt for an almond shape, which naturally masks the curvature through its rounded, organic profile.
By shifting the focus from 'what's popular' to 'what is anatomically complementary,' you elevate your service from a simple application to a personalized design consultation that builds trust and long-term client loyalty.
Join the newsletter
Get fresh nail tutorials, trends, and business tips straight to your inbox.
