
The 'Thermal-Stability' Calibration: Mitigating Polymerization Heat Spikes in High-Viscosity Gels
Learn how to calculate and manage exothermic reactions in high-viscosity gels to prevent client discomfort and preserve product integrity.
Understanding the Polymerization Exothermic Curve
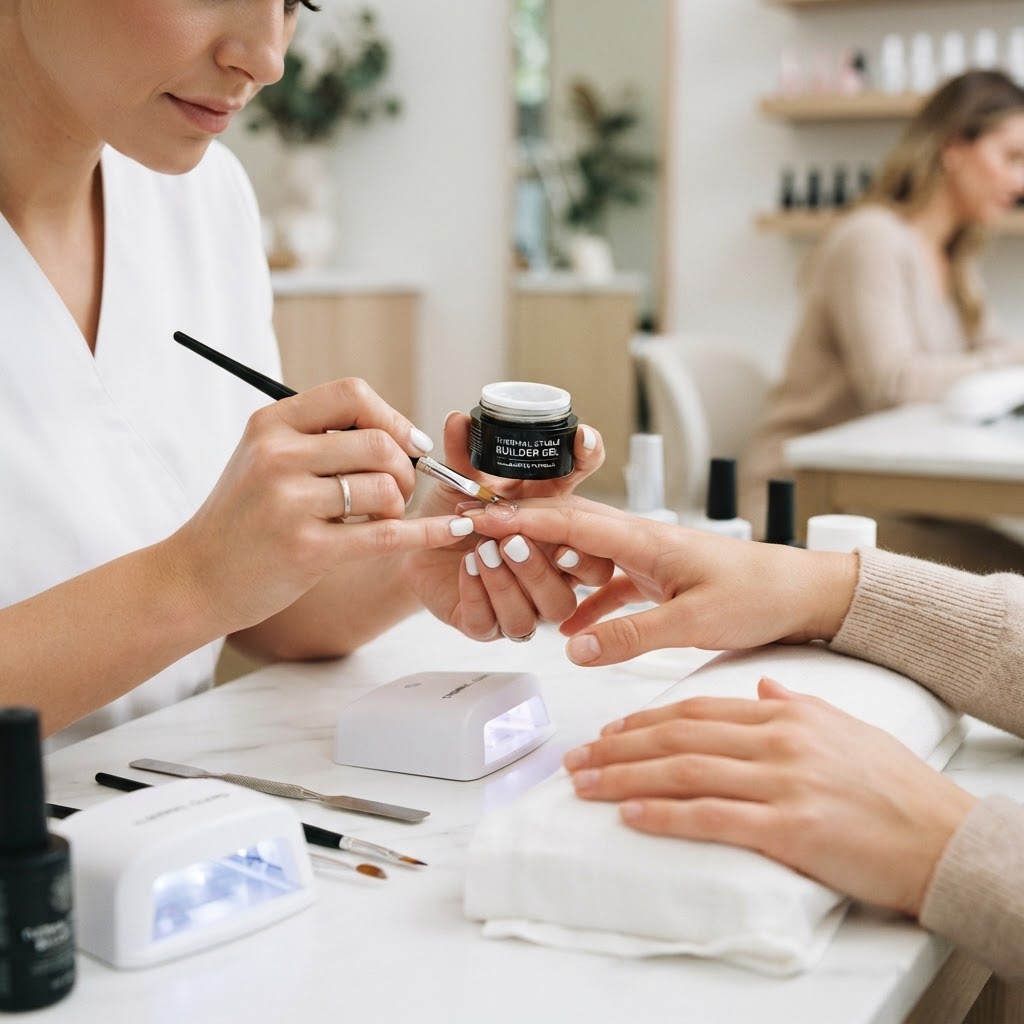
When working with high-viscosity builder gels or sculpting resins, the polymerization process—the conversion of monomers to polymers—is inherently exothermic. As the molecules bond under UV or LED light, they release thermal energy. In high-viscosity, high-density products, this reaction often occurs rapidly, creating a 'heat spike' that can cause client discomfort or, in extreme cases, micro-trauma to the nail bed.
The Science of Heat Spikes
Heat spikes are generally triggered by three factors: the concentration of photoinitiators in the gel, the thickness of the product application, and the intensity of the curing lamp. High-viscosity gels require a high density of cross-linking monomers to maintain structural rigidity, which naturally increases the heat output during the initial curing phase.
Actionable Calibration Techniques
To manage thermal output without compromising structural integrity, follow these precise calibration techniques:
Join the newsletter
Get fresh nail tutorials, trends, and business tips straight to your inbox.
1. The 'Pulse-Cure' Protocol
Instead of full-intensity exposure, utilize the 'pulse' setting on your lamp (or manual cycling). By curing at 20% intensity for the first 5 seconds, you initiate a controlled, slower chain reaction. This allows the polymer chains to begin their structure without a massive, instantaneous energy release.
2. Viscosity Thinning via Environmental Control
Product temperature significantly impacts reaction speed. If your workspace is above 75°F (24°C), the gel becomes more reactive. Store your high-viscosity builder gels in a cool, dark environment. A slightly cooler gel will have a slower initial reaction rate compared to a gel that has been sitting under direct studio lighting.
3. Layered Geometry vs. Monolithic Application
Never attempt to build a full apex in a single high-volume drop if you are experiencing heat sensitivity with a specific client. Use a two-step application:
Monitoring Nail Bed Sensitivity
Not all nail beds react the same way. Clients with thinner nail plates or those with previous trauma have less thermal mass to absorb the heat, making them more susceptible to the 'heat spike' sensation. Before applying high-viscosity product, assess the natural nail thickness. If the nail is brittle or thin, always opt for a low-heat-mode lamp setting regardless of the product's recommended intensity.
When to Re-Evaluate Your Product Selection
If you consistently encounter heat spikes despite using the pulse-cure protocol, you may be using a 'fast-cure' formula designed for speed rather than comfort. Look for formulations labeled 'low-exothermic' or 'slow-cure,' which utilize different photoinitiator blends designed to lengthen the polymerization window. While these may require an additional 15 seconds of total cure time, the reduction in client discomfort drastically improves the long-term retention of the product by preventing the 'lifting' associated with thermal shock.
Join the newsletter
Get fresh nail tutorials, trends, and business tips straight to your inbox.