
The 'Thermal-Stability' Audit: Managing Product Viscosity and Curing Consistency in High-Humidity Climates
Master the chemical behavior of builder gels in humid conditions to prevent mid-set flooding, heat spikes, and premature breakdown.
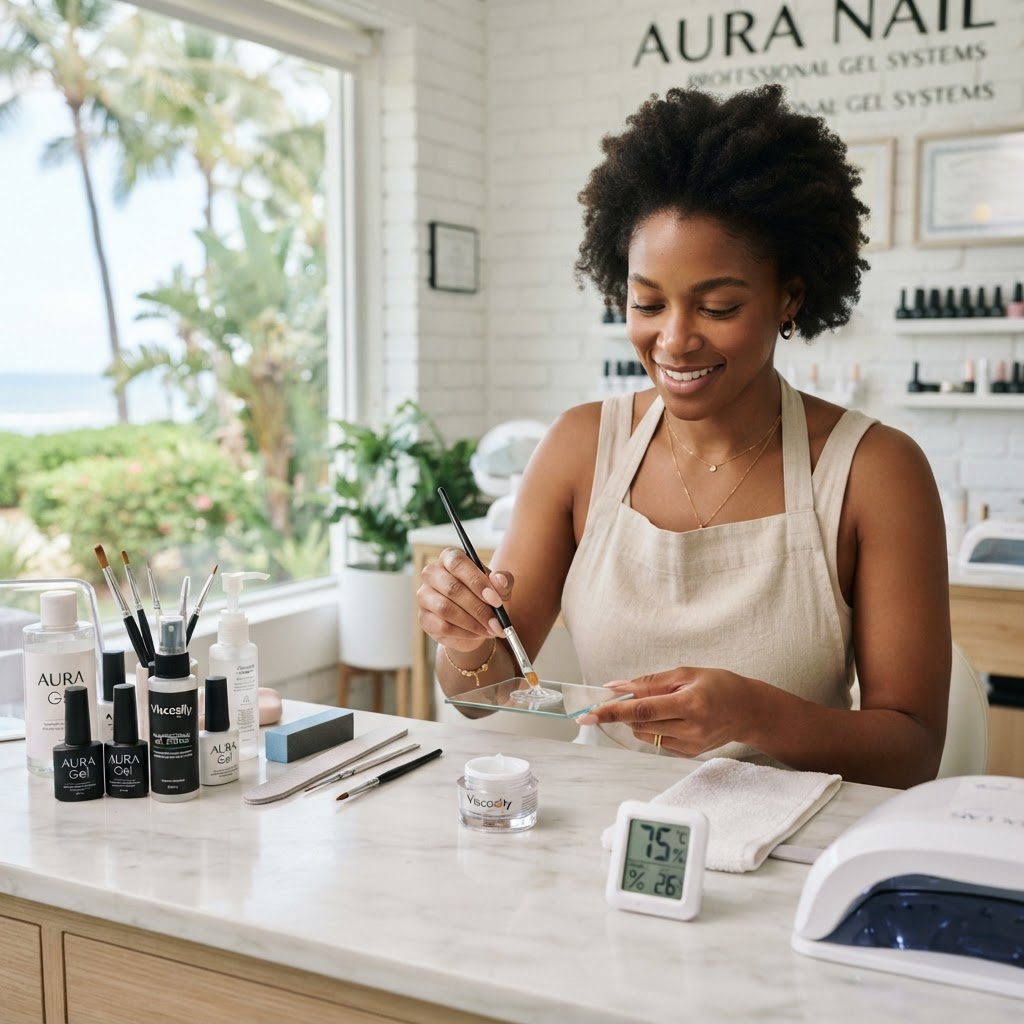
The Hidden Variable in Your Gel Workflow
Every professional nail artist understands the basics of chemical curing, but many overlook the 'Hidden Variable' that dictates salon consistency: ambient humidity. In high-humidity environments, the atmospheric water vapor interacts with the hygroscopic properties of many builder gels. This causes a subtle but critical shift in the polymer-to-monomer ratio at the surface level, leading to unpredictable viscosity and, more dangerously, heat spikes during the polymerization process.
The 'Viscosity-Drift' Phenomenon
When a gel's viscosity changes due to humidity, the product 'flows' differently than your technical training dictates. If you find yourself constantly fighting product flooding into the lateral folds, you are likely dealing with viscosity drift.
* The Diagnostic: Place a small bead of your builder gel on a glass tile at room temperature. If the bead flattens and widens faster than it did in cooler, drier months, your ambient humidity is actively thinning the product.
* The Fix: Transition to a 'Micro-Bead' application technique. Instead of a standard apex-building bead, use 30% smaller droplets to account for the increased flow rate. This prevents the product from pooling before you can hit the cure button.
Managing the Exothermic Reaction in Humid Conditions
Humidity doesn't just affect the uncured state of the gel; it alters the crosslinking speed. High moisture can trap gas pockets within the polymer chain during the exothermic reaction. This leads to two specific failure points:
Join the newsletter
Get fresh nail tutorials, trends, and business tips straight to your inbox.
The 'Staged-Cure' Protocol
To mitigate these risks, stop using full-power cures on the initial layer.
* Phase 1: Utilize a 'Low-Heat Mode' or 'Soft-Cure' for the first 15 seconds. This allows the polymer chains to begin their transition without the violent, rapid heat generation that occurs in high-humidity saturation.
* Phase 2: After the soft-cure, inspect the structure for any 'sagging' caused by the humidity-thinned gel. Correct any imperfections with a dry brush before moving to the final, high-intensity cure.
Environmental Control Systems
If you work in a salon where humidity consistently exceeds 60%, no amount of technique can entirely overcome the chemistry of the product. You need to engineer the environment of your workstation.
Salon Engineering Best Practices
* Dehumidification Zones: You do not need to dehumidify the entire salon. A compact, high-efficiency dehumidifier placed directly under your nail desk can create a localized 'dry zone' that keeps the air around your product jars stable.
* Storage Integrity: Never leave your builder gel jars open while working. Even a 5-minute exposure to high-humidity air can significantly alter the composition of the top layer of your product. Use a 'transfer-to-palette' method where you only take out exactly what you need for one nail.
* The Hygrometer Metric: Place a digital hygrometer on your desk. When it hits 65% humidity, trigger your 'Micro-Bead' workflow. When it drops below 40%, you can return to your standard volume-building techniques.
By treating your nail desk like a controlled laboratory rather than an open-air station, you reclaim control over product performance and extend the longevity of every set you sculpt.
Join the newsletter
Get fresh nail tutorials, trends, and business tips straight to your inbox.
