
The 'Thermal-Phase' Stabilization Method: Controlling Polymerization Dynamics for Flawless Sculpting
Master the chemical behavior of exothermic polymerization to prevent product heat spikes and surface imperfections in high-viscosity builder gels.
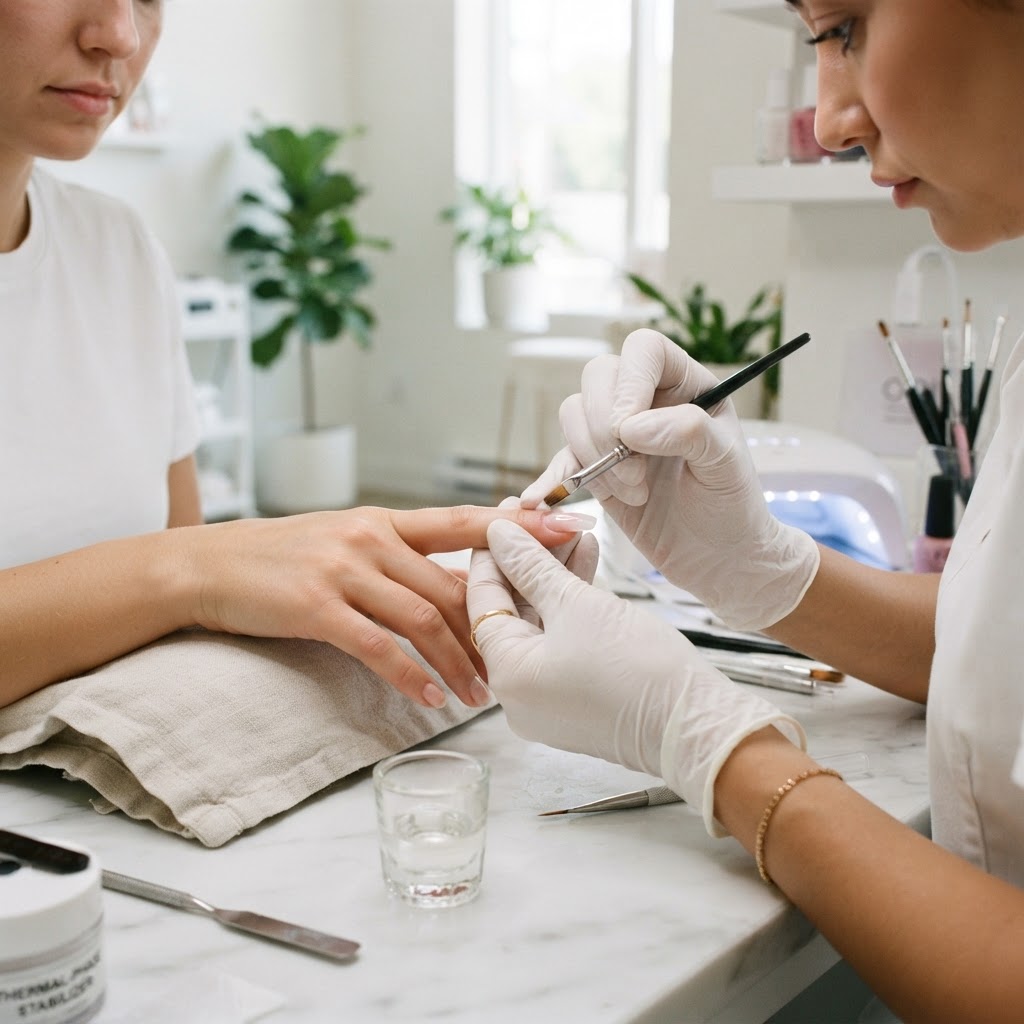
Understanding Thermal Management in Gel Systems
For the professional nail artist, the polymerization process is not just a chemical necessity; it is a thermal challenge. When a builder gel cures, it undergoes an exothermic reaction, releasing energy as heat. When this heat generation exceeds the capacity of the nail bed to dissipate it, clients experience the 'heat spike,' leading to discomfort and involuntary movement that can compromise your precision work. Controlling the 'Thermal-Phase'—the critical window where a liquid monomer transitions into a rigid polymer—is the key to achieving a flawless finish without sacrificing client comfort.
The Physics of Exothermic Peaks
The heat spike you encounter is a result of rapid photo-initiator activation. As the UV or LED light triggers cross-linking, the chains of the monomer tighten into a solid structure. If your application layer is too thick or your gel is highly reactive, the energy release is concentrated into a short burst. By manipulating the polymerization velocity, you can flatten this curve.
The 'Thermal-Phase' Protocol: Actionable Steps
Join the newsletter
Get fresh nail tutorials, trends, and business tips straight to your inbox.
To manage this reaction, implement the following adjustments to your workflow:
* Gradient Curing: Instead of placing the hand directly under full intensity, introduce a 'Flash-Intensity' step. Have the client place their hand 6 inches from the lamp for 10 seconds before moving fully into the curing zone. This slows the initial cross-linking density.
* Viscosity Modulation: In high-humidity environments, gel viscosity can decrease, leading to unintended pooling and thicker-than-necessary application. Always store your builder gels in a temperature-controlled environment (between 68-72°F) to ensure consistent flow control.
* The Two-Stage Curing Matrix: If you are building a full apex, perform a 'Skeleton Cure' first. Apply a structural layer, cure at 50% power (or pulsed mode) for 30 seconds, then apply the finish shaping layer. This breaks the polymerization into two manageable thermal sessions.
Reducing Surface Imperfections Through Phase Control
Beyond heat, improper thermal management leads to 'polymerization shrinkage.' If the center of your apex cures faster than the lateral walls, the material will pull away from the sidewalls, resulting in premature lifting. To mitigate this:
Elevating Client Experience
Educating your clients on the 'Thermal-Phase' builds significant authority. When you explain that the heat they feel is a sign of a robust, high-quality polymerization process, and demonstrate your control over it using the two-stage curing method, you shift the narrative from 'painful chemical burn' to 'precision chemical engineering.' This shift is exactly what separates a technician from a master artist.
Join the newsletter
Get fresh nail tutorials, trends, and business tips straight to your inbox.