
The 'Thermal-Gradient' Curing Protocol: Mitigating Heat Spikes in High-Density Builder Gels
Learn how to manage the exothermic reaction in high-viscosity builder gels to protect client nail integrity and ensure a painless, long-lasting application.
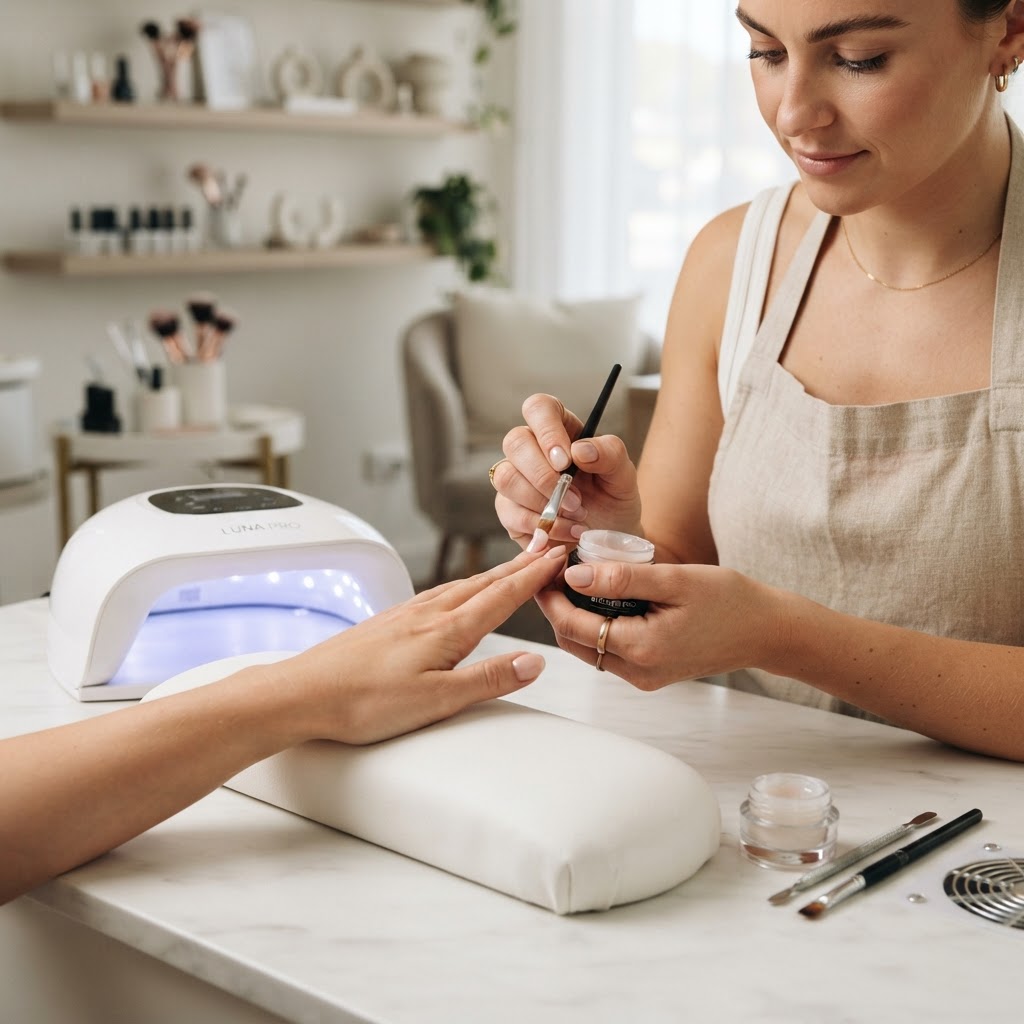
The Physics of Exothermic Reactions
When applying high-density builder gels, many technicians encounter the dreaded 'heat spike.' This sensation, while often dismissed as a temporary discomfort, is a chemical byproduct of rapid polymerization. In high-density formulas—which contain a higher concentration of oligomers—the transition from liquid to solid state happens with an intense, accelerated release of energy in the form of heat.
Why Heat Spikes Damage Nail Integrity
If the exothermic energy exceeds the natural threshold of the nail bed, it can cause micro-lifting at the proximal nail fold or even induce onycholysis. Furthermore, rapid curing creates 'polymerization stress,' where the molecules contract too quickly, leading to brittle enhancements that are prone to vertical cracking under tension.
The Three-Phase Thermal-Gradient Protocol
To neutralize the heat without compromising the structural density of the enhancement, you must master the thermal-gradient technique.
Join the newsletter
Get fresh nail tutorials, trends, and business tips straight to your inbox.
Optimizing Surface Area and Thickness
Temperature control isn't just about timing; it is about architecture.
* Vertical Application: Instead of one thick bead, apply your builder gel in two distinct horizontal 'floors.' Cure the structural foundation floor first before building the apex. This reduces the total volume of gel polymerizing at a single moment.
* Solvent-Free Precision: Ensure your application is thin near the cuticle zone. High-density gels generate heat proportional to their thickness; a thinner layer at the stress point acts as a thermal buffer between the heat-heavy apex and the sensitive cuticle skin.
Troubleshooting the 'Flash' Threshold
If a client is particularly sensitive, check your lamp’s wavelength output. Some high-intensity lamps peak at 365nm, which causes faster polymerization but higher heat. If you use a dual-wavelength lamp (365nm + 405nm), prioritize the 405nm setting for the bulk of the cure; it initiates polymerization more gradually, keeping the exothermic surge within a manageable range for the client's dermal layer.
By systematizing these protocols, you shift from a reactive state—waiting for the client to pull their hand out—to a proactive, engineered application that ensures both comfort and the longevity of the enhancement.
Join the newsletter
Get fresh nail tutorials, trends, and business tips straight to your inbox.
