
The 'Tapered-Transition' Protocol: Sculpting Ideal Side-Wall Geometry for Extension Longevity
Learn the precise filing angles and structural reinforcement techniques required to maintain lateral wall integrity in long-form nail extensions.
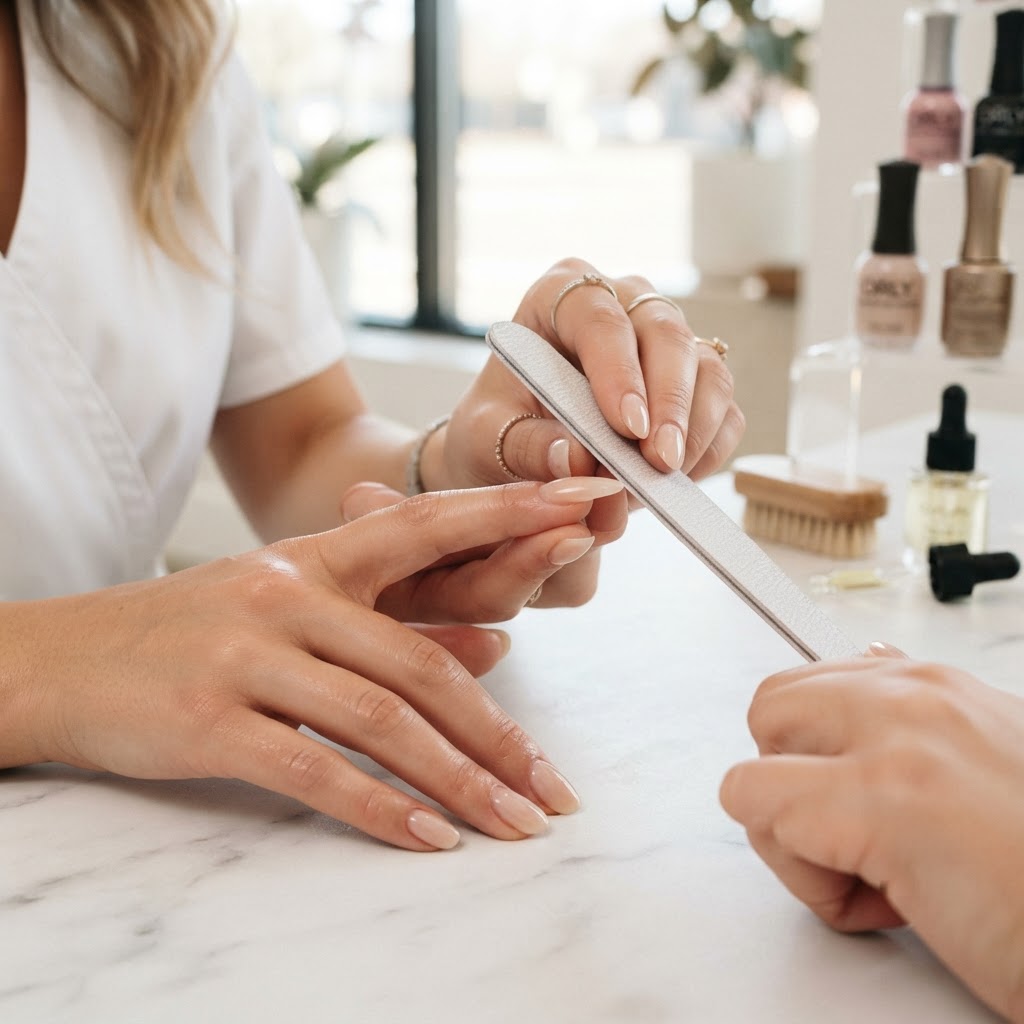
The Importance of Lateral Wall Geometry
The lateral sidewalls are the most vulnerable points of any nail extension. When clients experience side-wall cracking or 'winging'—where the extension loses its crisp, straight profile—it is almost always a failure of geometry, not just product quality. To achieve both aesthetic elegance and structural longevity, you must master the Tapered-Transition protocol.
Phase 1: The Filing Angle Calibration
When shaping long extensions, many technicians fall into the trap of filing toward the nail plate. This creates a weak 'v-gap' at the junction where the natural nail meets the product.
* The 15-Degree Rule: Always keep your file at a 15-degree angle outward, away from the skin. If you file perfectly flush to the nail wall, you risk thinning the product at the most critical stress point. By creating a microscopic 'shelf' of reinforcement, you provide the strength needed for the free edge to remain rigid.
* Visualizing the Taper: Imagine the nail as a bridge. The weight distribution should flow from the apex toward the sides without creating a 'bulk' look. Your goal is a smooth transition from the cuticle area to the distal side-walls that mimics the natural nail curve but with added depth.
Join the newsletter
Get fresh nail tutorials, trends, and business tips straight to your inbox.
Phase 2: Structural Loading for Lateral Integrity
Product placement is as important as filing technique. When working with hard gels or acrylics, you must ensure the 'bead' or 'drop' of product is distributed with surface tension in mind.
Phase 3: The Finishing Audit
Once the structure is cured, use a 180-grit file to perform the final refinement.
* Check the Parallelism: From the perspective of the client (looking down at their own hand), the side-walls should be perfectly parallel to the center line of the finger. If they flair outward, the extension will be prone to catching on clothing and lateral tension fractures.
* Rounding the Underside: Never leave a sharp 90-degree edge on the underside of the free edge. Use a fine-grit sanding band to soften this corner. A rounded underside is far more resistant to impact than a sharp, 'blocky' edge.
By prioritizing the Tapered-Transition protocol, you shift your work from decorative to architectural. This level of precision not only increases the durability of your extensions but also creates that signature clean profile that clients recognize as 'high-end' work.
Join the newsletter
Get fresh nail tutorials, trends, and business tips straight to your inbox.
