
The 'Tapered-Tension' Technique: Structural Geometry for High-Impact Stiletto Resilience
Master the structural physics of extreme-length stilettos by learning how to taper the lateral walls for maximum durability without compromising the aesthetic point.
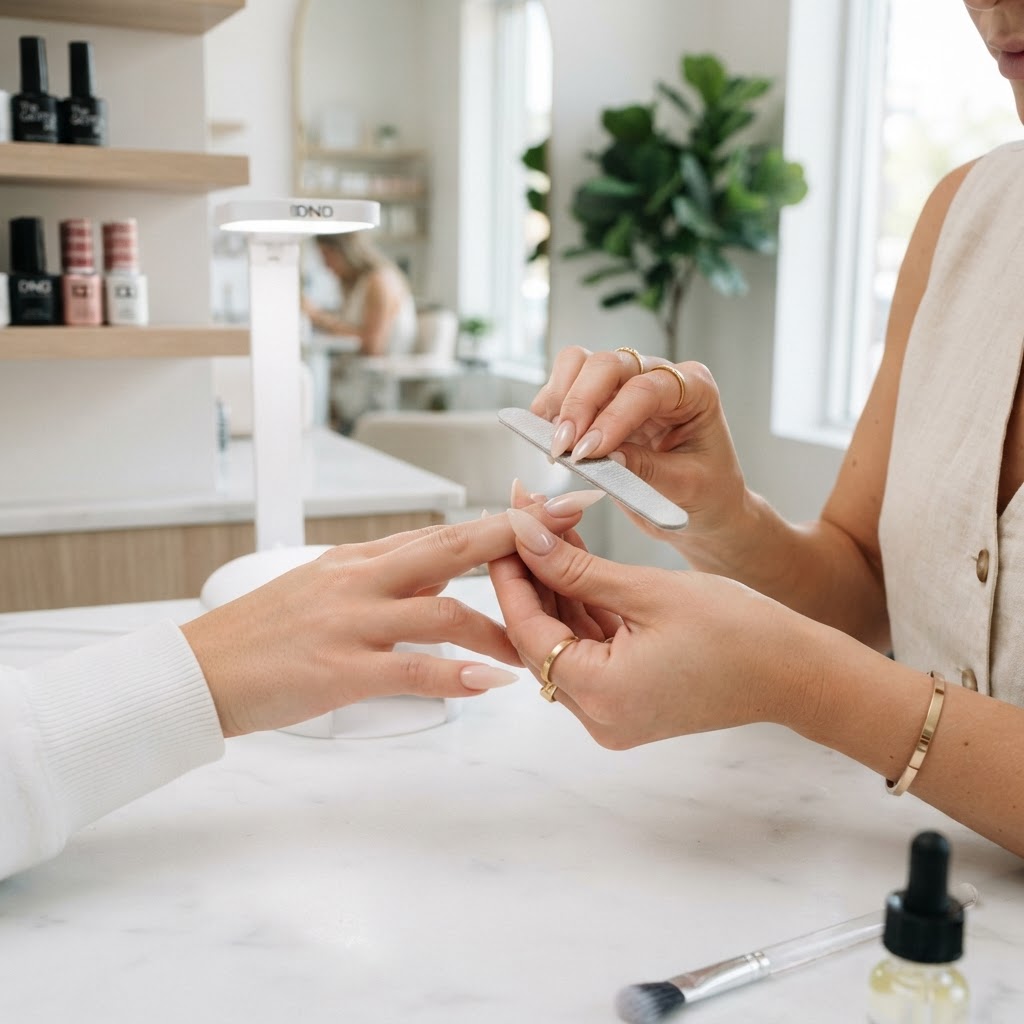
Understanding the Physics of the Stiletto
The stiletto is arguably the most demanding shape in professional nail artistry. Because the apex serves as the primary support beam, the transition from the stress zone to the free edge determines whether the set lasts four weeks or four days. The most common point of failure in long stiletto nails is not the tip itself, but the 'fracture line' that occurs mid-nail when the lateral walls become too thin or structurally misaligned.
The Lateral Wall Geometry
Many artists make the mistake of filing the lateral walls straight back from the cuticle to the tip too aggressively. This thins out the material where it needs to be strongest—the transition zone between the nail plate and the free edge. To solve this, you must adopt the 'Tapered-Tension' approach.
Execution: The Tapered-Tension Method
Join the newsletter
Get fresh nail tutorials, trends, and business tips straight to your inbox.
Step 1: The Scaffolding Foundation
Before applying your building medium, your form placement must reflect a slight downward tilt. If the form is too flat, you will be forced to over-file the top surface to achieve a sleek stiletto look, which weakens the apex. By using a slight downward tilt, the natural architecture of the extension requires less 'de-bulking' later.
Step 2: The Apex Lock
Apply your building gel in three distinct phases:
* Zone A (Cuticle): Keep the product thin to ensure a seamless flush-fit.
* Zone B (Apex): This is your structural core. Build a reinforced arch 1mm higher than you think you need.
* Zone C (Free Edge): As you transition toward the point, feather your brush to distribute the product into a tight, tapered needle shape.
Step 3: The Precision File-Down
Never use a coarse-grit file (80-100 grit) on the side walls. Instead, use a 180-grit zebra file held at a 45-degree angle. By 'rounding' the sides rather than flattening them, you create a structural cylinder that is significantly more resistant to 'snap' force than a flat-walled nail.
Troubleshooting Common Failures
* The Tip Snap: If your clients report the tips breaking off, you have likely over-filed the underside of the extension. Use a small carbide bit to refine the underside *before* final top-filing, so you can see exactly how much material remains.
* The Side-Wall Crack: This is almost always caused by 'over-pinning' the form. While pinching is vital for a deep C-curve, aggressive pinching can micro-fracture the product before it is fully cured. Cure for 10 seconds, then pinch, then finish the full cure cycle to ensure chemical structural integrity.
By prioritizing the geometry of the lateral walls over the superficial slimness of the point, you provide your clients with an extension that looks delicate but performs like a machine.
Join the newsletter
Get fresh nail tutorials, trends, and business tips straight to your inbox.
