
The Stress-Zone Calibration: Structural Arch Mapping for Active Lifestyle Clients
Learn the precise biomechanical adjustments needed to move the apex and reinforce stress zones for clients who frequently use their hands, preventing premature tip-fractures.
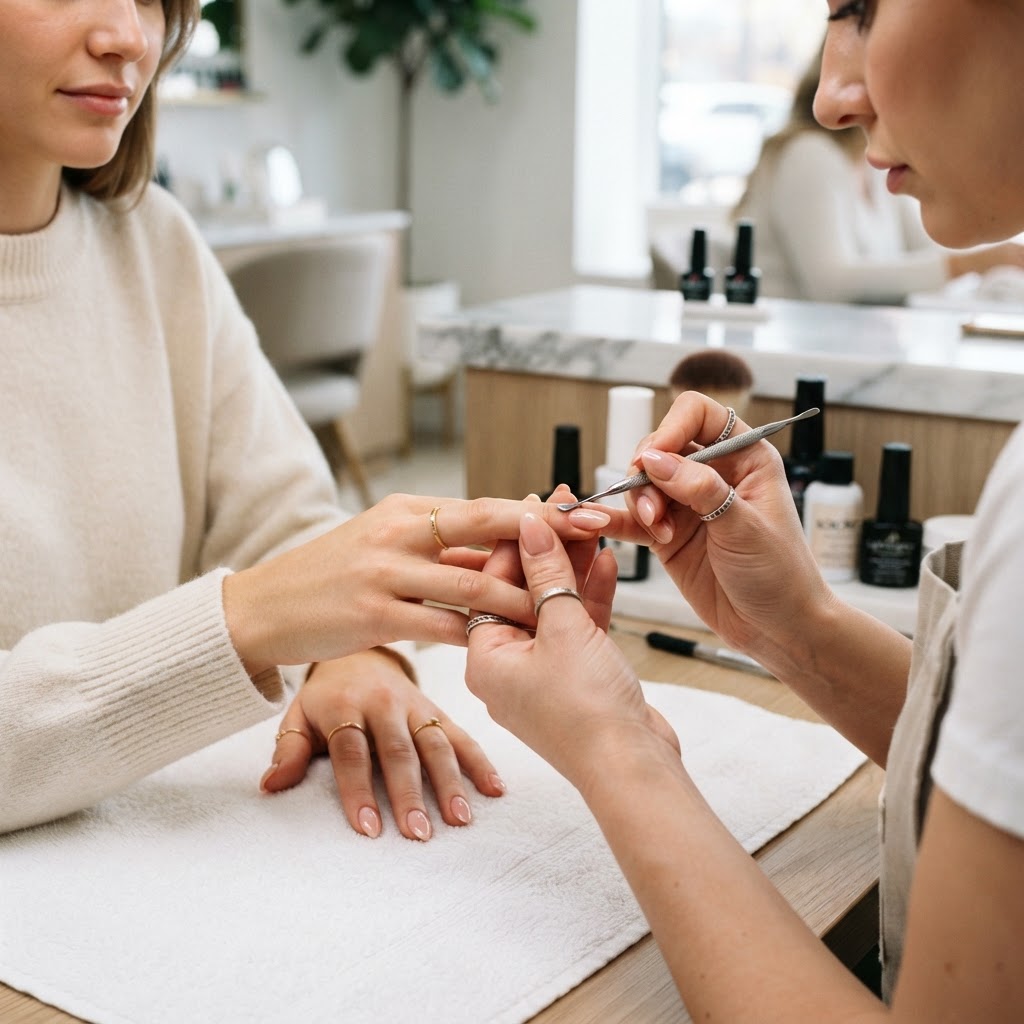
Understanding the Stress Zone
For the high-activity client—the dental hygienist, the keyboard warrior, or the DIY enthusiast—the standard 'middle-of-the-nail' apex is often insufficient. When a nail is subjected to repeated lateral or vertical force, the structural failure usually occurs at the 'stress zone,' the area between the free edge and the natural apex of the nail plate. To prevent cracks, you must shift from a 'cosmetic arch' to a 'structural arch.'
Step 1: Biomechanical Assessment
Before applying product, observe the client's natural nail behavior. Does the nail bed slope upward (ski-jump) or downward (hooked)? For clients with flat nail beds, the natural architecture provides zero shock absorption. You must artificially manufacture a deeper C-curve to create a rigid beam structure that resists bending under pressure.
Step 2: The Apex Shift
Most artists place the apex at 50% of the nail length. For high-stress clients, move the apex back to 40% (closer to the proximal fold). This creates a cantilever effect. By concentrating the bulk of the product reinforcement closer to the nail bed where the plate is thickest, you provide a stronger 'anchor' for the extension, distributing kinetic energy away from the fragile free edge.
Join the newsletter
Get fresh nail tutorials, trends, and business tips straight to your inbox.
Step 3: Lateral Wall Reinforcement
Many technicians thin out the lateral walls to achieve a 'slim' look. This is the primary cause of side-wall cracking. Instead of filing the sides into a knife-edge:
* Maintain Thickness: Keep the sidewalls at a consistent thickness of at least 0.8mm for the first 3mm of the free edge.
* Transition Geometry: Use a structured gel that offers a slight bit of flexibility (low-viscosity base layer, high-viscosity builder) to ensure the product moves with the nail rather than snapping against it.
Step 4: The 'Gusset' Technique for Extreme Lengths
For clients asking for lengths exceeding 2cm, you must treat the nail as a bridge. The 'Gusset' technique involves adding a micro-drop of high-viscosity sculpting gel specifically at the point where the sidewalls meet the free edge. This acts as a support strut, effectively preventing the 'snap' that occurs when a long nail hits a hard surface.
Maintaining Flexibility vs. Rigidity
It is a common misconception that harder, more rigid products are better for active clients. In reality, a completely rigid product will shatter upon impact. You want a product with a 'memory'—a semi-flexible builder gel that absorbs vibration. If your client reports persistent lifting, reduce the thickness of the apex and increase the flexibility of your base coat adhesive layer to allow for natural plate expansion during hand washing or heat exposure.
By adjusting your mapping to account for the client's daily movement patterns, you transform from a nail tech into a structural designer, drastically increasing your retention rates.
Join the newsletter
Get fresh nail tutorials, trends, and business tips straight to your inbox.
