
The 'Specular-Void' Technique: Mastering High-Contrast Negative Space Designs
Learn how to use precision-masking and inverse-layering to create hyper-defined negative space nail art that defies traditional stencil limitations.
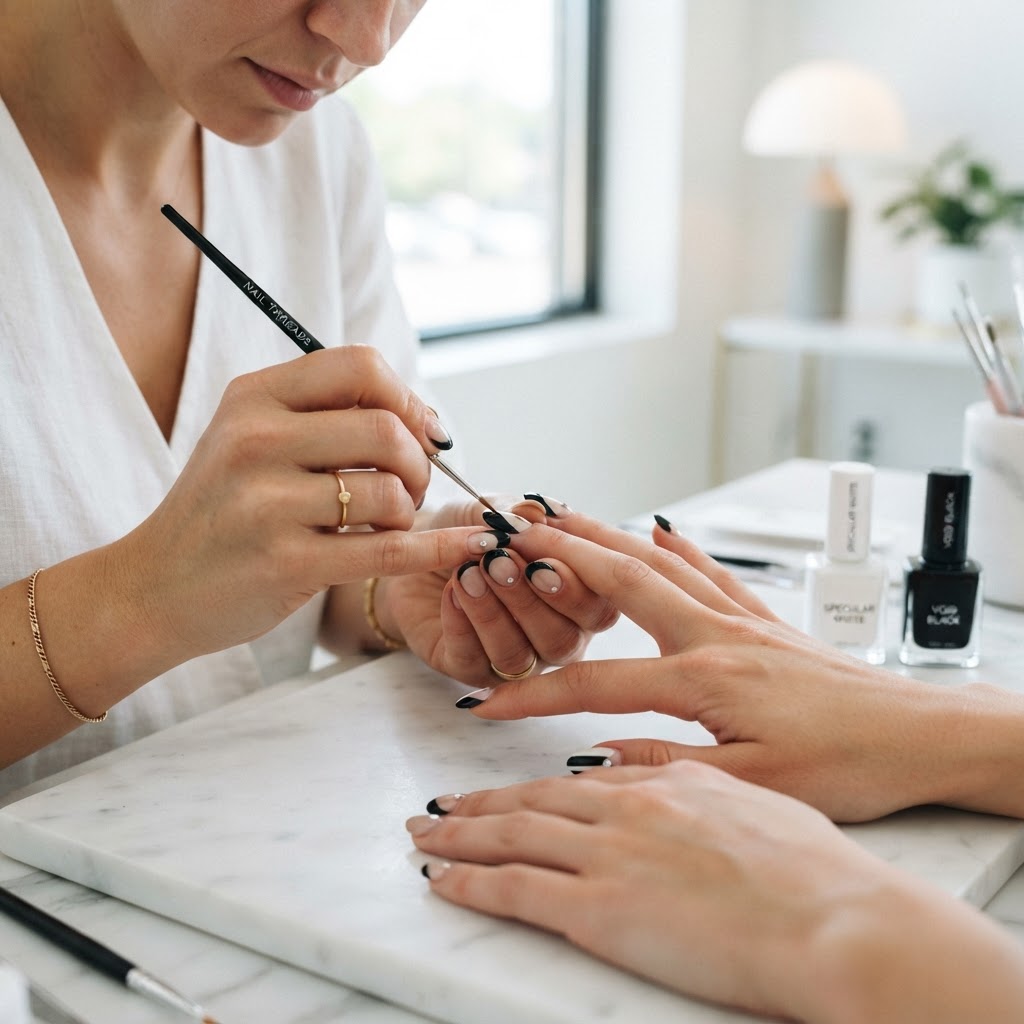
The Art of the Specular-Void
In modern nail artistry, 'negative space' has evolved from simple gaps to complex, architectural features. However, many technicians struggle with 'bleeding' lines or uneven edges when using traditional freehand techniques. The 'Specular-Void' technique relies on an inverse-layering protocol that prioritizes geometry over artistic improvisation, ensuring every transition between lacquer and nail plate is razor-sharp.
The Preparation Phase: Surface Tension Control
Negative space is unforgiving. Any oil residue or surface unevenness will act as a capillary bridge for your gel, causing the design to smudge before it enters the lamp.
The Inverse-Layering Protocol
Join the newsletter
Get fresh nail tutorials, trends, and business tips straight to your inbox.
Rather than painting the design directly, the Specular-Void technique utilizes a 'blocking' method.
* Step 1: The Boundary Map: Use a fine-liner brush (preferably 7mm or 9mm) dipped in a high-viscosity, non-leveling white or black gel. Draw only the outline of your negative space.
* Step 2: The Flash-Cure Lock: Flash cure for exactly 5 seconds. This 'locks' the boundary without fully polymerizing the product, allowing for seamless blending later.
* Step 3: The Internal Flood: Fill the areas *outside* the boundary. Because the boundary is already locked, the gel will naturally hit the barrier and stop, creating an artificially sharp 'cliff' edge.
Achieving Geometric Precision
To ensure your lines remain crisp, you must account for the natural curvature of the nail plate. Use the 'Triangulation Method':
* Anchor your pinky on the client’s hand to create a stable tripod.
* Do not drag the brush; 'push' the bead of gel toward the boundary line. Pushing creates a thicker, more defined edge, whereas dragging often results in a thin, translucent streak that ruins the 'void' aesthetic.
Troubleshooting Common Failures
By treating negative space as an architectural element rather than a lack of color, you move from simple nail painting to high-end design. The Specular-Void technique ensures that the focus remains on the contrast, turning every manicure into a structured, editorial-ready masterpiece.
Join the newsletter
Get fresh nail tutorials, trends, and business tips straight to your inbox.
