
The 'Silica-Core' Stabilization: Engineering Structural Resilience in Thin Natural Nails
Learn the advanced mechanical layering technique used to fortify fragile, thin natural nails without adding excessive bulk or compromising the nail plate's flexibility.
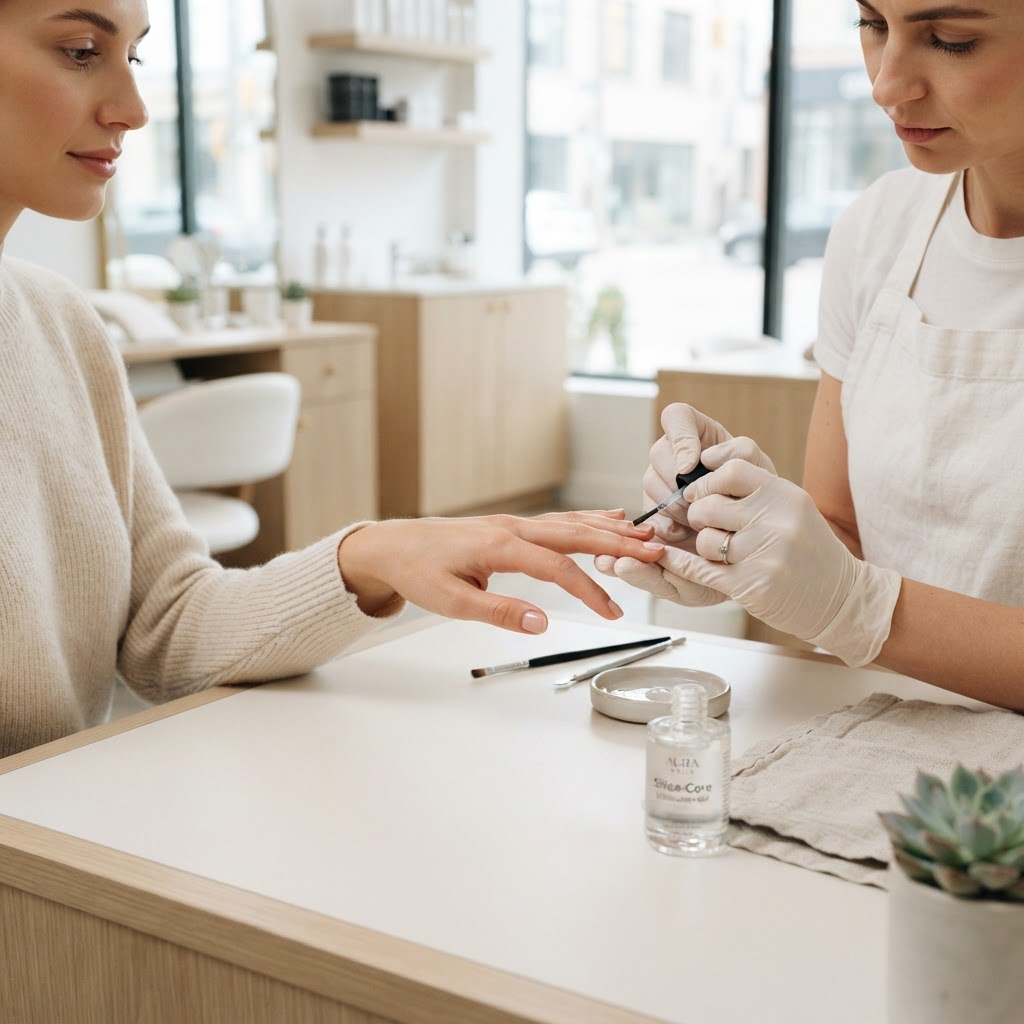
The Challenge of Thin Plate Architecture
For clients with thin, flexible, or peeling natural nails, traditional gel overlays often succumb to premature lifting or apex fracturing. The issue is rarely the quality of the product but rather the mismatch between the product's rigidity and the nail plate's natural movement. To achieve long-term retention, we must move away from 'one-size-fits-all' thickness and move toward the 'Silica-Core' Stabilization method.
The Mechanics of Flexibility
When a natural nail is thin, it acts as a cantilever beam. If you apply a rigid, high-viscosity structure over it, the natural nail flexes under daily use while the overlay remains static. This creates shear stress at the stress point (the transition between the nail bed and free edge), leading to micro-cracks. The Silica-Core method uses a fiber-infused base layer that acts as a shock-absorber, bridging the gap between the plate and the builder gel.
The Three-Phase Application Protocol
Join the newsletter
Get fresh nail tutorials, trends, and business tips straight to your inbox.
1. Mechanical De-Greasing and Priming
Begin by gently removing the surface oils with a 240-grit buffer. For thin nails, avoid aggressive etching. Apply a non-acid primer specifically to the free edge and the proximal nail fold only. Over-priming the entire plate can cause unnecessary dehydration, which makes thin nails even more brittle.
2. The Silica-Infused Anchor Layer
Apply a thin, scrubbed-in layer of a fiber-infused base gel. This layer contains microscopic fiberglass or silica strands that interlock with the natural nail's keratin layers. Cure for a full 60 seconds. This layer should be almost translucent; its job is not to provide height, but to provide the 'anchor' that will hold the structural gel in place.
3. Apex-Biomimicry
Instead of centering the apex in the middle of the nail, shift your structural volume 1mm closer to the cuticle area. This distributes the weight of the enhancement toward the center of the nail bed, which is the most reinforced part of the finger. By thinning the product out as you reach the distal edge (the tip), you minimize the leverage that causes 'pop-offs'.
Troubleshooting Common Failures
* The 'Pinch' Penalty: Never aggressively pinch thin, flexible nails during the cure. Because the plate is thin, extreme pinching can create an unnatural curvature that induces discomfort and weakens the nail's bond to the bed.
* Product Migration: If your overlay keeps moving toward the side walls before it cures, you are likely working with too much volume. Perform a 'flash-cure' for 5-10 seconds on each nail individually to lock the apex in place before doing a full-hand cure.
Maintenance and Removal
Maintenance is critical for this client profile. Because the natural nail is thin, the regrowth transition will be more pronounced. Schedule these clients for 're-balances' every 2-3 weeks. During the re-balance, you must file away at least 70% of the old product to ensure you aren't building 'layers of failure' over time. By keeping the interface fresh, you maintain the structural integrity of the Silica-Core and prevent the enhancement from becoming too heavy for the thin natural plate to support.
Join the newsletter
Get fresh nail tutorials, trends, and business tips straight to your inbox.