
The 'Shadow-Depth' Layering Protocol: Mastering 3D Gel Encapsulation for Editorial Realism
Learn the technical hierarchy of 3D gel layering to create hyper-realistic depth and dimension that stays within structural limits for long-wear applications.
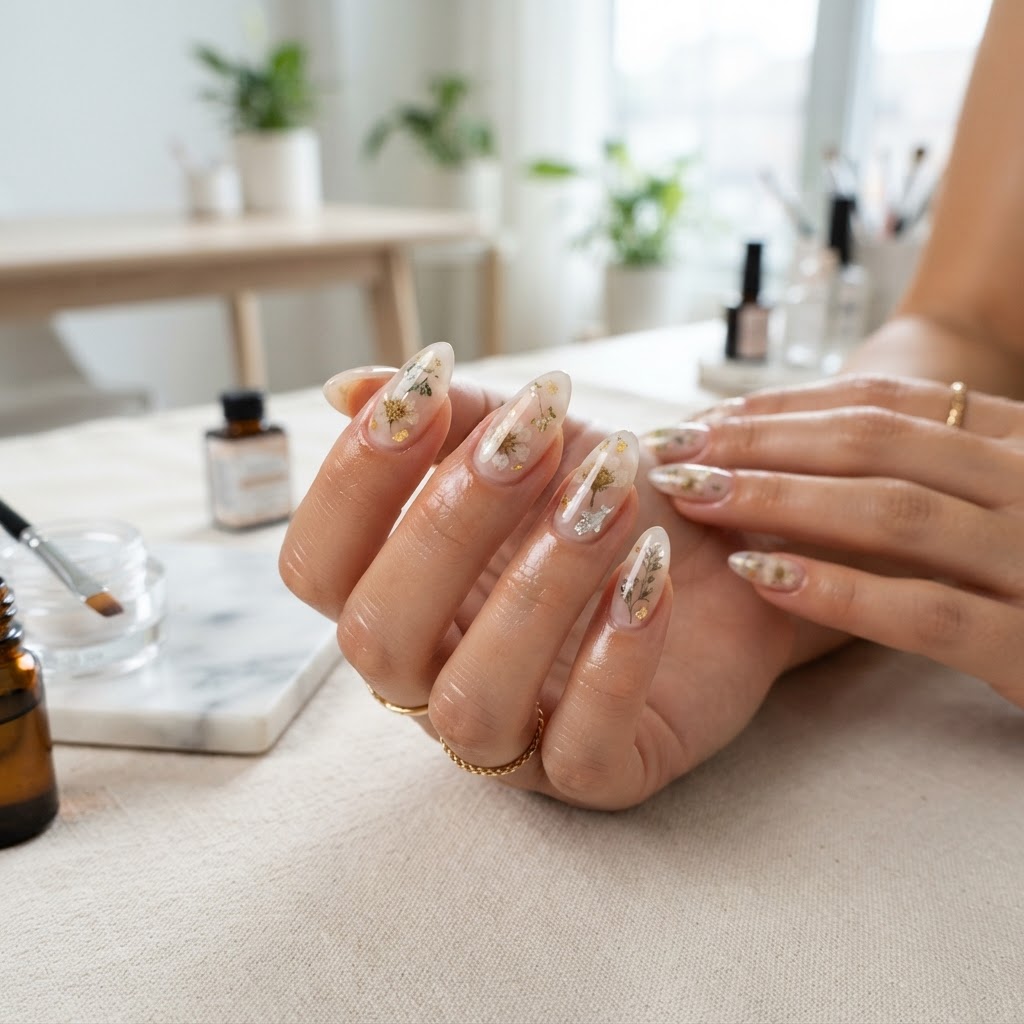
The Architecture of Illusion
In high-end editorial nail artistry, the difference between a 'flat' design and a 'luminous' design lies in the Shadow-Depth Layering Protocol. Most artists approach 3D relief by applying pigment or charms directly to the surface, but this destroys the illusion of depth. To achieve a professional, gallery-quality finish, you must build the design from the inside out using a refractive hierarchy.
The Three-Tier Depth Framework
To master this technique, categorize your application into three distinct layers:
Join the newsletter
Get fresh nail tutorials, trends, and business tips straight to your inbox.
Technical Execution: The Curing Sequence
Precision is non-negotiable. If you over-cure your base layers, you lose the ability to 'tack-in' your 3D elements for a seamless bond. Follow this precise curing cadence:
* Flash-cure (10 seconds): Only after the initial sculptural placement to lock in the shape.
* Structural Cure (60 seconds): Applied after the encapsulation of the mid-tone elements.
* The Final Refractive Seal: Use a specialized non-wipe topcoat that is formulated for high-glass shine. Avoid matte topcoats in the initial layers, as they absorb light and effectively kill the depth you've worked so hard to build.
Business Implications for the Editorial Artist
Why does this matter for your bottom line? Because editorial-grade art commands a premium. When you shift your process from 'placing' to 'engineering' designs, you transition from a technician to a bespoke artist. Use this protocol to create a portfolio of 'Macro-Detail' shots. These high-definition, high-depth images perform significantly better on social platforms and serve as visual proof of your advanced technical training. By marketing your work as 'Engineered 3D Architecture' rather than simple '3D Art,' you justify higher service tiers and attract a clientele that values artistic precision over commodity-priced manicures.
Join the newsletter
Get fresh nail tutorials, trends, and business tips straight to your inbox.