
The 'Shadow-Depth' Contouring Method: Enhancing Nail Bed Elongation through Optical Illusion
Learn how to use strategic pigment placement and shadow-blending to visually correct nail bed morphology and create a bespoke, elongated aesthetic for short or wide nail plates.
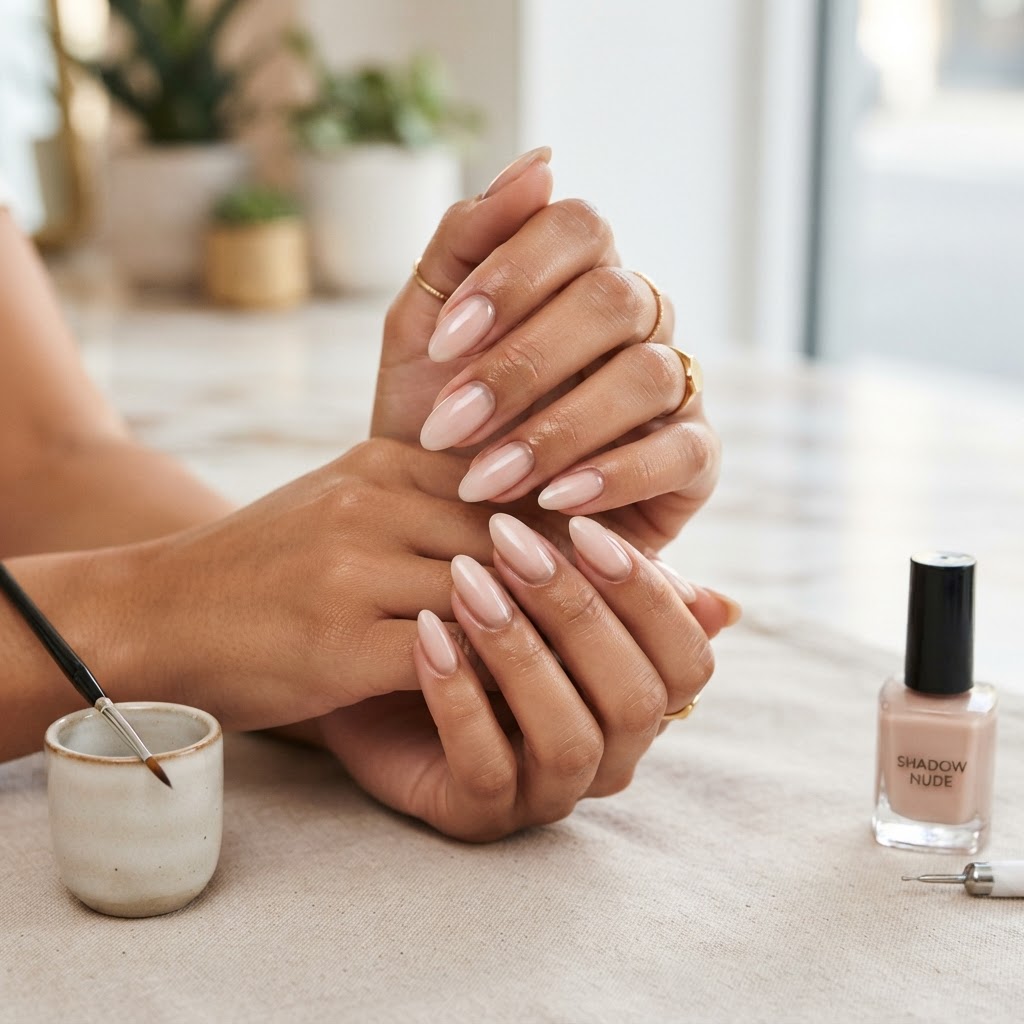
The Architecture of Perception
As nail artists, we often work with diverse nail morphologies that don't always align with the 'ideal' long, narrow nail bed. While structural sculpting (like hard gel or acrylic extensions) is a physical solution, many clients prefer natural-nail services. The 'Shadow-Depth' Contouring Method is a non-invasive, visual technique designed to manipulate light and perspective, effectively 'slimming' the appearance of a wide or short nail plate using only color and placement theory.
The Principles of Optical Elongation
To create the illusion of a longer, more slender finger, we must borrow concepts from fine art portraiture and makeup contouring. We are essentially creating a 'focal center' that draws the eye upward, away from the lateral sidewalls.
Step-by-Step Execution: The Shadow-Depth Protocol
Join the newsletter
Get fresh nail tutorials, trends, and business tips straight to your inbox.
1. The Neutral Foundation
Start with a base gel that perfectly matches the client's natural nail bed undertone (Cool/Pink vs. Warm/Peach). This serves as your 'canvas'. If the base tone is off, the contouring will look like a messy growth-out rather than a refined style.
2. The Central Stripe
Apply your primary, bolder color in a clean, vertical stripe down the center third of the nail. Do not reach all the way to the sidewalls. Use a liner brush rather than the bottle brush for total control. You are aiming for a 'pillar' of color that directs the viewer's eye along the vertical axis of the finger.
3. The Shadow Blend
Using a semi-sheer or 'jelly' version of your primary color, gently transition the edge of that center stripe toward the sidewalls. The goal is a soft, diffused gradient. The darkest color remains in the center, while the transparency increases toward the skin. This creates a convex look, tricking the eye into believing the center of the nail is 'higher' than the edges.
4. Precision Top-Coat Sealing
High-gloss top coats are essential here. A high-shine finish acts as a convex lens. By ensuring your apex is perfectly balanced, the light will hit that central vertical stripe, maximizing the perceived depth of the nail color and reinforcing the illusion of length.
Business Integration: Why This Matters
Offering 'Custom Morphology Correction' as a value-add service allows you to charge a premium for standard manicures. When you explain to a client that you are using 'optical contouring' to complement their finger shape, you move from being a 'service provider' to an 'image consultant.'
* Upselling Tip: Market this as the 'Bespoke Nude' or 'Sculpted Manicure' service. Clients are often frustrated by how standard colors look on their 'wide' nails. By positioning this technique as a solution to a common insecurity, you increase client loyalty and perceived expertise.
* Consistency Check: Ensure your lighting is consistent during the process. If your desk lamp is casting shadows in the wrong direction, you may inadvertently darken the sidewalls in an uneven way. Always have the client pull their hand back from the light source periodically to see how the color behaves in neutral, ambient light.
Join the newsletter
Get fresh nail tutorials, trends, and business tips straight to your inbox.