
NailRush Live
Style6 min readby NailRush Live Team2 views

The 'Saturation-Gradient' Technique: Achieving Seamless Ombré Transitions

Master the precise color-blending methodology required to eliminate harsh transition lines in multi-tonal gel gradients for a high-end, diffused finish.
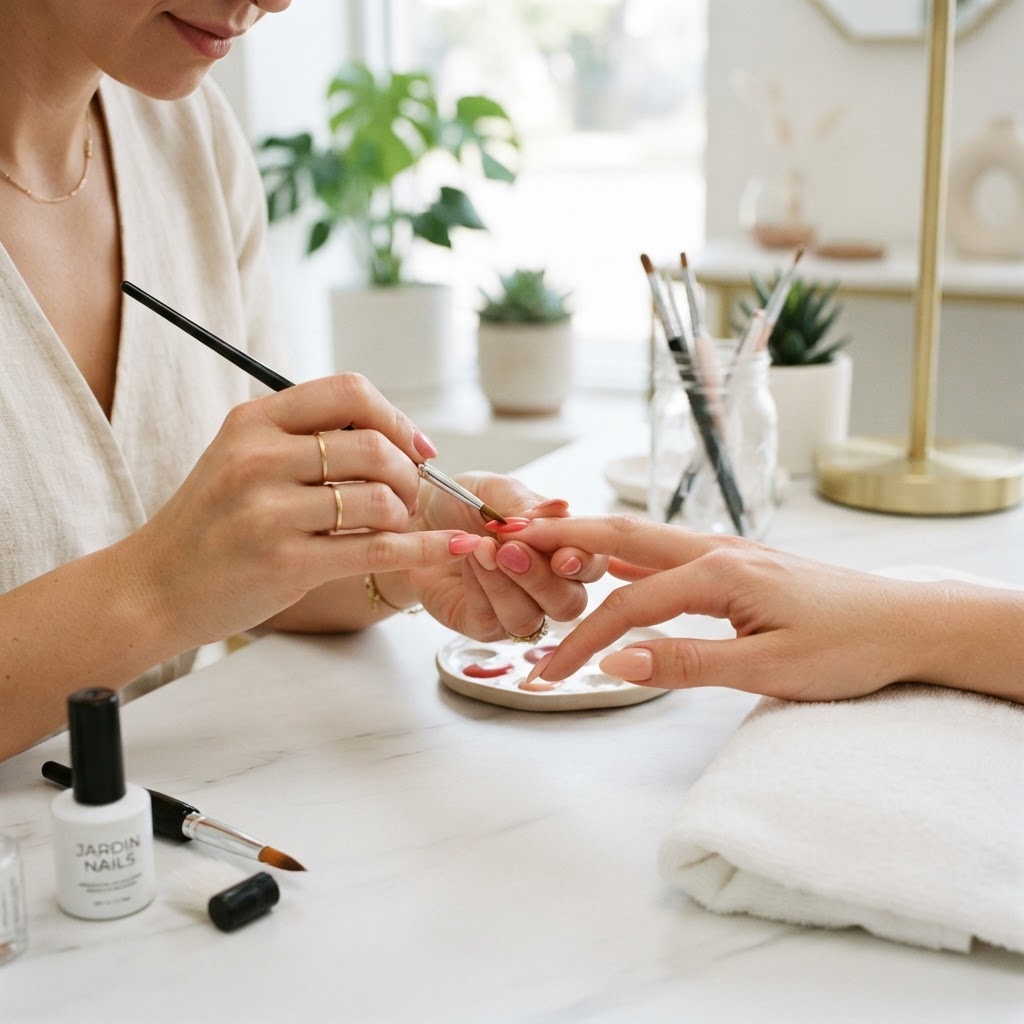
The 'Saturation-Gradient' Technique: Achieving Seamless Ombré Transitions

The Science of Soft Transitions

In the realm of high-end nail artistry, the ombré remains a staple of elegance, yet it is often plagued by 'stair-stepping'—the visible lines where two colors fail to harmonize. Achieving a professional-grade gradient requires more than just a soft brush; it demands an understanding of product viscosity and the 'Saturation-Gradient' technique. By manipulating the volume of pigment through controlled pressure, you can achieve a seamless transition that looks airbrushed.

Equipment Calibration

Before initiating the gradient, you must standardize your tools. Avoid synthetic brushes that are too rigid, as they tend to displace rather than blend the product. Instead, opt for a high-quality, long-bristle ombre brush with a soft flex. Ensure your gel polishes are of similar viscosity; blending a highly pigmented, thick gel with a sheer, runny base will inevitably lead to patchy coverage.

Step-by-Step Execution

Join the newsletter

Get fresh nail tutorials, trends, and business tips straight to your inbox.

  • Base Preparation: Apply your base color and cure. This creates a uniform foundation. If you are creating a sheer gradient on a nude base, ensure your base layer is completely dry to prevent 'bleeding' into the underlying structure.
  • The 60/40 Placement: Apply color 'A' to the proximal cuticle area and color 'B' to the free edge, leaving a deliberate 20% gap in the center. This empty space is your 'mixing zone' where you will perform the bulk of the blending.
  • The Pulsing Motion: Using a light, rapid tapping motion rather than long strokes, pull the edges of color 'A' down toward the center. Repeat this with color 'B' pulling upward. The 'pulsing' action keeps the pigment suspended in the gel medium, preventing the streaks caused by dragging.
  • The Feather-Finish: Once the colors meet, use the very tip of your brush to lightly 'flick' the interface of the two colors. This microscopic cross-blending softens the transition line significantly.
  • The Flash-Cure Rule: Perform a 10-second flash cure before moving to the next nail. This 'locks' the gradient in place and prevents the colors from continuing to settle and shift while you work on the rest of the hand.
  • Managing Pigment Density

    If you find your transition is still appearing muddy, you are likely over-working the product. The goal is to move the gel, not mix it into a new color. If the transition remains stubborn, incorporate a clear builder gel or a top-coat drop into the mixing zone. This reduces the pigment concentration, creating a 'sheer-out' effect that masks any minor imperfections in the blend.

    Troubleshooting Common Issues

  • Micro-Bubbles: If you see tiny bubbles in your gradient, your tapping motion is too forceful. Reduce pressure by 50%.
  • Lifting at the Apex: Because ombré often requires multiple thin layers, the center of the nail can become too thick. Ensure you are 'thinning out' your layers as you move toward the sidewalls to maintain structural integrity without adding unnecessary bulk.
  • Color Contamination: Always wipe your brush on a lint-free pad dampened with minimal cleanser between each tapping motion. A clean brush is essential for a crisp gradient; a saturated brush will only push unwanted pigment across the nail plate.
  • Learn More on NailRush

    Watch tutorials, shop products, and connect with nail artists worldwide.

    Join the newsletter

    Get fresh nail tutorials, trends, and business tips straight to your inbox.