
The 'Refractive Silhouette' Technique: Achieving High-Definition Depth in Encapsulated Nail Art
Learn the precise physical layering method to create immersive 3D depth in encapsulated nail art without compromising structural integrity or adding unnecessary bulk.
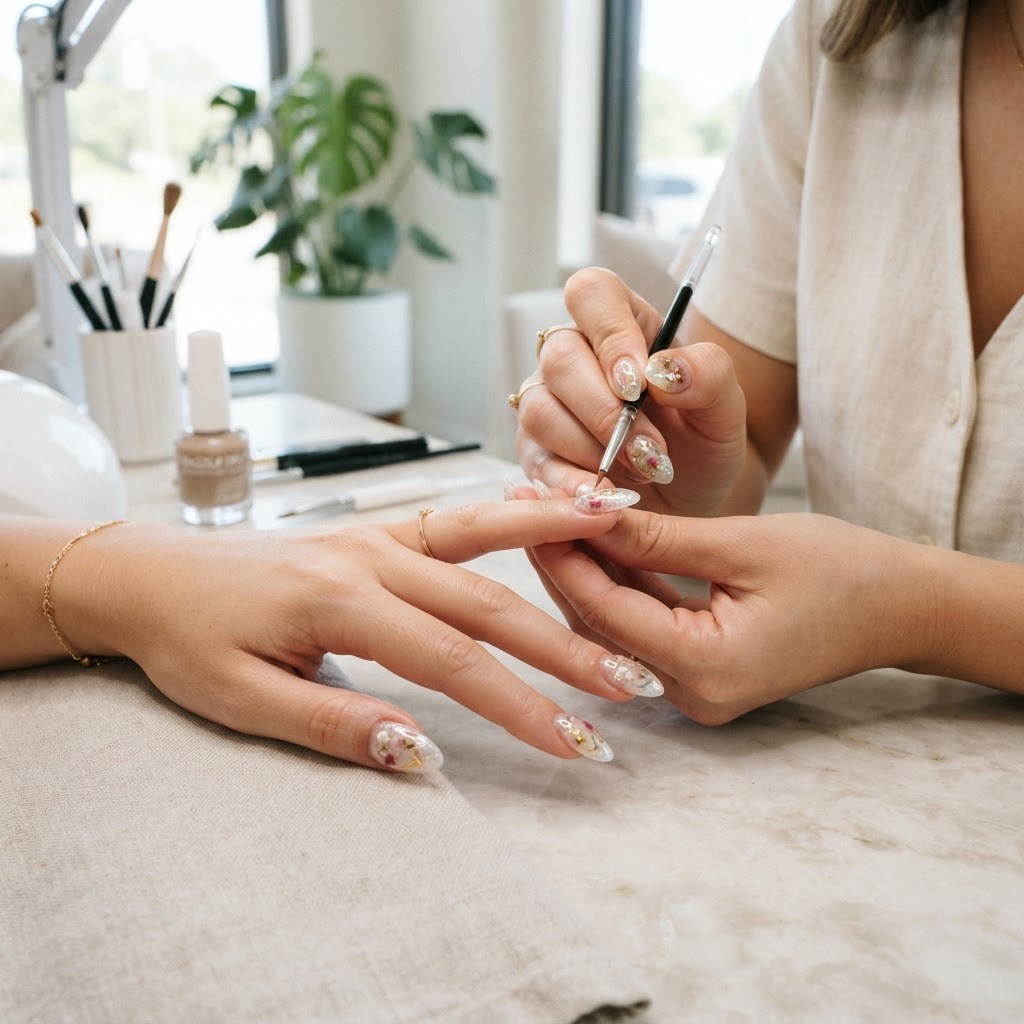
Mastering the Refractive Silhouette: A Technical Approach to Depth
For the high-end nail artist, the challenge of encapsulation is rarely about the design itself, but rather the 'cloudiness' or flatness that occurs when layers are buried under thick caps of builder gel. The 'Refractive Silhouette' technique is a structural approach that treats your nail enhancement as an optical lens, using light-refractive properties to create the illusion of infinite depth while maintaining a sharp, sophisticated profile.
The Physics of the 'Double-Clear' Barrier
The most common failure in encapsulation is the 'milky finish,' caused by trapped micro-bubbles and inconsistent refractive indices between layers. To fix this, you must adopt the Double-Clear Barrier method:
Join the newsletter
Get fresh nail tutorials, trends, and business tips straight to your inbox.
Mapping the 'Depth Zones'
Not all design elements should sit at the same height. To create a true 3D aesthetic, categorize your materials into three specific depth zones:
* The Foundation Layer (Zone 1): Use high-pigment, flat elements like thin foils or laser-cut holograms. These sit closest to the nail bed and provide the 'backlight' for the design.
* The Suspended Layer (Zone 2): Utilize lightweight materials like iridescent flakes or thin Mylar. By suspending these in a layer of clear builder gel, you create a soft focus effect that gives the illusion of distance.
* The Silhouette Anchor (Zone 3): This is the final layer before your structural apex. Use larger, more defined elements—like small charms or metallic linework—that sit closest to the surface. These provide the 'focus point' that the eye naturally gravitates toward, grounding the entire design.
Structural Geometry for Encapsulation
Many artists struggle with the 'bulk' that comes with excessive layering. To prevent the nail from looking like a 'bubble,' implement the 'Apex-First' encapsulation strategy:
* Cure in Stages: Never encapsulate in one massive bead of gel. Apply clear gel in thin, incremental layers, curing for 10 seconds between each to ensure complete polymerization without the excessive heat spikes that come with thick applications.
* The Perimeter Cutback: Before your final top coat, perform a precise cutback of the side walls. Because you have built the design in layers, the edges of your gel might appear slightly jagged or wider than intended. Use a 180-grit file to bevel the sides at a 45-degree angle, creating a sharp, vertical silhouette that masks the thickness of your interior layers.
Practical Application: The 3-Layer Rule
To ensure durability, never exceed three layers of encapsulated materials. Over-loading the nail with charms or heavy glitter causes 'shadow drift,' where the light is blocked by the top-most layers, rendering your careful foundation work invisible. If you want to include more complex elements, use the 'Negative Space Windowing' technique—leaving small, clear sections within the design that allow light to pass through the entire enhancement, acting as a window into the depth of your art.
Join the newsletter
Get fresh nail tutorials, trends, and business tips straight to your inbox.
