
The 'Refractive-Layering' Technique: Engineering Dimensional Depth in Encapsulated Nail Art
Master the physics of light refraction by utilizing semi-sheer pigment suspension to create depth in encapsulated designs, ensuring your nail art looks professional rather than cluttered.
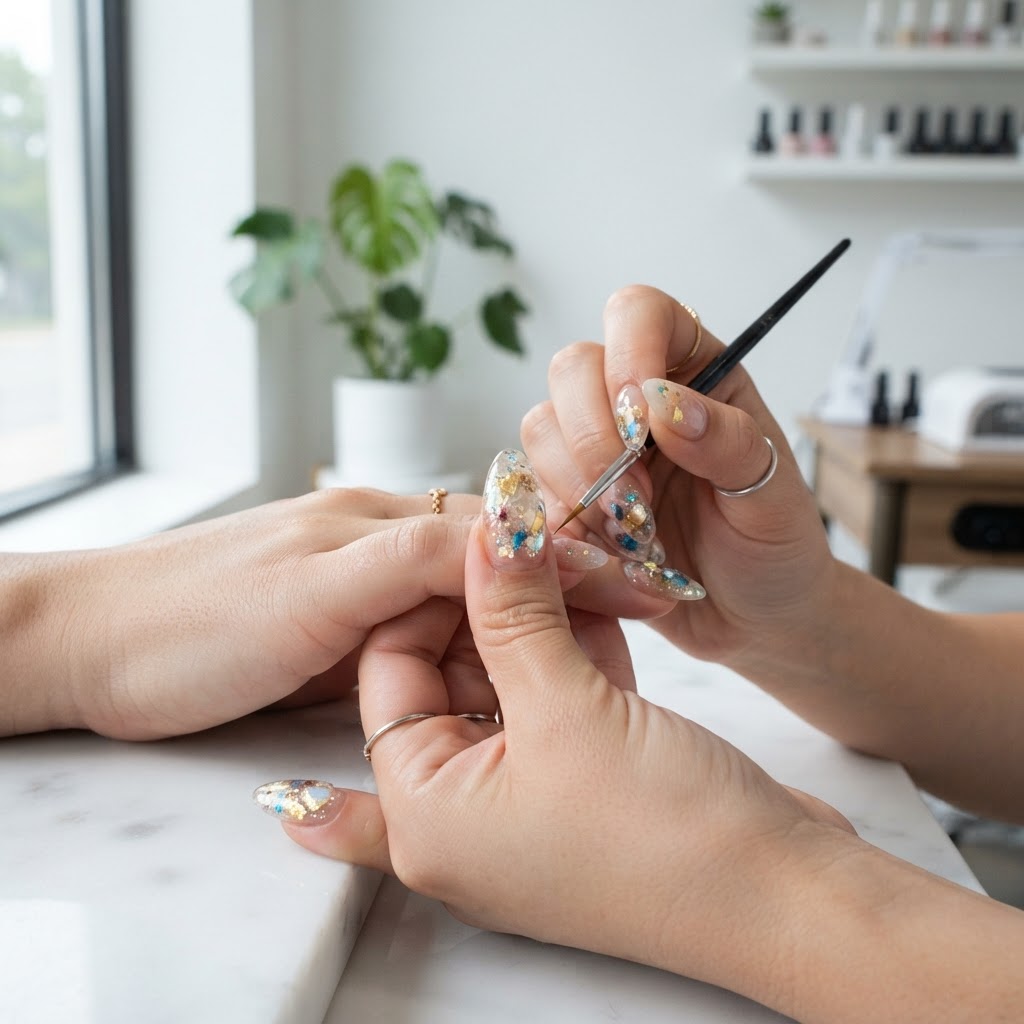
The Architecture of Depth
Many nail artists struggle with 'visual noise' in encapsulated art—the feeling that designs appear flat or cluttered despite adding multiple elements. The 'Refractive-Layering' technique treats the nail extension as a series of optical planes rather than a simple container for glitter or dried flowers. By manipulating the refractive index of your clear builder gel and layering semi-sheer pigments, you can create a '3D-gaze' effect that draws the eye into the structure of the nail.
The Physics of the Refractive Layer
When we encapsulate, we often trap light at the surface. To achieve professional depth, you must place your most vibrant, high-contrast elements deep within the structural apex, while keeping the surface layers intentionally muted.
Join the newsletter
Get fresh nail tutorials, trends, and business tips straight to your inbox.
Step-by-Step: The Three-Plane Execution
* Plane 1 (Structural): Apply your base shade. Ensure the surface is leveled but keep it thin to allow for subsequent depth.
* Plane 2 (The Focal Layer): This is where you place your complex art. If using dried flowers or heavy textures, place them precisely at the center of the nail bed, avoiding the side walls to prevent excessive filing later.
* Plane 3 (The Clarity Layer): Encapsulate with a crystal-clear, self-leveling builder gel. To maximize the 'depth' effect, use a lamp with a wide-spectrum output to ensure the product cures without creating internal stress-fractures, which look like white, cloudy webbing in your final design.
Troubleshooting Clarity Issues
* Internal Clouding: Usually caused by trapped air or using a gel with too high of a particulate load in the final layer. If your art looks 'muddy,' you have over-encapsulated. Always prioritize a 'clear-to-pigment' ratio of 3:1 in your final encapsulation layer.
* Loss of Apex: When doing heavy encapsulation, artists often lose the architectural apex due to the bulk of the art. Use a 'build-and-wait' method: apply the clear gel, turn the hand upside down for 5 seconds to let the product pull to the center-apex, and then flash-cure.
By controlling the amount of pigment light has to travel through, you turn a standard manicure into a sophisticated, dimensional piece of art that looks different from every angle.
Join the newsletter
Get fresh nail tutorials, trends, and business tips straight to your inbox.