
The 'Refractive Index' Strategy: Managing Light-Cure Sensitivity in High-Pigment Gel Systems
Discover how to calibrate your UV/LED lamp exposure and base-layer opacity to eliminate incomplete polymerization in highly-pigmented gel polishes.
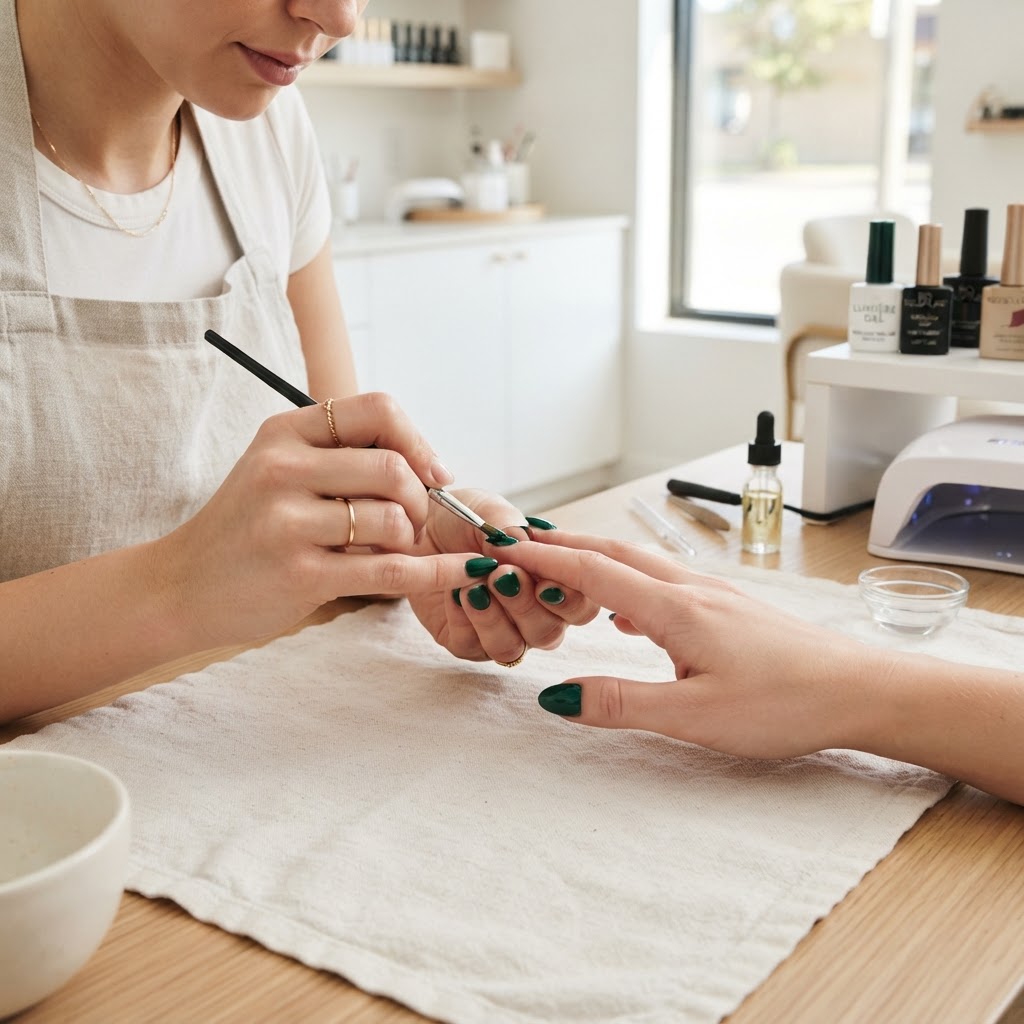
The Core Problem: Why Your 'Deep Color' Gels Keep Peeling
Many nail technicians struggle with premature lifting or gummy, uncured layers specifically when using high-pigment or deep-tone gel polishes. The culprit is rarely the brand itself; it is the physical interaction between pigment density and light penetration. High-pigment gels contain titanium dioxide or heavy concentrations of iron oxides that act as a light-shield, physically preventing UV rays from reaching the bottom layers of the product.
Understanding the Refractive Index and Light-Block
When you apply a thick coat of a high-pigment gel, you are essentially creating a light-blocking wall. If the lamp intensity or exposure time is calculated for standard sheer polishes, the light will hit the surface, hit the pigment particles, and refract away before the photo-initiators at the natural nail plate level are activated. This results in 'under-curing,' which is the leading cause of contact dermatitis and service breakdown.
The Three-Step 'Layer-Thinning' Protocol
To combat this without sacrificing saturation, follow this specific structural adjustment:
1. The 'Scaffold' Base Layer
Join the newsletter
Get fresh nail tutorials, trends, and business tips straight to your inbox.
Never apply a high-pigment color directly to a dry, structured nail if you are prone to peeling. Ensure your base layer (or builder gel) is fully cured. If the surface is too smooth, apply a microscopic 'tack' layer of a clear, low-viscosity base. This creates a bridge that anchors the pigment without requiring an excessively thick first layer of color.
2. The 50/50 Coverage Rule
Stop trying to achieve full opacity in one coat. You must apply two 'float' layers rather than one 'press' layer.
* Layer One: A thin, semi-transparent wash. Do not worry if it looks streaky. Cure for the full manufacturer-recommended time. This layer ensures that the primary bonding agents are set at the nail plate level.
* Layer Two: A slightly thicker application that settles into the inhibition layer of the first. Because the first layer is already cured, the light does not have to penetrate through raw, unpolymerized product to set the bond.
3. The 'Flash-Anchor' Method
If you work with encapsulated art or complex designs, use a 'flash-anchor' cure. After the final layer of high-pigment gel is applied, flash-cure for 10 seconds to 'lock' the pigment in place. This prevents pigment migration (which often leads to uncured pockets) before moving the hand into the full-coverage lamp for the final 60-second structural cure.
Equipment Calibration: The 365/405nm Threshold
Most modern gel polishes require a dual-wavelength lamp (365nm and 405nm).
* 365nm is excellent for curing the surface (tack-free finishes).
* 405nm is essential for deep-tissue curing (reaching the bottom of the gel layer).
If your lamp is older or exclusively 365nm, your high-pigment gels will *never* cure fully, regardless of the time you keep the client’s hand inside. If you notice a 'gummy' underside when performing a rebalance, it is time to upgrade your hardware to a high-wattage, dual-wavelength lamp specifically designed for dense pigmentation.
The Business Case for Proper Curing
Beyond product performance, mastering these protocols is a matter of salon safety. Uncured monomer and oligomer contact is the primary cause of nail tech allergies. By mastering the light-cure physics of your specific product inventory, you aren't just improving retention—you are future-proofing your career and protecting your clients from long-term sensitization.
Join the newsletter
Get fresh nail tutorials, trends, and business tips straight to your inbox.
