The 'Refractive-Index' Layering Technique: Mastering Depth in Jelly Gel Artistry
Learn how to manipulate light transmission through translucent gel layering to create hyper-realistic, multi-dimensional gemstone effects that elevate your signature style.
Mastering the Refractive Index in Jelly Gel Artistry
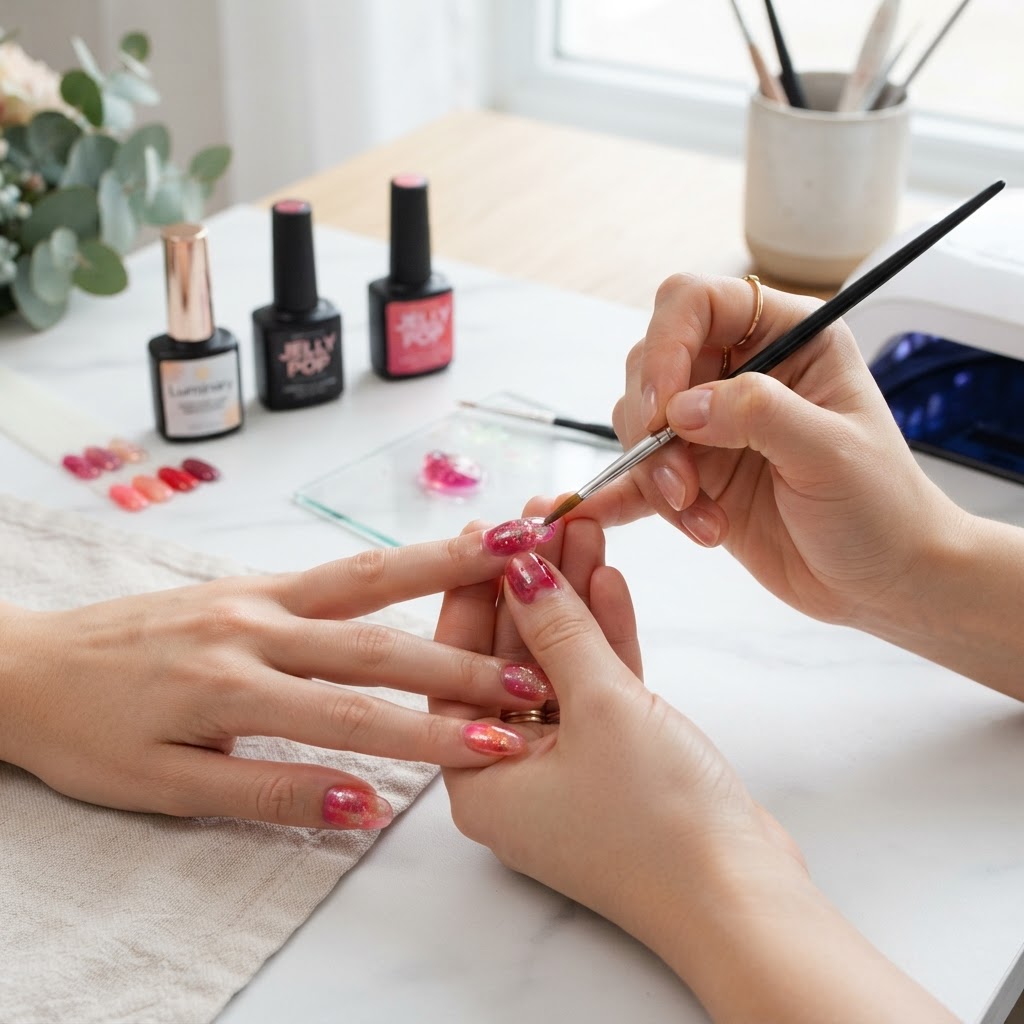
In the realm of modern nail aesthetics, the 'Jelly' or 'Glass' gel trend has moved beyond simple sheer color. To stand out as a high-end nail artist, you must move beyond basic application and begin treating your gel layers as an optical experiment. By understanding the refractive index—the measure of how light bends as it passes through different material densities—you can create depth that appears three-dimensional on a flat surface.
The Science of Light Transmission
Jelly gels are formulated with lower pigment density compared to opaque creams. When you apply these layers, light doesn't stop at the surface; it travels through the layers, hits the nail plate, and reflects back. If your layers are inconsistent in thickness or saturation, the refraction becomes muddy. The goal is to control this 'light path' to mimic the internal structures of gemstones like opals, tourmalines, and emeralds.
The Protocol: Stratified Pigment Zoning
Join the newsletter
Get fresh nail tutorials, trends, and business tips straight to your inbox.
To achieve true editorial-quality depth, follow this three-step layering protocol:
* The Foundation Base: Apply a singular, ultra-thin layer of a neutral 'clear-base' jelly. This acts as the refraction bridge, smoothing out the microscopic ridges of the natural nail and creating a consistent canvas for the subsequent refraction layers.
* The Mid-Saturation Shift: Apply your primary jelly shade, but do not cure to full edge-to-edge coverage. Instead, float the product toward the center of the nail, leaving a slight 'gradient thinning' toward the cuticle and sidewalls. This creates a natural shadow effect that tricks the eye into perceiving an apex, even on shorter extensions.
* The Refractive Highlight: Use an opalescent or 'cat-eye' pigment mixed with a clear topcoat to add a 'specular flash' between your second and third jelly layers. By burying this reflective layer *under* the final coat, you create the illusion that the light is coming from deep within the nail, rather than sitting on top of the surface.
Business Implications: Increasing Ticket Value
Clients are often willing to pay a premium for 'Custom Encapsulation' services that generic salons cannot replicate. By framing your Jelly Artistry as 'Custom Gemstone Design,' you differentiate yourself from competitors. Use your live streams on NailRush to demonstrate this refractive process—showing the side-profile view of the nail is crucial here, as it proves to the client that the art is embedded, not just painted on.
Pro-Tip for Longevity
Because jelly gels are often thinner in viscosity, they can be prone to running into the lateral folds. Use the 'Flash-Cure-Pulse' method: cure for 5 seconds after each individual layer to lock the pigment in place before moving to the next. This prevents the 'pooling' effect that kills the clarity of your refractive layers.
By mastering the physics of your medium, you transform your service from a basic aesthetic treatment into a piece of wearable, engineered art that demands a higher price point and ensures client retention through unmatched visual quality.
Join the newsletter
Get fresh nail tutorials, trends, and business tips straight to your inbox.