
The 'Refractive-Depth' Protocol: Engineering 3D Encapsulated Inclusions
Move beyond basic glitter application by mastering the physics of light refraction to create depth and dimension in encapsulated nail designs.
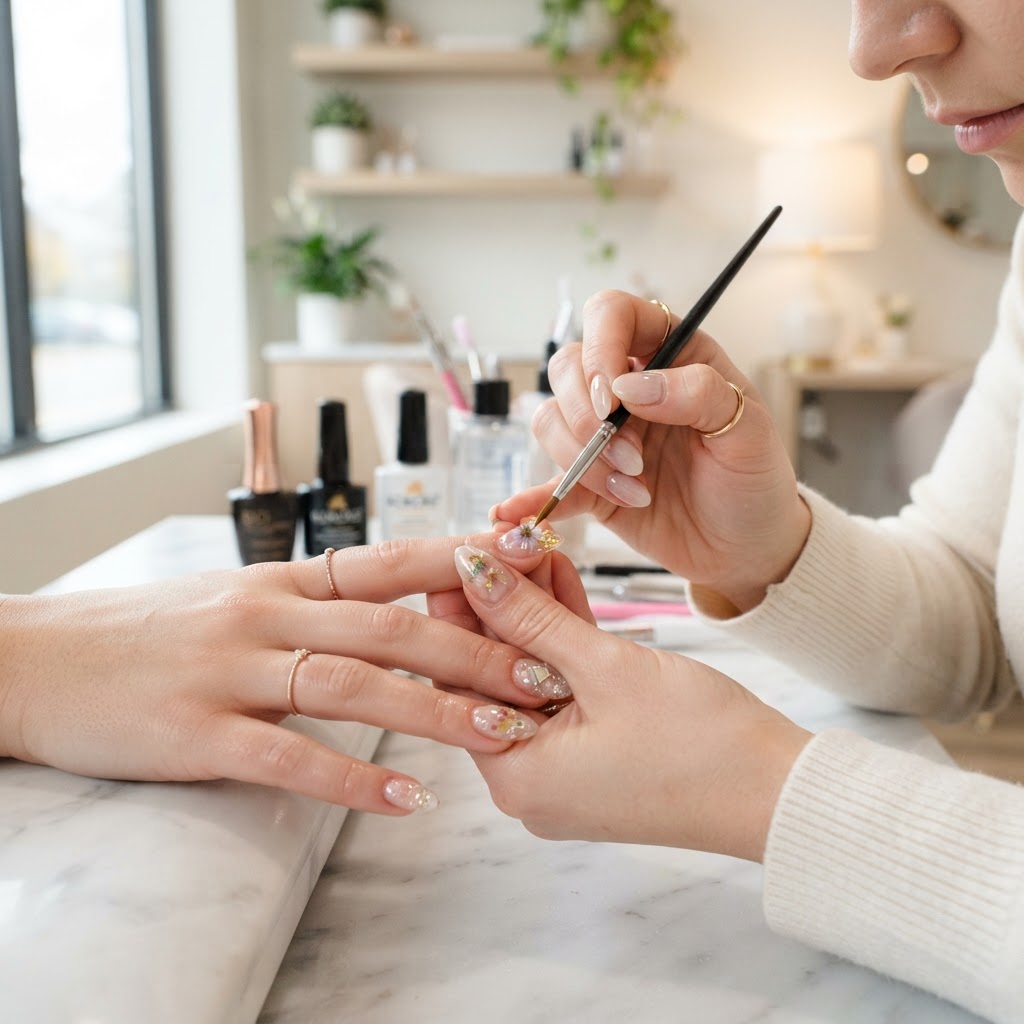
Understanding Refractive Index and Encapsulation
To achieve the look of a 'floating' design—where elements appear suspended in glass rather than sitting on top of the nail—you must master the interplay between light refraction and clear medium density. Most encapsulated designs fail to look professional because the light hits the inclusions and scatters, creating a flat or muddy appearance. The 'Refractive-Depth' protocol relies on matching the refractive index of your clear gel or acrylic base with the inclusions to maximize clarity and luminosity.
The Three Layers of Encapsulation
To build a design that holds visual interest without looking bulky, you must segment your work into three distinct depth zones:
Join the newsletter
Get fresh nail tutorials, trends, and business tips straight to your inbox.
Technical Execution: The 'Bubble-Free' Pour
Technique is everything when dealing with clear medium. Bubbles are the enemy of refraction. Use these steps to ensure a flawless finish:
* De-aeration: Allow your clear builder gel to rest for 15 minutes after agitation to let trapped air escape. If using acrylic, ensure your bead is fully saturated but not overly wet.
* Floating Application: Never drag your brush through your clear layer. Use a 'floating' technique, applying the product in a bead slightly larger than needed and guiding it with the tip of your brush without touching the nail surface directly.
* The Light-Test Angle: During the cure, hold the nail at a 45-degree angle. If you notice any gray pockets or distortion in the light passing through the clear layers, you likely have trapped air or uneven leveling. Rectify by buffing slightly and reapplying a top layer of clear product before the final seal.
Business Value of 3D Artistry
As a nail professional, offering this level of artistic complexity allows you to move your service menu into 'Premium Artistic Consultation.' Instead of charging per nail for basic stickers, you are charging for the structural engineering required to create a complex, encapsulated look. When a client sees the depth and clarity you can achieve, it separates your work from DIY-grade art and cements your position as a master technician. Always remember to photograph these designs under soft, multi-directional lighting to highlight the depth, as direct flash can often overwhelm the delicate refractive elements you've worked so hard to create.
Join the newsletter
Get fresh nail tutorials, trends, and business tips straight to your inbox.
