
The 'Refractive-Contrast' Technique: Elevating 3D Relief Sculpting with Dual-Density Curing
Master the art of high-definition 3D nail sculpting by utilizing light refractive indices and dual-density curing to create depth, clarity, and structural longevity in complex relief designs.
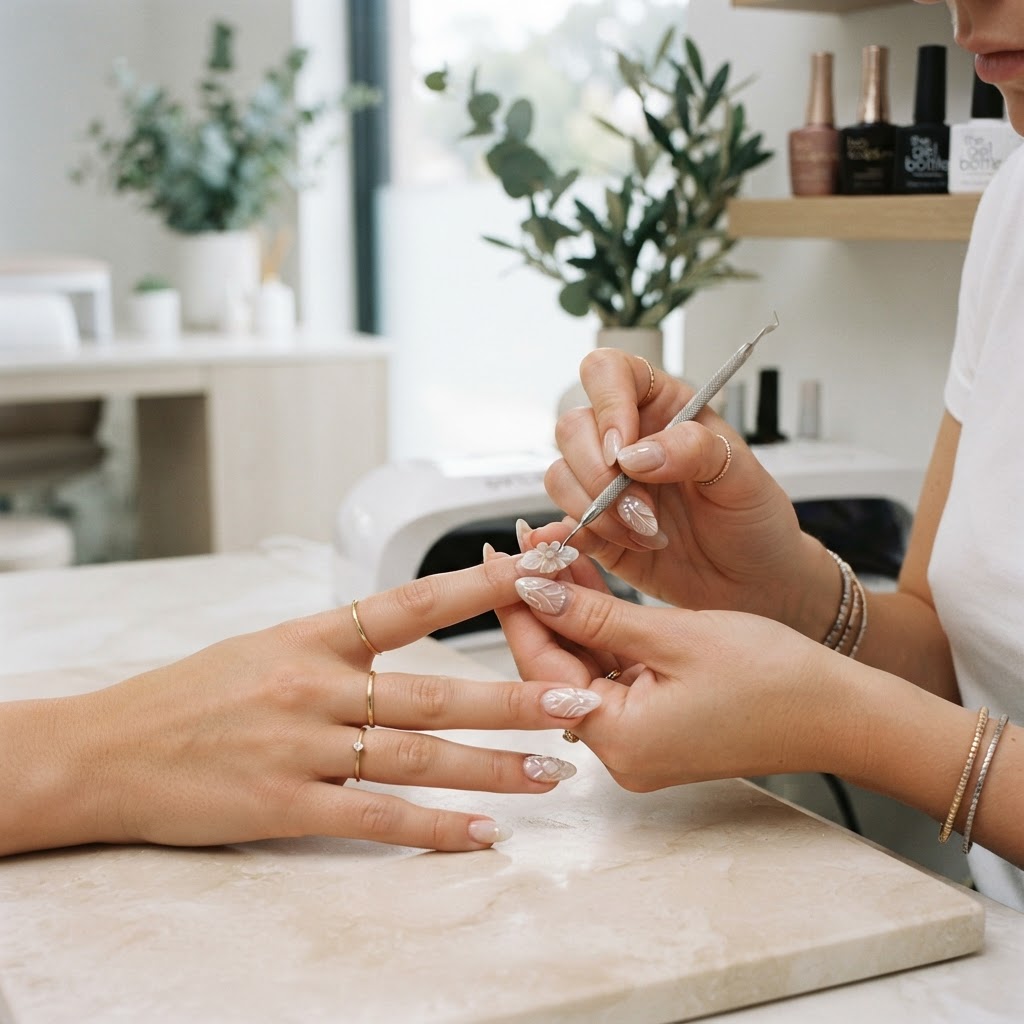
Mastering 3D Relief Sculpting Through Advanced Polymer Physics
For professional nail artists looking to move beyond flat art, the transition into 3D relief sculpting is the ultimate differentiator. However, the most common pitfall in high-relief design is 'internal opacity'—where the base of the sculpture cures unevenly, leading to premature delamination or a muddy aesthetic. By adopting the 'Refractive-Contrast' technique, you can manipulate how light interacts with your acrylic or gel polymers to produce a crystalline, high-definition finish that resists yellowing and structural fatigue.
Phase 1: Substrate Preparation and Surface Tension
Before applying your sculpting medium, the base surface must be prepared to anchor the relief. Do not use a high-gloss topcoat as a base for 3D art, as the lack of surface tension will cause the design to 'slide' during the sculpting phase. Instead, apply a thin layer of matte topcoat and cure fully; this provides the microscopic 'tooth' necessary for 3D elements to lock into place. Clean the surface with 99% isopropyl alcohol to remove any residual inhibition layers that might cause the base of your sculpture to bloom or spread uncontrollably.
Phase 2: Dual-Density Curing Logic
Join the newsletter
Get fresh nail tutorials, trends, and business tips straight to your inbox.
The secret to intricate, non-slumping relief is controlling the polymerization speed. High-viscosity sculpting gels often suffer from 'surface-only' curing, where the top hardens before the base, creating internal stress.
To mitigate this, implement a 'Flash-Pulse' sequence:
Phase 3: Enhancing Refractive Contrast
To make your designs pop, you must leverage the refractive index (RI) of your materials. High-end relief art works best when you mix mediums with different RI properties. For example, layering a translucent, high-RI glass-effect gel over a pigmented, low-RI base creates a 'depth illusion' that makes the sculpture appear to be floating beneath a lens.
The Business Case for Advanced Sculpting
Beyond the aesthetic, this technique is a significant profit driver. Because high-definition 3D sculpting requires specialized technical knowledge, it is a premium-tier service. By mastering these physics-based protocols, you can position your salon as an 'Atelier' rather than a standard service provider. Clients are consistently willing to pay a 40-60% premium for art that demonstrates structural integrity and complexity, as it signals a level of expertise that cannot be replicated with press-ons or stickers.
Join the newsletter
Get fresh nail tutorials, trends, and business tips straight to your inbox.
