
The 'Refraction-Index' Alignment: Mastering Chromatic Depth in Aura-Style Gel Transitions
Move beyond basic gradients by utilizing refractive indexing to control how light interacts with translucent pigments, creating the illusion of deep, glowing luminosity in your aura nail designs.
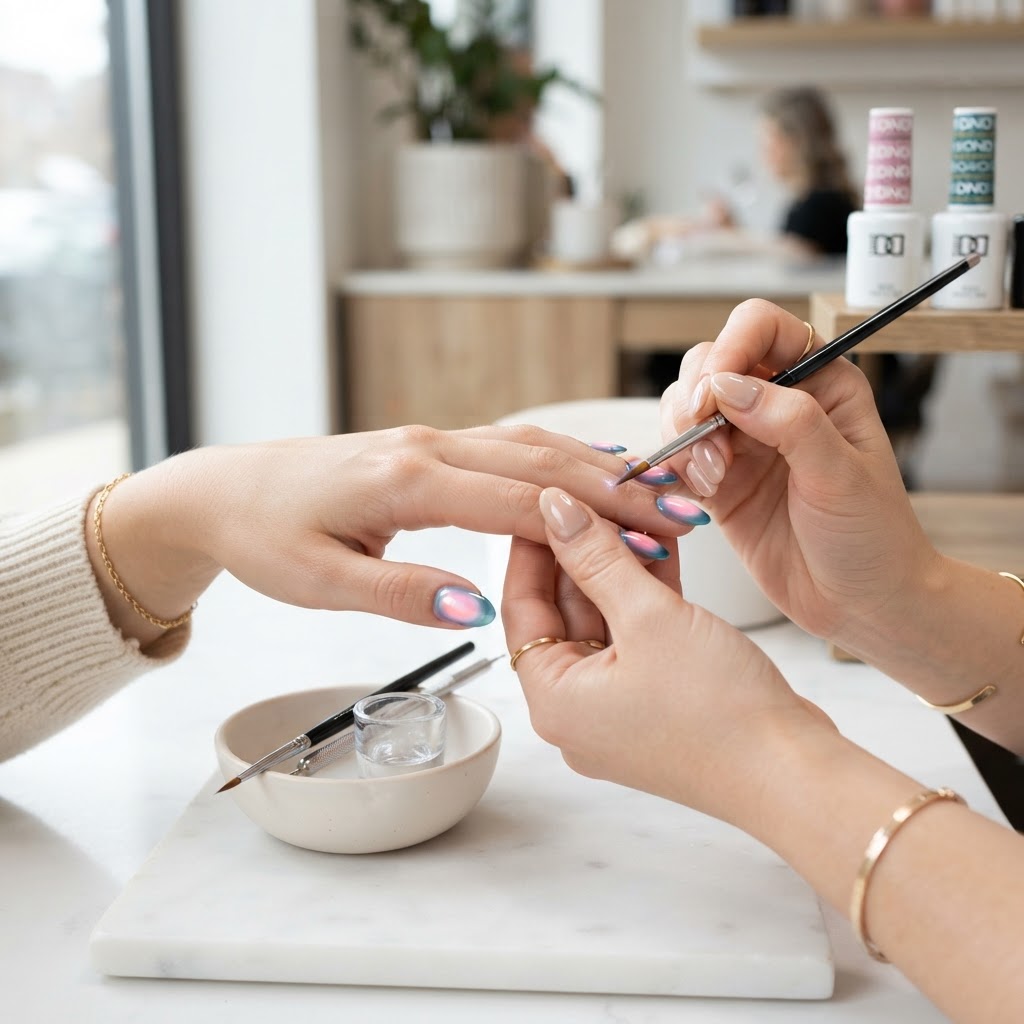
The Science of the Glow
The 'aura' nail trend has evolved from simple airbrushed circles to complex, multi-layered visual experiences. Most artists treat these designs as simple color gradients, but to achieve a professional, 'lit-from-within' aesthetic, you must master the 'Refraction-Index' alignment. This technique manipulates how light travels through your gel layers, creating a high-fidelity depth that standard blending cannot replicate.
Layering for Optical Depth
The secret to an authentic aura glow is not the intensity of the pigment, but the transparency variance between your base and top layers. Follow this protocol to ensure maximum luminosity:
* The Foundation: Apply a semi-opaque 'milky' or translucent base coat. This acts as a diffuser, scattering incoming light before it hits the deeper layers.
* The Core Pigment: Use high-pigmentation, low-viscosity gel polish. Avoid thick gels here, as they create 'muddy' transition zones. Apply the center point of your aura with a light stippling motion using a soft-bristle shader brush.
* The Refractive Overlay: This is the game-changer. Apply a thin, tinted glass gel (jelly gel) over your cured pigment. This layer acts as a light-filter, forcing the eye to perceive the core pigment as being suspended 'behind' a layer of glass rather than sitting on top of the nail surface.
Join the newsletter
Get fresh nail tutorials, trends, and business tips straight to your inbox.
Controlling the Gradient Transition
To avoid visible banding or 'streaking' in your aura transitions, abandon the back-and-forth scrubbing motion. Instead, employ the 'Radial-Fade' technique:
Troubleshooting Color Desaturation
One common error is 'color washing'—where the aura appears pale or invisible after top-coating. This usually occurs because the refractive index of the top coat is too close to the color gel, effectively 'deleting' the transition. To fix this:
* Top Coat Selection: Use a high-gloss, non-wipe top coat with a higher viscosity. This creates a thicker physical boundary that increases the perceived depth.
* The Shadow Anchor: If your aura feels too flat, add a microscopic dot of a darker, contrasting shade in the very center of the design before your final clear coat. This creates a focal point that anchors the design and draws the eye inward, providing a sense of 3D volume.
Business Application: The 'Speed-Design' Workflow
For salon owners looking to menu this, standardizing the 'Refraction-Index' method is key to profitability. By limiting your color palette to four 'Glass-Base' jelly colors and three 'Pigment-Core' shades, you can offer a bespoke 'Aura-Custom' service that is both high-margin and fast to execute. Create a swatch board showing the light-interaction at different angles—this 'proof of concept' allows you to charge premium pricing for what is essentially a 15-minute design add-on. Precision in your technique is not just an aesthetic goal; it is the foundation of your ability to scale high-end artistry efficiently.
Join the newsletter
Get fresh nail tutorials, trends, and business tips straight to your inbox.
