
The 'Refraction-Depth' Technique: Mastering 3D Chrome and Encapsulation
Learn how to use refractive index layering to create hyper-realistic depth and multidimensional shine in your gel enhancements without sacrificing structural integrity.
Understanding Refractive Index in Gel Artistry
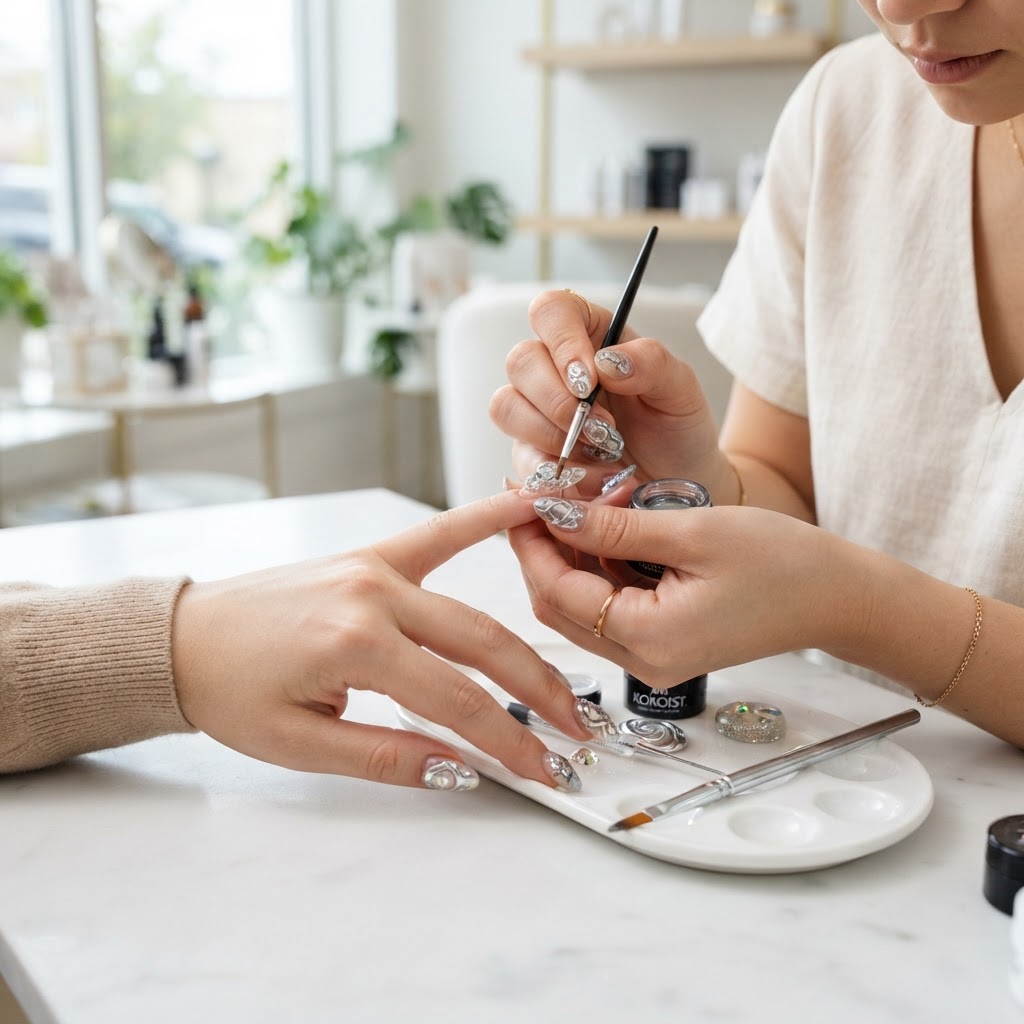
Creating depth in nail art requires more than just layering colors; it requires an understanding of how light interacts with the materials you apply. The 'Refraction-Depth' technique leverages the refractive index of various top coats and encapsulation gels to create a 'glass-room' effect, where art appears suspended within the nail rather than simply sitting on top of the plate.
The Core Principles of Light Suspension
To achieve true visual depth, you must treat your manicure as a multi-layered optical system. When applying chrome pigments or foils, many artists lose the 'glow' because they encapsulate with a high-viscosity clear gel that is too opaque or carries a yellow tint.
* Base Layer Calibration: Ensure your base color (the background) is cured to a full matte finish before applying metallic elements. A matte surface creates a microscopic 'tooth' that allows pigments to adhere more uniformly, preventing the streaky finish that compromises clarity.
* The Clear-Bridge Layer: Apply a thin, low-viscosity clear gel layer before adding your 3D chrome or metallic elements. This acts as a refractive bridge, evening out the light scattering before it hits the base.
Execution: The Three-Stage Depth Protocol
Join the newsletter
Get fresh nail tutorials, trends, and business tips straight to your inbox.
Managing Heat and Clarity
When working with clear encapsulation gels, be aware that these products often have higher photo-initiator counts, which can lead to increased heat spikes during polymerization. To mitigate this:
* Pulse Curing: Use the 'half-power' mode on your lamp for the first 10 seconds of curing to allow the molecular chains to begin linking without a rapid exothermic reaction.
* Leveling Time: Allow the encapsulation gel to sit for 30 seconds on the nail surface before placing it in the lamp. This allows the gel to self-level and release any trapped air from the brushing process, ensuring the 'glass' finish remains crystal clear.
Troubleshooting Common Depth Loss
* Cloudiness: This is almost always caused by 'over-working' the encapsulation layer, which traps air. If your result looks cloudy, check your brush pressure and ensure your lamp bulbs are clean.
* Color Shift: If your chrome looks dull or loses its shift, you may be using a top coat that is too thick. Use a high-shine, thin-viscosity top coat as your final seal to minimize light refraction loss at the surface.
By mastering the way light travels through these layers, you move beyond flat, two-dimensional designs and into the realm of professional, high-impact aesthetic engineering.
Join the newsletter
Get fresh nail tutorials, trends, and business tips straight to your inbox.
