
Tutorials7 min readby NailRush Live Team2 views
The 'Reactive-Curing' Matrix: Mastering Temperature-Sensitive Gel Application
Learn how ambient temperature and product viscosity fluctuations impact your gel polymerization and how to stabilize your workstation for professional-grade durability.
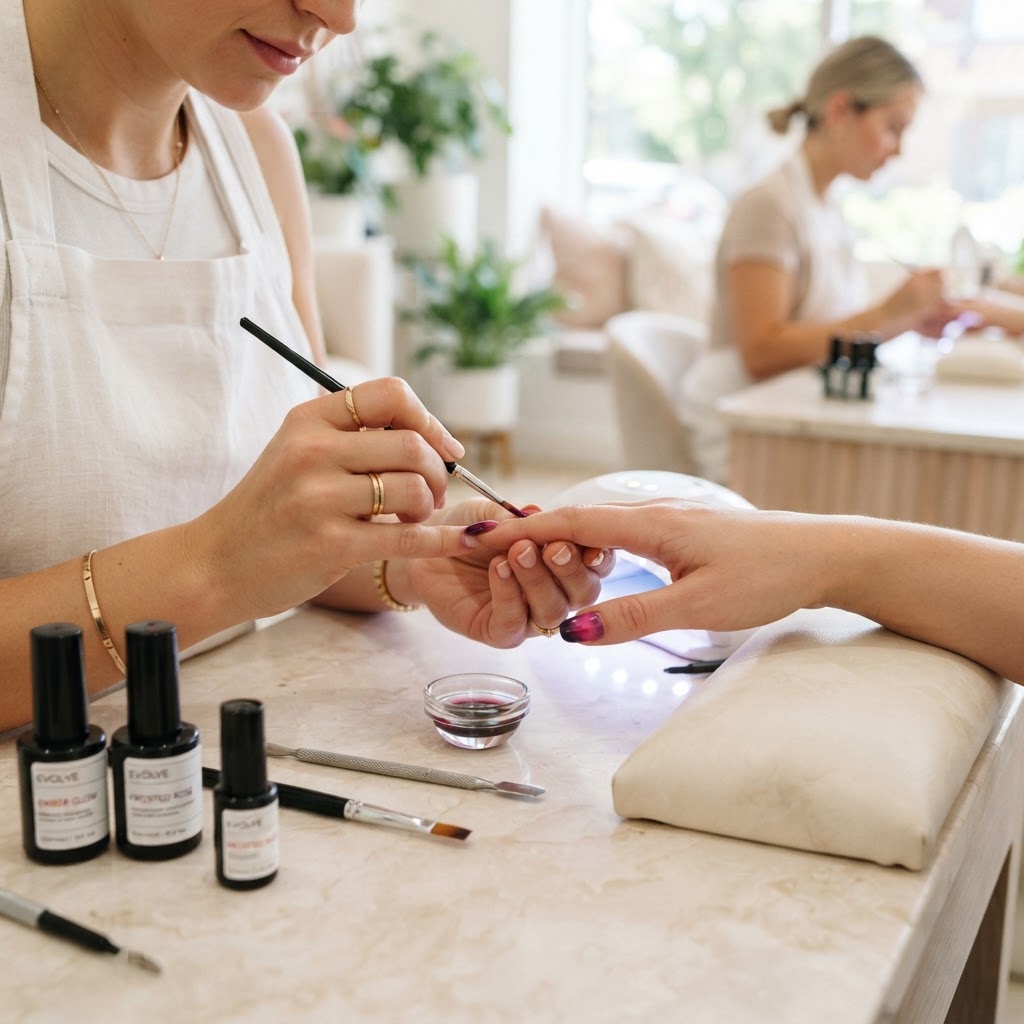
The Hidden Variable in Gel Longevity## In the high-stakes environment of a professional nail studio, the difference between a three-week set and a client returning with lifting after five days often comes down to chemistry and environmental control. While most artists focus on prep work, few realize that the ambient temperature of your salon fundamentally alters the polymerization kinetics of your gel system. This guide explores how to master 'Reactive-Curing' to ensure consistent performance regardless of your salon climate.### The Viscosity-Temperature Correlation### Every gel product has an ideal 'flow state.' When your salon is too cold, the polymer chains move sluggishly, leading to a higher viscosity that makes self-leveling nearly impossible. Conversely, in high-heat conditions, monomers become hyper-mobile, often resulting in product flooding at the cuticle line before you can reach the lamp.1. The Cold-Start Mitigation: If your gel feels like cold honey, do not store it near a window or in a drafty area. Place your bottles in a dedicated warm-up zone (away from direct UV exposure) to bring them to a consistent 72°F (22°C) before service.2. The Heat-Thinned Recovery: If your product becomes too thin due to summer humidity, store your base and builder gels in a mini-fridge set to 60°F. The slight drop in temperature increases 'snap-back' resistance, giving you better control over the apex placement.### Calibration of the Curing Cycle### Not all UV/LED lamps are created equal, and more importantly, they are not all calibrated for every viscosity. If you notice 'wrinkling' on the surface of your gel, it is often a sign of oxygen inhibition caused by an imbalanced curing speed. This happens when the surface polymerizes faster than the internal structure, trapping uncured monomers underneath.### The Reactive-Curing Protocol### To optimize your curing consistency, follow this four-step adjustment process:1. Layer Thickness: In cooler conditions, reduce your application thickness by 20%. It is better to perform three thin, fully-cured layers than two thick ones that risk under-polymerization.2. The Pulse-Cure Method: For highly pigmented gels, use a 5-second 'flash cure' at half-power, followed by the full-cycle cure. This initiates the cross-linking process slowly, reducing the exothermic reaction heat that causes client discomfort.3. Lamp Positioning: Ensure your lamp is perfectly level. Even a 5-degree tilt can cause gravity to pull your self-leveling gel toward the sidewalls during the first ten seconds of the cure, creating an uneven apex.4. Humidity Monitoring: High humidity alters the water content on the nail plate surface. Always use a dehydrator containing isopropyl alcohol and ethyl acetate to ensure the 'chemical bond' is not compromised by atmospheric moisture.### The Business Impact of Technical Stability### Consistent application is your strongest marketing asset. When clients experience a predictable, rock-solid retention rate, your brand authority increases. Stop troubleshooting individual sets and start troubleshooting your environment. By standardizing your product temperature and curing speed, you eliminate the variability that creates 'ghost' lifting issues, saving you hours of corrective work per week and boosting your salon’s reputation for technical excellence.
Join the newsletter
Get fresh nail tutorials, trends, and business tips straight to your inbox.
Join the newsletter
Get fresh nail tutorials, trends, and business tips straight to your inbox.
