
The 'Polymer-Alignment' Sequence: Eliminating Latent Bubbles in High-Viscosity Builder Gels
Master the microscopic nuances of gel handling to prevent air entrapment and structural failure before the curing process even begins.
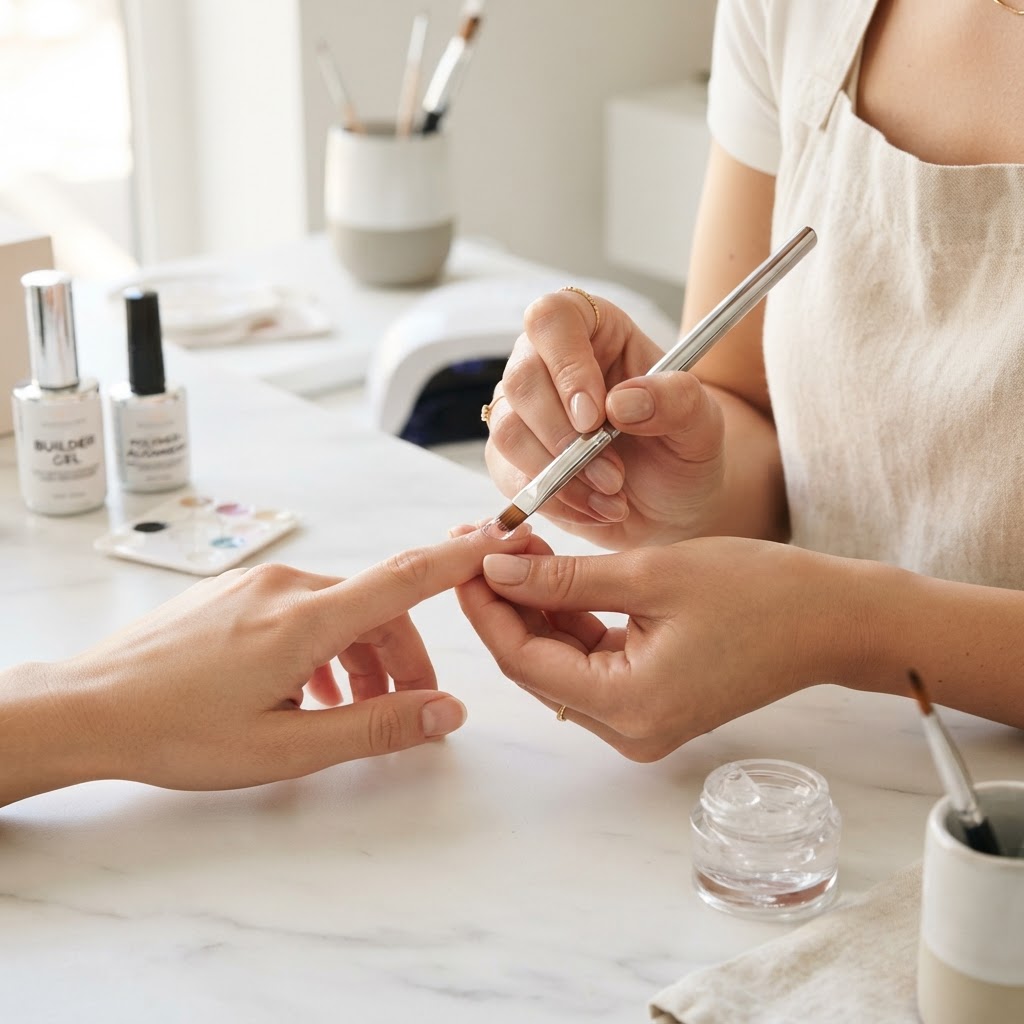
The Hidden Enemy: Air Entrapment in Builder Gel
For high-end nail technicians, nothing ruins a set faster than discovering microscopic air bubbles during the final buffing stage. These bubbles are not just aesthetic flaws; they are structural weak points that jeopardize the integrity of the enhancement, leading to premature cracking and water infiltration. Eliminating these requires a shift from 'application-focused' work to 'physics-focused' workflow.
Step 1: The Ambient Temperature Check
High-viscosity builder gels behave differently based on their internal kinetic energy. If your studio is under 68°F (20°C), the gel becomes sluggish, making it impossible to level without manual manipulation that inevitably introduces air. Use a warming pad or dedicated gel heater to keep your product at a stable 72-75°F. This lowers the surface tension, allowing the product to self-level and release trapped micro-gases before the lamp is engaged.
Step 2: The 'Zero-Lift' Scoop Technique
Most technicians introduce air the moment they enter the jar. Stop 'digging' for your bead. Instead, use a flat-sided metal spatula to gently skim the surface of the gel. By moving slowly—imagine you are cutting through butter—you prevent the churning effect that creates vortexes of air. Deposit the bead onto a clean glass palette before picking it up with your brush. This ensures you are working with a consistent, bubble-free bolus of product.
Join the newsletter
Get fresh nail tutorials, trends, and business tips straight to your inbox.
Step 3: The 'Glide-and-Float' Application
When applying the gel to the nail, do not 'press' or 'scrub' the product into the plate. This is the primary source of bubbles near the cuticle area. Use the 'float' method:
* Deposit: Place the bead near the apex zone.
* Glide: Use the belly of your brush to drag the product toward the cuticle, staying 1mm away from the skin.
* Float: Keep the bristles parallel to the nail plate at all times. If you tip your brush, you create a vacuum that pulls air into the product. Let the product 'float' across the surface, guided by the brush but not manipulated by the tip.
Step 4: The 'Gravity-Level' Pause
Before you even reach for the UV/LED lamp, employ the 'Gravity-Level' pause. Turn the client's hand palm-up for five to eight seconds. This allows the weight of the gel to settle naturally toward the center of the nail plate, smoothing out any unevenness and forcing any remaining micro-bubbles to the surface where they can be popped with a fine-tipped needle or moved to the free edge.
Troubleshooting Common Failures
By treating your builder gel as a fluid dynamic system rather than a paste, you will see a drastic reduction in remedial work and an increase in the durability of your extensions.
Join the newsletter
Get fresh nail tutorials, trends, and business tips straight to your inbox.
