
The 'Polychromatic-Flow' Method: Mastering Seamless Vertical Transitions in Gel Artistry
Learn the precise mechanics behind executing flawless vertical color gradients without brush strokes, using pigment saturation control and synthetic-fiber leveling.
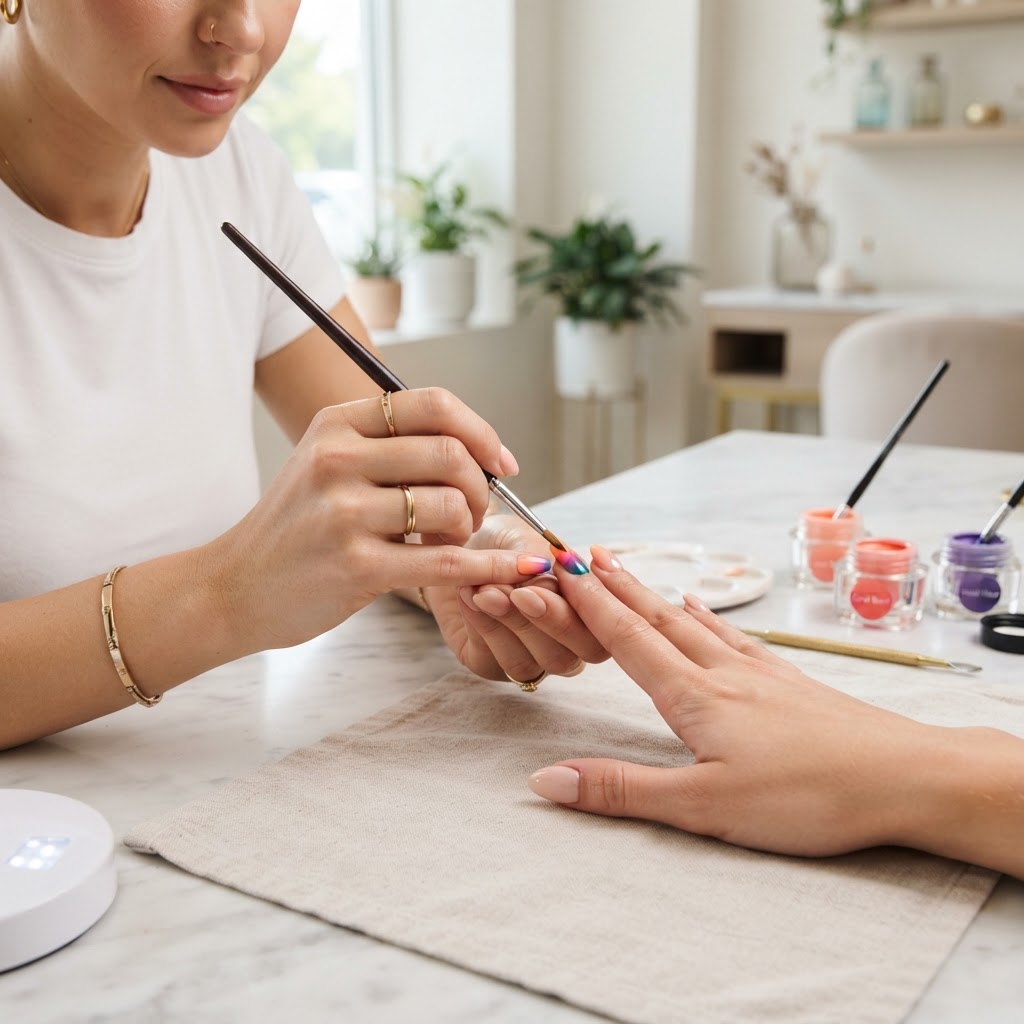
The Art of Seamless Vertical Transitions
For many nail technicians, the vertical ombré represents the ultimate test of control. Unlike horizontal fades, which benefit from the natural curvature of the cuticle, vertical transitions require absolute uniformity across the entire nail plate. The 'Polychromatic-Flow' method moves away from aggressive tapping and instead focuses on the structural chemistry of leveling gels and precise pigment density.
The Physics of Pigment Suspension
Most artists struggle with vertical gradients because they treat pigment like paint. In reality, gel polish is a suspension. To achieve a seamless transition, you must master 'pigment zoning.' By utilizing a base layer of clear self-leveling gel as a slip layer, you create a conductive surface that allows the particles to migrate horizontally across the median line without losing color saturation.
The 'Polychromatic-Flow' Execution Protocol
Join the newsletter
Get fresh nail tutorials, trends, and business tips straight to your inbox.
Common Pitfalls and Troubleshooting
* Muddy Overlap: This occurs when the brush is too dry. Ensure your brush is lightly conditioned with a drop of top coat to break surface tension.
* Premature Curing: Vertical transitions are high-surface-area applications. Work on one finger at a time and perform a 10-second 'flash cure' to lock the gradient before moving to the next digit.
* Color Separation: If your colors resist blending, you are likely using two different gel formulations (e.g., a highly viscous art gel paired with a runny polish). Stick to the same brand line for consistent photo-initiator density.
Scaling Your Skill Through Practice
Consistency is not found in speed, but in the deliberate management of product displacement. By documenting the pressure applied to each zone during your practice sessions, you can identify exactly when a gradient transition moves from 'streaky' to 'fused.' Start by practicing on a glass swatch rather than a tip; the transparency of the glass allows you to see if you have achieved a uniform layer thickness across the gradient line, which is the secret to avoiding 'shelfing' or uneven bumps in your final finish.
Join the newsletter
Get fresh nail tutorials, trends, and business tips straight to your inbox.
