
The 'Poly-Chromatic Gradient' Strategy: Controlling Polymerization Rates for Multi-Layered Art
Learn how to master the complex chemistry of layering high-pigment gels without sacrificing structural integrity, ensuring your multi-dimensional art lasts through the full wear cycle.
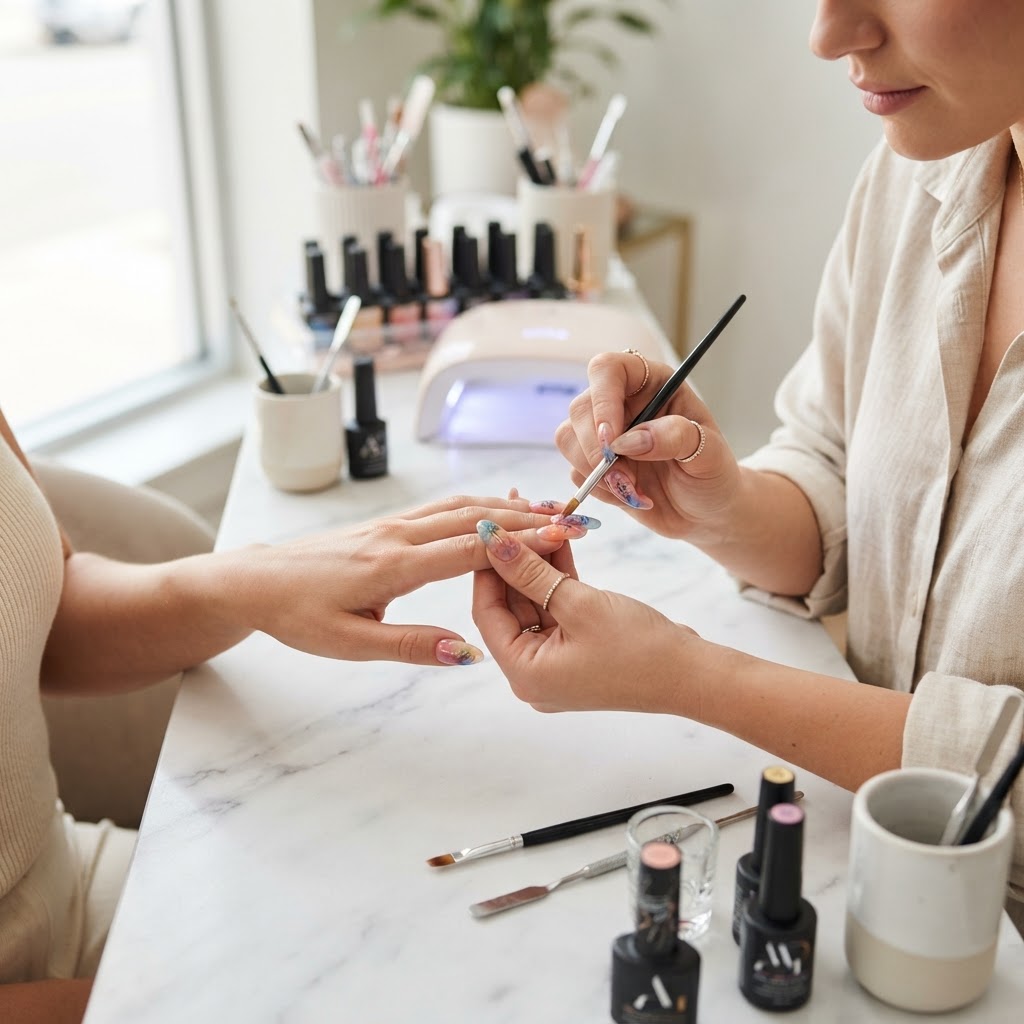
Understanding the Polymerization Bottleneck
In the world of advanced nail art, we often find ourselves caught between two competing forces: the desire for intense, multi-layered color density and the physical limitations of light-curable polymers. When building deep, saturated designs—such as detailed encapsulated blooms or heavy-pigment marble effects—the most common point of failure is 'under-curing' at the base layer. This occurs because heavy pigments block UV/LED light penetration, leading to uncured gel trapped beneath a hardened top layer. This is not just a structural risk; it is a serious chemical safety hazard that can lead to permanent acrylate sensitization.
The Science of 'Incremental Curing'
To achieve professional-grade depth without compromising the health of the nail plate, you must adopt an incremental curing protocol. Instead of attempting to cure complex designs in a single 'flash' or full cycle, follow these technical steps:
Join the newsletter
Get fresh nail tutorials, trends, and business tips straight to your inbox.
Troubleshooting Pigment Migration
One of the most frustrating aspects of multi-dimensional nail art is 'bleeding,' where crisp lines blur during the curing process. This is rarely a product fault; it is almost always an issue of thermal heat spikes and surface tension. To prevent this, focus on:
* Surface Tension Management: Ensure the dispersion layer of your base coat is minimal before adding intricate art. Excessive sticky layers act as a lubricant that allows pigment particles to migrate.
* Thermal Equilibrium: If you are working in a studio with high ambient temperatures, your gel will naturally lose viscosity. Store your primary color palettes in a cool, dark space and avoid keeping the open pots directly under your lamp.
The Workflow of Professional Depth
To maximize efficiency during high-end service appointments, structure your workflow as follows:
* Phase 1: Encapsulation (Structure): Focus entirely on the apex and stress-zone reinforcement. Do not introduce color yet. This ensures the structural integrity is locked in.
* Phase 2: The Art Layer (Color): Apply your multi-chromatic base colors. Cure thoroughly. If using high-density chrome or metallic gels, apply only to the surface, as these are notoriously difficult to cure through.
* Phase 3: The 'Lock' Coat: Apply a clear builder or base gel over the art before your final top coat. This acts as a 'sealant' that prevents your brushes from pulling up the pigment during the final finishing steps.
Business Implications for the Artist
By mastering these technical parameters, you shift from being a 'service provider' to a 'technician-artist.' Clients will notice the difference in the durability of your art, which justifies higher service tier pricing. When you can guarantee that a complex, 10-layer artistic design has the same longevity as a single-color set, you eliminate the risk of 'come-backs' and broken designs, effectively increasing your hourly yield. Remember, the goal of advanced artistry is not just visual impact; it is the marriage of aesthetic perfection and chemical safety.
Join the newsletter
Get fresh nail tutorials, trends, and business tips straight to your inbox.
