
The Pigment-Suspension Ratio: Controlling Particle Settling in Custom Glitter Gels
Master the chemical physics of custom glitter gel mixing to eliminate clumping, ensure uniform application, and extend the lifespan of your signature color blends.
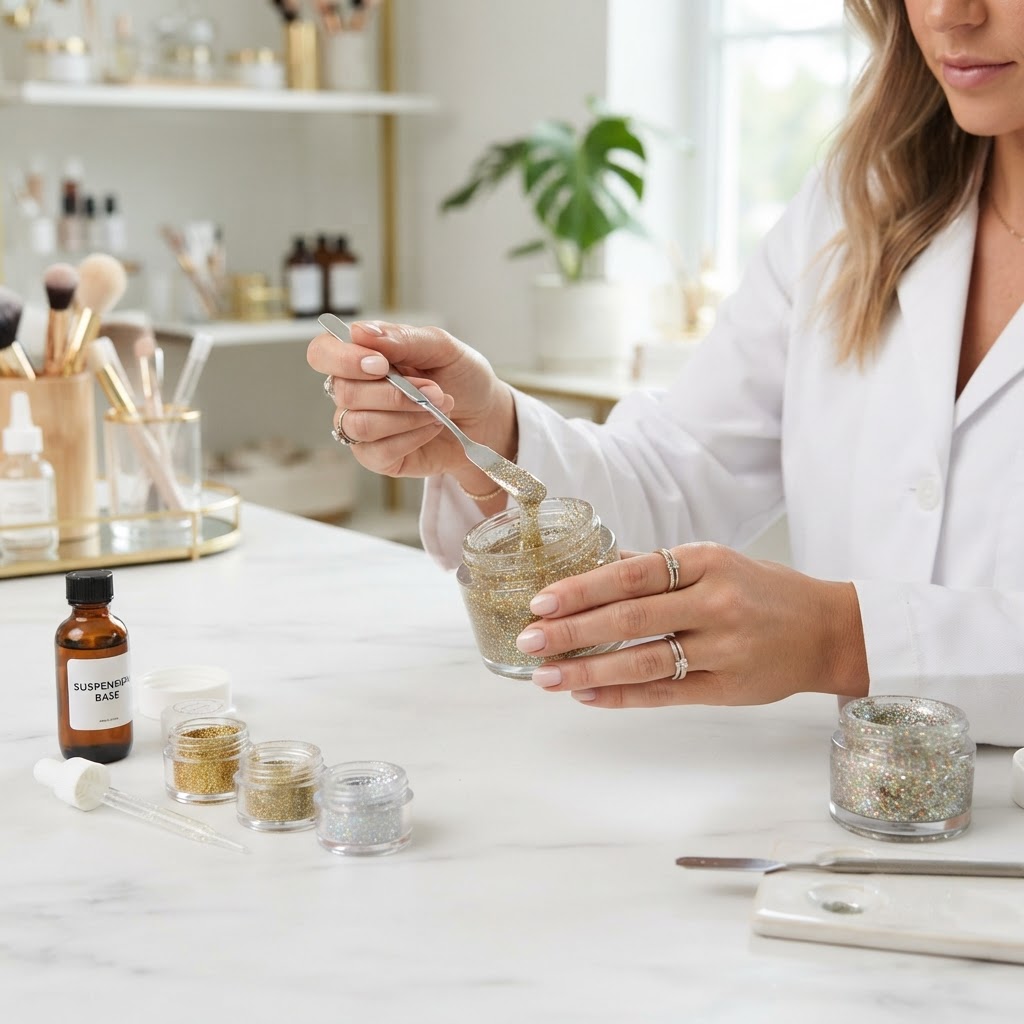
The Science of Suspension
For the modern nail artist, creating custom glitter gels is more than just an aesthetic choice; it is a signature of your brand. However, many technicians struggle with 'sedimentation'—where heavy glitter particles sink to the bottom of the pot, creating a layer of clear base at the top and a hardened, unusable 'sludge' at the bottom. To achieve professional-grade custom mixes, you must understand the Pigment-Suspension Ratio (PSR).
The Failure Points of Improper Mixing
When you stir glitter into a standard builder or color gel without considering the rheology of the medium, you risk two primary issues:
The Three-Phase Mixing Protocol
To ensure your custom mixes remain stable for months, follow this professional stratification method:
Join the newsletter
Get fresh nail tutorials, trends, and business tips straight to your inbox.
1. The Rheology Buffer
Never mix glitter directly into a thin topcoat or low-viscosity color. You need a medium with high 'thixotropic' properties—meaning it stays still when at rest but flows when brushed. Use a thick-viscosity clear builder or a dedicated clear gel base as your foundation. This provides the necessary viscosity to hold heavy particles in suspension.
2. The Weight-to-Volume Ratio
A general rule of thumb for durability is a 1:4 ratio. One part dry glitter to four parts gel base. If you go above this threshold, you lose the ability to self-level, which forces you to over-file the nail surface, damaging the structural apex you’ve spent time building.
3. The Vacuum-Fold Technique
Stop stirring your gels in a circular motion. This creates a vortex that traps air. Instead, use a flat spatula to 'fold' the glitter into the gel, pressing down into the center of the pot. Once incorporated, store your pots upside down for 24 hours. Gravity will help the suspended particles settle into the gel matrix more evenly than manual stirring ever could.
Avoiding 'Hot-Spots' in Curing
When using high-pigment or high-glitter mixes, the light-path is obstructed. This is where 'hot-spots' occur—the surface cures quickly while the bottom remains liquid.
* Thin Layers Only: If you are using a heavily loaded glitter gel, do not attempt to build the apex in one go. Apply two thin coats, curing for 60 seconds each, rather than one thick coat that might never fully cure at the contact point.
* The Gel-Cleanser Test: After curing, wipe the surface with high-grade isopropyl alcohol. If the color 'bleeds' onto your wipe, your PSR is off, or your curing time is insufficient. Recalibrate by adding 5% more clear base to the mixture to allow for better light penetration.
Summary of Best Practices
* Always store custom mixes in opaque pots to prevent ambient light from starting the polymerization process before you open them.
* Label by Ratio: Keep a log of your mixes (e.g., 'G-01: 20% Fine Holo / 80% Clear Builder'). If you find a mix that works perfectly, you must be able to replicate it exactly.
* Avoid Metal Spatulas for Storage: Metal can react with certain metallic glitters, leading to oxidation. Use silicone-tipped mixing tools for better shelf-life stability.
Join the newsletter
Get fresh nail tutorials, trends, and business tips straight to your inbox.
