
The 'Peripheral-Sealing' Protocol: Engineering Longevity at the Lateral Walls
Master the precise bead-placement technique that prevents premature lifting and lateral wall flooding by balancing product flow with capillary action.
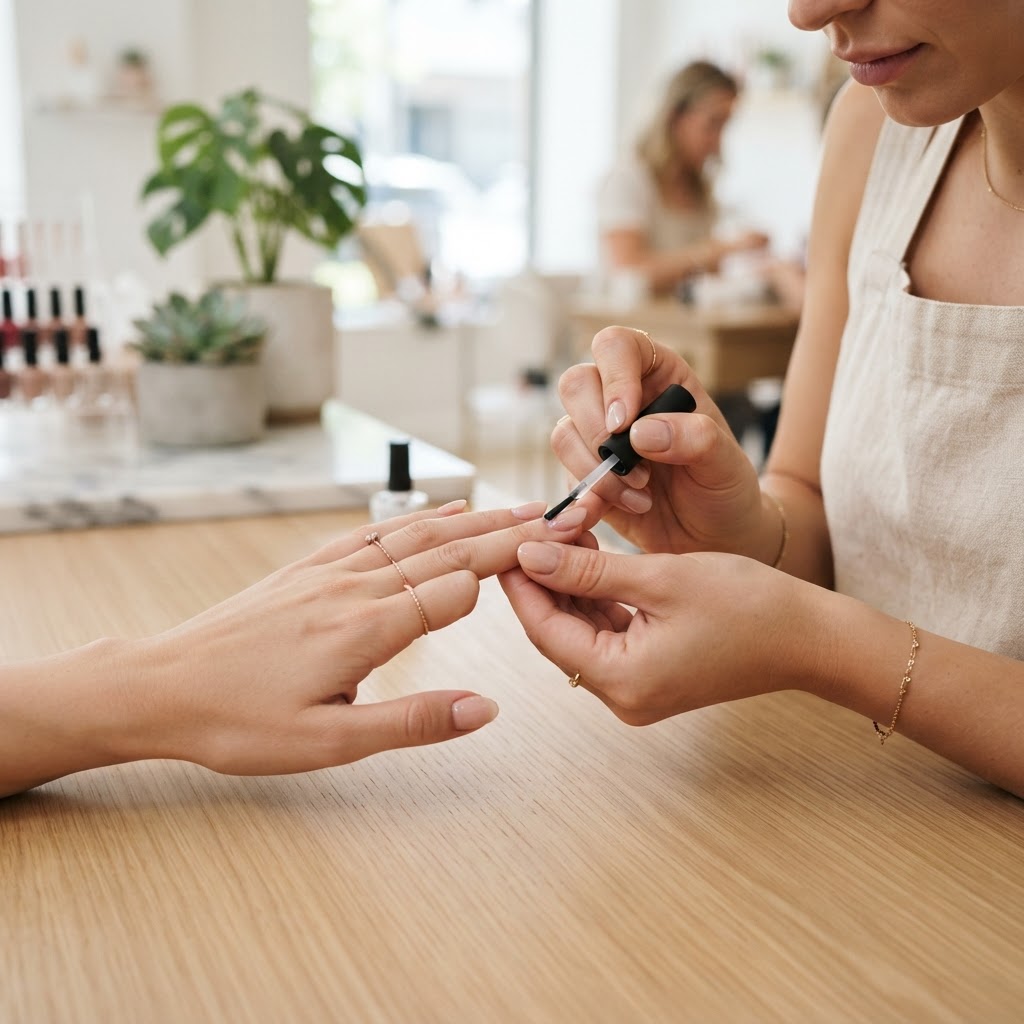
The Core Challenge of Lateral Integrity
Premature lifting is the most frequent point of failure for high-performance nail enhancements. While many technicians focus heavily on the cuticle zone, the majority of lateral-wall lifting occurs because of a misunderstanding of capillary action and surface tension. When your gel or acrylic bead is placed too close to the side walls without a controlled 'pull-back' technique, the product inevitably floods the lateral folds, creating a ridge that is prone to catching on hair, clothing, and everyday items. This guide outlines the Peripheral-Sealing Protocol to ensure edge-to-edge adhesion and structural longevity.
Understanding Capillary Flow in Gel Placement
When applying a bead, the product naturally seeks the path of least resistance. If you place a high-viscosity product directly onto the lateral wall, the product will 'creep' into the skin folds due to the skin's moisture content. To combat this, you must master the 'Buffer-Zone' placement.
The Buffer-Zone Placement Technique:
Join the newsletter
Get fresh nail tutorials, trends, and business tips straight to your inbox.
The 'Dry-Edge' Finishing Workflow
Once the product is placed, you must seal the perimeter to prevent air gaps. Many technicians over-file in an attempt to clean up flooding, which actually thins the product near the edge and creates a 'hinge' point where the nail is most likely to snap or lift.
Steps for a Clean Peripheral Seal:
* Step 1: Flash-Cure Positioning: Immediately after the product has leveled, place the hand in the lamp for a 5-10 second flash cure. This locks the molecular structure in place and stops the 'creep' that occurs while the client is waiting for the full cure.
* Step 2: The E-File Angle of Attack: When refining the side walls, use a slim, medium-grit carbide bit. Hold the handpiece parallel to the side of the nail. Never point the bit downward into the skin; instead, run it horizontally to shave away the 'shelf' created by the product, tapering it down until it is flush with the natural nail plate.
* Step 3: Tension Dissipation: Use a fine-grit buffer to soften the transition point. If there is a sharp ridge, it will catch on the client’s hair. A smooth, seamless taper is the best defense against accidental peeling or snagging.
Troubleshooting Common Failures
If you find that your clients consistently experience lifting at the lateral walls, perform a 'Geometry Audit' on your workflow:
* Check Your Brush Saturation: If your brush is too wet with monomer or slip solution, you are diluting the polymerization process at the perimeter. This results in a weaker structure that is more susceptible to environmental degradation.
* Surface Porosity Issues: Ensure you have properly dehydrated the lateral grooves. Use a clean, dry detail brush to ensure all dust and debris are removed from the side channels before applying your base coat. Trapped dust is the number one cause of 'invisible' lifting that leads to service failure.
By treating the lateral walls as a structural foundation rather than just an edge to be cleaned, you significantly improve the 're-wear' quality of your sets. Focus on placing the product to follow the natural curvature of the nail bed, ensuring that the finished edge is thin, tapered, and perfectly fused to the keratin surface.
Join the newsletter
Get fresh nail tutorials, trends, and business tips straight to your inbox.
