
The 'Peripheral-Seal' Technique: Eliminating Gel Lifting at the Proximal Fold
Master the precise gel application method that prevents premature lifting by creating a chemical and structural barrier at the cuticle line.
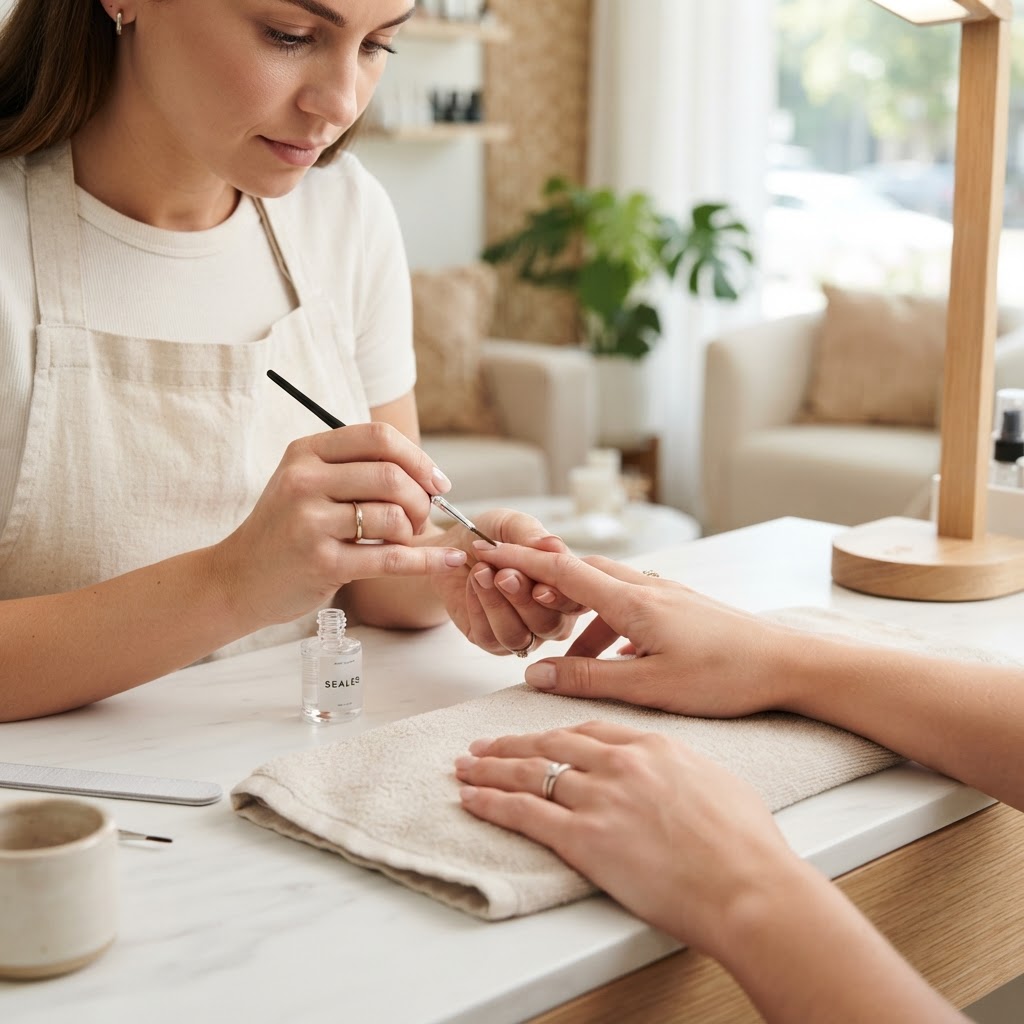
Understanding the Root Cause of Proximal Lifting
Gel lifting is rarely a product failure; it is almost always an application deficiency related to the proximal fold. When gel touches the living tissue (the eponychium) or the thin cuticle residue left on the nail plate, a bridge is created that invites moisture, oil, and dust to compromise the bond. Over time, this results in the dreaded 'lifting' that plagues long-term wear.
The Anatomy of the Bond
To achieve a two-to-three-week retention window, you must maintain a consistent 'micro-gap'—a hair-thin distance between the gel application and the cuticle skin. The 'Peripheral-Seal' technique relies on the surface tension of the gel and the controlled manipulation of the brush to create a seamless, yet separated, edge.
The Peripheral-Seal Workflow
Join the newsletter
Get fresh nail tutorials, trends, and business tips straight to your inbox.
Follow these four steps to lock your gel in place:
Troubleshooting Common Failures
If you are still seeing lifting, audit your preparation process:
* Residual Cuticle: Use an e-file with a diamond bit at 5,000–8,000 RPM to gently exfoliate the 'invisible' cuticle on the nail plate. If this debris is present, the gel will bond to the skin, not the keratin.
* Dehydration Saturation: Ensure you are using a professional-grade dehydrator that removes moisture specifically from the lateral and proximal grooves. These are the two zones where oil accumulates most aggressively.
* Brush Saturation: If your brush is overloaded, the gel will 'pool' at the cuticle regardless of your technique. Always offload excess product onto a palette or the neck of the bottle before touching the nail.
By mastering the Peripheral-Seal, you move beyond the 'luck' of a long-lasting set and into a predictable, engineered process that ensures your enhancements look as clean on day 21 as they do on day one.
Join the newsletter
Get fresh nail tutorials, trends, and business tips straight to your inbox.