
The 'Peripheral Framing' Method: Enhancing Nail Bed Morphology Through Optical Contouring
Master the art of visual elongation by using precise sidewall contouring and shadow placement to transform the appearance of wide or short nail beds.
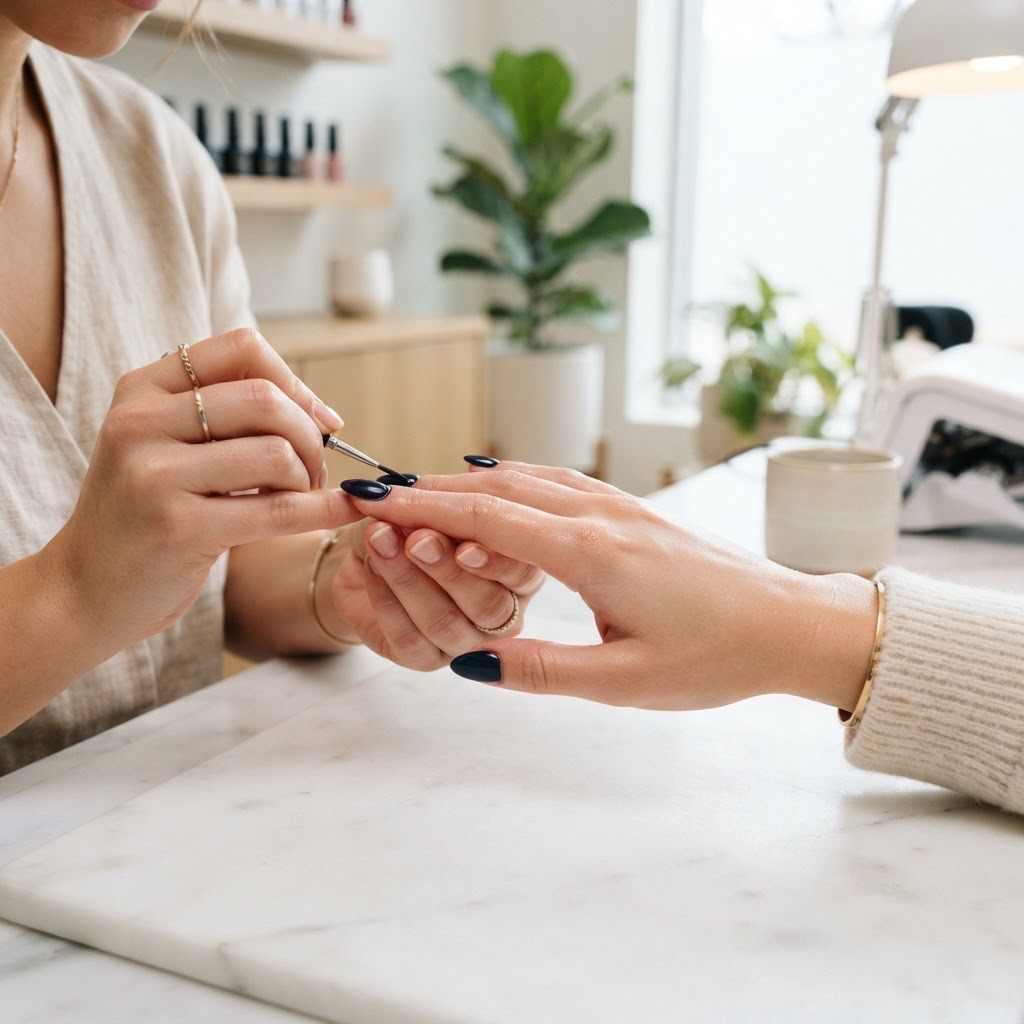
Introduction to Peripheral Framing
In the world of high-end nail artistry, the goal is often more than just a clean manicure; it is architectural enhancement. While structural integrity is paramount, 'Peripheral Framing'—a technique focused on optical illusion—is the key to satisfying clients who desire the appearance of a longer, slimmer nail plate. This method moves beyond simple color application, utilizing light reflection and shadow-casting to manipulate the viewer's perception of the nail's natural architecture.
The Anatomy of the Illusion
Peripheral framing relies on two primary principles: the 'Highlight Meridian' and 'Sidewall Shading.' By intentionally creating a high-contrast zone through the center of the nail while darkening the extreme lateral walls, you effectively create a focal point that draws the eye inward, minimizing the perceived width of the nail plate.
1. Lateral Wall Precision
The most common mistake in nail enhancement is rounding the sidewalls too aggressively, which can lead to a 'bulbous' appearance. Instead, use a 180-grit file held at a 90-degree angle against the lateral fold to create a clean, crisp vertical plane. This creates a sharp 'edge' that captures light, distinguishing the nail from the skin and establishing a defined boundary.
Join the newsletter
Get fresh nail tutorials, trends, and business tips straight to your inbox.
2. The Mid-Plate Highlight
When applying your base or color, concentrate the opacity in the center of the nail plate. For nude or sheer tints, layer the pigment so it is slightly denser in the middle and tapers off toward the side walls. This gradient effect mimics the natural curvature of a healthy, slim nail bed.
Technical Application Steps
* Preparation: Perform your standard dry-manicure prep, ensuring the proximal fold is clear of non-living tissue. This maximizes the 'starting point' of your nail length.
* Foundation: Apply a clear structural base layer. Do not rush this; ensure the apex is centered, as any tilt will ruin the optical framing later.
* The Framing Coat: Use a slightly pigmented shade. Apply it in a single, smooth stroke down the center, then feather the edges toward the sidewalls using a liner brush. Avoid touching the lateral folds by a hair’s breadth to keep the line crisp.
* Top Coat Sealing: Use a high-gloss top coat. The reflection on the surface will naturally follow the curve you created, acting as a final 'frame' for the nail.
Troubleshooting Common Issues
If your client still feels their nails look 'wide,' check your apex placement. If the apex is too far back (near the cuticle), it creates a rounded look that shortens the nail. Shift your apex slightly toward the free edge to create a flatter, more elongated slope. Additionally, avoid heavy-handed matte top coats on wider nail beds, as they tend to absorb light and erase the slimming 'frame' you have meticulously constructed.
Strategic Upselling
Introduce this technique as a 'Morphology Correction' service in your booking menu. Clients who are self-conscious about their natural nail shape will find immense value in a service that isn't just about color, but about tailored structural aesthetics. Position it as a premium add-on that requires additional technical time for precision contouring.
Join the newsletter
Get fresh nail tutorials, trends, and business tips straight to your inbox.
