
The 'Peripheral-Flow' Technique: Refining Gel Application for Crisp Cuticle Lines
Learn the professional 'Peripheral-Flow' method to achieve seamless, flood-free cuticle lines while maintaining optimal product durability.
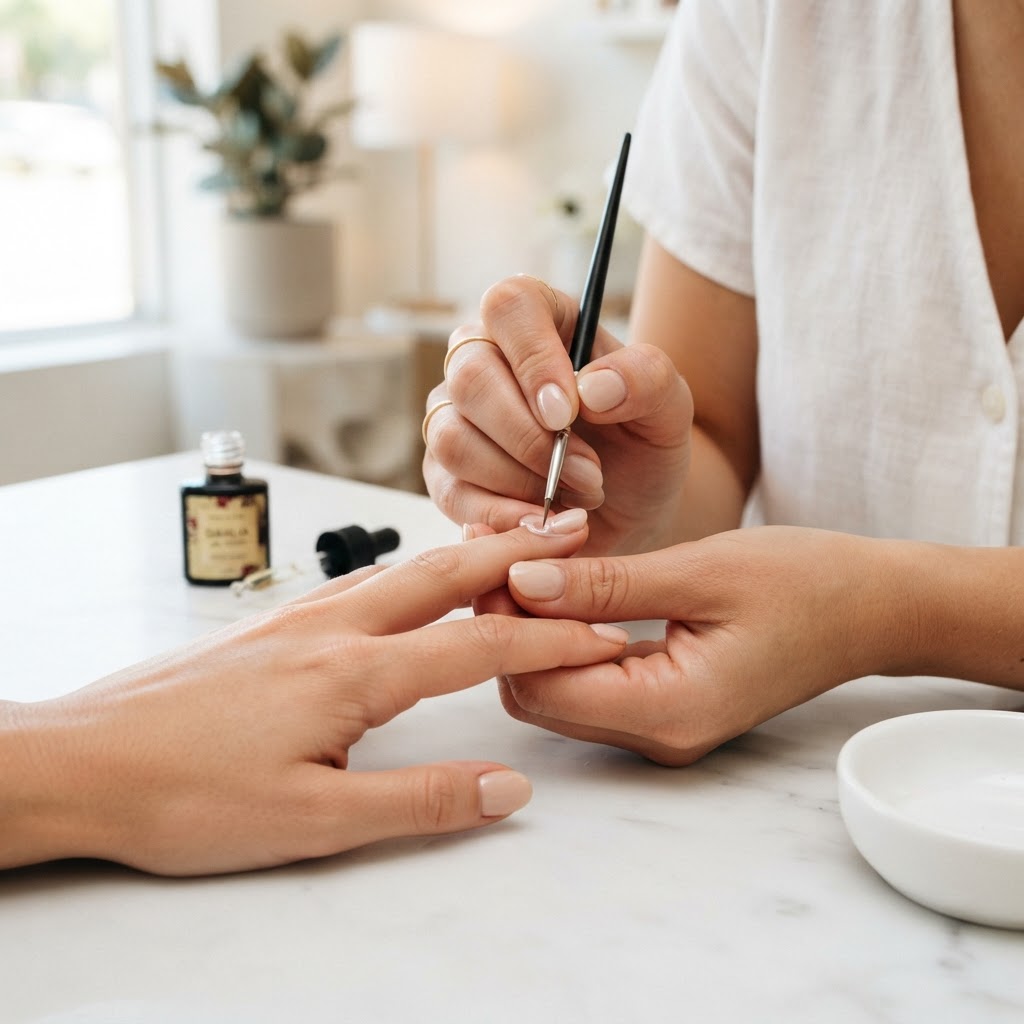
Mastering the Peripheral-Flow Technique
For many nail technicians, the most challenging aspect of a gel manicure is the 'cuticle gap.' Too wide, and the manicure looks grown-out before it even leaves the salon; too close, and you risk flooding the eponychium, leading to lifting, skin sensitivity, and an unprofessional finish. The 'Peripheral-Flow' technique is a structural approach to gel placement that prioritizes gravity and surface tension over manual painting.
The Anatomy of the Peripheral Zone
The peripheral zone—the 1.5mm perimeter around the cuticle and sidewalls—requires a distinct viscosity and application pressure compared to the apex. If you apply a standard bead here, the product will inevitably move before it cures. To master this, you must treat the perimeter as a separate, refined phase of the service.
Phase 1: The 'Zero-Gravity' Bead Selection
Join the newsletter
Get fresh nail tutorials, trends, and business tips straight to your inbox.
Instead of taking your standard product bead, use a 'micro-bead.' This should be approximately 30-40% smaller than your primary apex bead. By reducing the volume, you reduce the internal mass that triggers lateral migration. Use a high-quality liner brush with a sharp point to pick up this small amount of product.
Phase 2: The Peripheral-Flow Sequence
Phase 3: The 'Flash-Anchor' Method
Once the product is placed in the peripheral zone, do not rush to the full-hand cure. Use a high-powered mini-LED lamp to flash-cure for 5 seconds. This locks the polymer in place, preventing the gel from settling into the grooves of the eponychium while you move to the next finger. Without this stabilization, even the most perfect application can shift during the transition between the hand and the lamp.
Troubleshooting Common Failures
* Product 'Shrinking': If your gel pulls away from the cuticle after curing, your base coat application is likely too thick or 'slick' at the edges. Ensure your base layer is buffed into the nail plate properly.
* Surface Tension Breaks: If the gel is not 'flowing' smoothly, your brush may be too dry. Dip the tip of your liner brush into a tiny amount of high-viscosity top coat or base gel to 'lubricate' the movement of the color gel.
By adopting the Peripheral-Flow method, you shift from 'painting' nails to 'engineering' a durable, high-end finish that resists lifting and mimics the natural growth pattern of the nail plate. Practice this on a silicone training mat first to observe how the surface tension of your specific brand interacts with the skin-line barriers you create.
Join the newsletter
Get fresh nail tutorials, trends, and business tips straight to your inbox.
