
The 'Peripheral-Anchor' Technique: Eliminating Lifting at the Lateral Sidewalls
Master the structural preparation and application geometry required to eliminate premature lifting at the most common point of failure: the lateral sidewalls.
The Architecture of Failure: Why Lateral Lifting Occurs
For many nail technicians, the struggle against lateral wall lifting is not a product issue, but an architectural one. Lifting in this specific region typically stems from one of three factors: poor cuticle-area clearing that leaves hidden membrane remnants, a failure to account for nail plate curvature, or 'flooding' the sidewall during the application phase. When the gel bonds to the skin rather than the nail plate, or when it creates a 'shelf' that catches on daily friction, the seal is inevitably broken.
The Peripheral-Anchor Protocol
To achieve a seamless, long-lasting bond, you must treat the sidewalls as a structural boundary rather than a surface to be covered. Follow this three-step workflow to reinforce the perimeter of the nail.
1. The 'Zero-Margin' Preparation
Join the newsletter
Get fresh nail tutorials, trends, and business tips straight to your inbox.
Most artists focus on the eponychium, but the true culprit is the invisible cuticle clinging to the lateral grooves. Use a high-quality, flame-shaped diamond bit at a low RPM (below 8,000) to exfoliate the lateral folds. Tilt the bit at a 45-degree angle to lift the fold away from the nail plate. If you do not clear the 'invisible' cuticle, your base coat will bond to the dead skin, which will slough off within 48 hours, causing a micro-lift that compromises the entire enhancement.
2. The 'Micro-Bead' Sidewall Placement
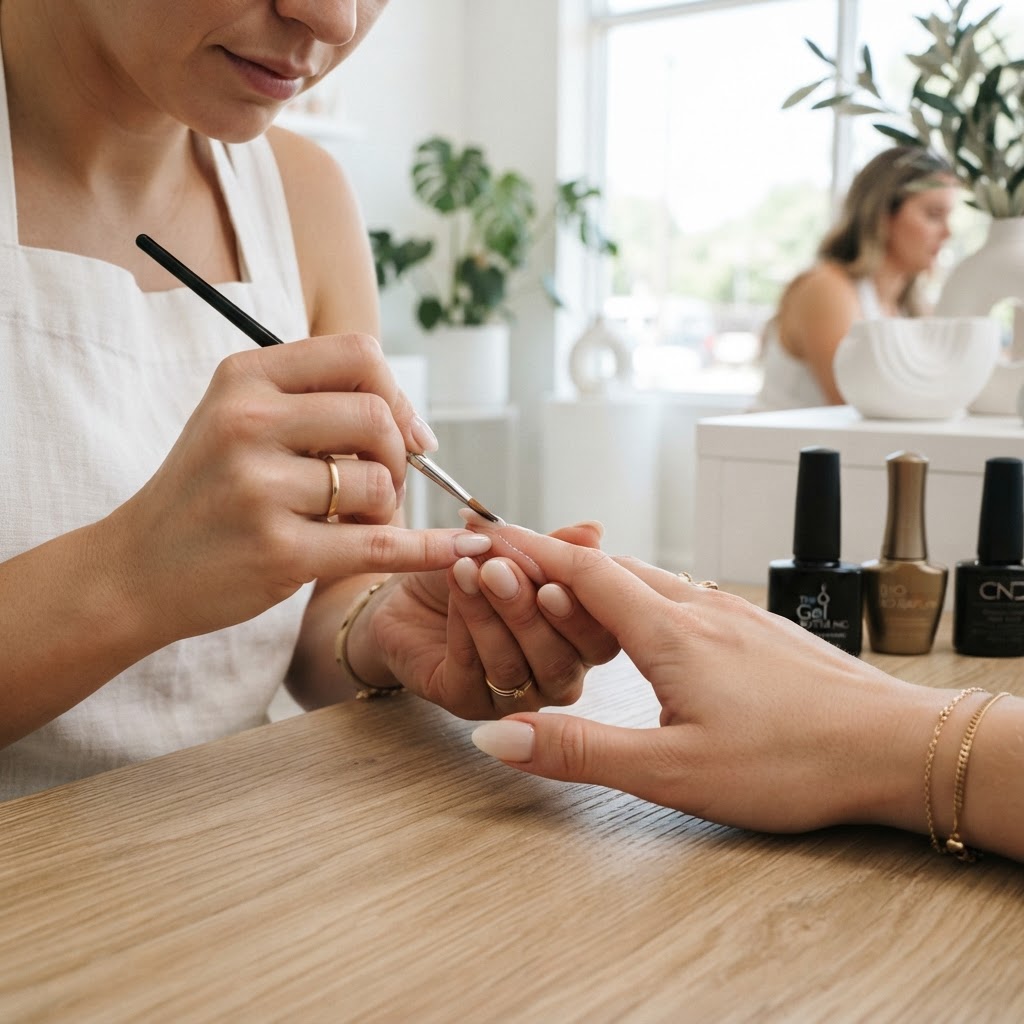
When applying your base or builder gel, avoid bringing the product to the absolute edge in one stroke. Instead, use a liner brush to 'trace' the sidewall. By placing the product 0.5mm away from the fold and using a fine-tipped brush to push it into the edge, you ensure total coverage without flooding. This gap allows for the product to settle during the curing process without creating a ledge that catches on hair or clothing.
3. Lateral Curing Geometry
Heat spikes and lifting are often caused by uneven polymerization. Because the sidewalls are curved, they receive less direct UV light than the center of the nail. Instruct clients to place their hand in the lamp with fingers slightly spread. If the fingers are too close together, the skin folds block the UV light from reaching the extreme edges of the nail, leading to under-cured gel that remains tacky and susceptible to chemical breakdown.
Troubleshooting Common Sidewall Challenges
* The 'Shelf' Effect: If you notice a ridge at the sidewall, you have applied too much product. Use a 180-grit file to gently refine the edge of the gel after the initial cure, thinning it to a feather-edge transition.
* Chronic Lifting on Dominant Hands: This is almost always due to the client’s mechanical interaction with their environment. Ensure your 'Peripheral-Anchor' is slightly thicker at the stress point near the sidewall to provide extra impact resistance.
* Product Shrinkage: If you notice the gel pulling away from the sidewalls immediately after curing, you are likely working with a high-viscosity product that hasn't been allowed to 'level.' Wait 15 seconds after application before initiating the cure to allow the gel to distribute across the plate.
By treating the sidewalls as an engineered boundary rather than an afterthought, you significantly increase the longevity of your sets and reduce the need for corrective fills, ultimately creating a more professional and durable experience for your clients.
Join the newsletter
Get fresh nail tutorials, trends, and business tips straight to your inbox.