
The 'Orbital Pivot' Technique: Precision Refinement for Cuticle-Adjacent Gel Application
Master the art of the 'Orbital Pivot' to achieve seamless, shadow-free cuticle lines without the risk of product flooding or premature lifting.
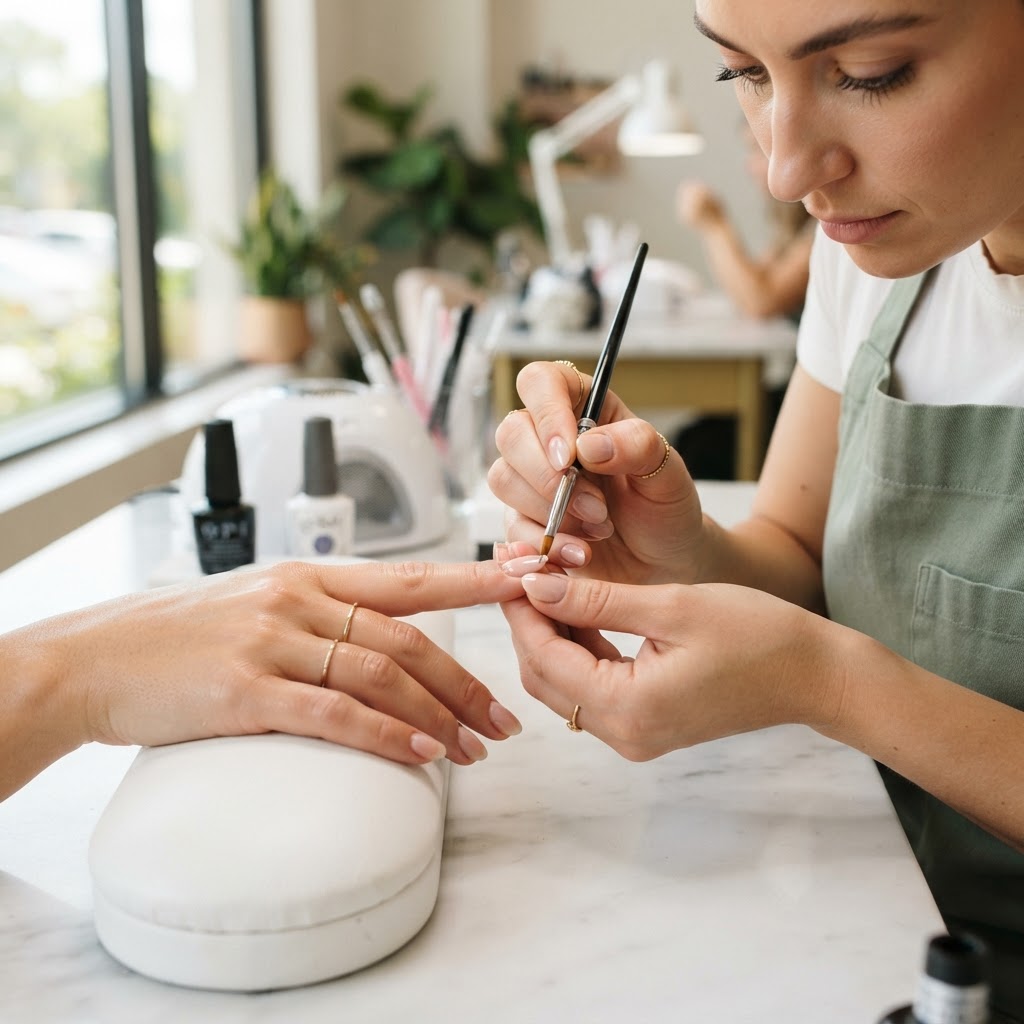
The Precision Challenge
One of the most persistent hurdles in high-end gel application is the 'gap of shame'—that unsightly space between the cuticle and the product—or conversely, the dreaded flood that leads to heat spikes and service breakdown. The 'Orbital Pivot' technique is a structural approach to brush manipulation that allows you to mimic the curvature of the proximal nail fold perfectly, ensuring a seamless finish that lasts until the next fill.
The Mechanics of the Pivot
The Orbital Pivot relies on three specific anchor points of the brush: the heel (the thicker portion near the ferrule), the belly, and the tip. Most technicians fail because they attempt to drag the brush in a straight line toward the cuticle. Instead, you must treat the cuticle line as an arc, not a flat border.
Step-by-Step Implementation
Join the newsletter
Get fresh nail tutorials, trends, and business tips straight to your inbox.
Why This Matters for Retention
Lifting at the proximal fold is rarely just about prep; it is often about 'over-application' at the cuticle. When the product is applied too thick at the rear, the natural growth of the nail creates a ledge that catches on hair and clothing, leading to premature detachment. The Orbital Pivot ensures that the layer at the cuticle is thin, flexible, and perfectly integrated with the natural nail plate.
Troubleshooting Common Errors
* Pooling: If you see gel creeping into the side walls, your brush pressure is too heavy. Lighten your touch; the product should 'glide' on top of the sticky layer, not be pushed into it.
* Heat Spikes: If the client feels a burn, you are likely applying too much product in one layer. The Orbital Pivot is designed to keep the initial layer sheer, building the apex in subsequent steps.
* The 'Shadow' Line: This happens when you pull back too early. Ensure your pivot motion completes the entire arc before lifting the brush from the nail.
By mastering this rotational movement, you reduce the need for aggressive filing near the delicate skin of the proximal fold, protecting your client's nail health while elevating the professional aesthetic of your service.
Join the newsletter
Get fresh nail tutorials, trends, and business tips straight to your inbox.
