
The 'Orbital-Apex' Calibration: Mastering Structural Balance in Long-Form Enhancements
Learn how to calculate and place the apex for high-stress nail extensions to prevent breakage and ensure long-term structural integrity.
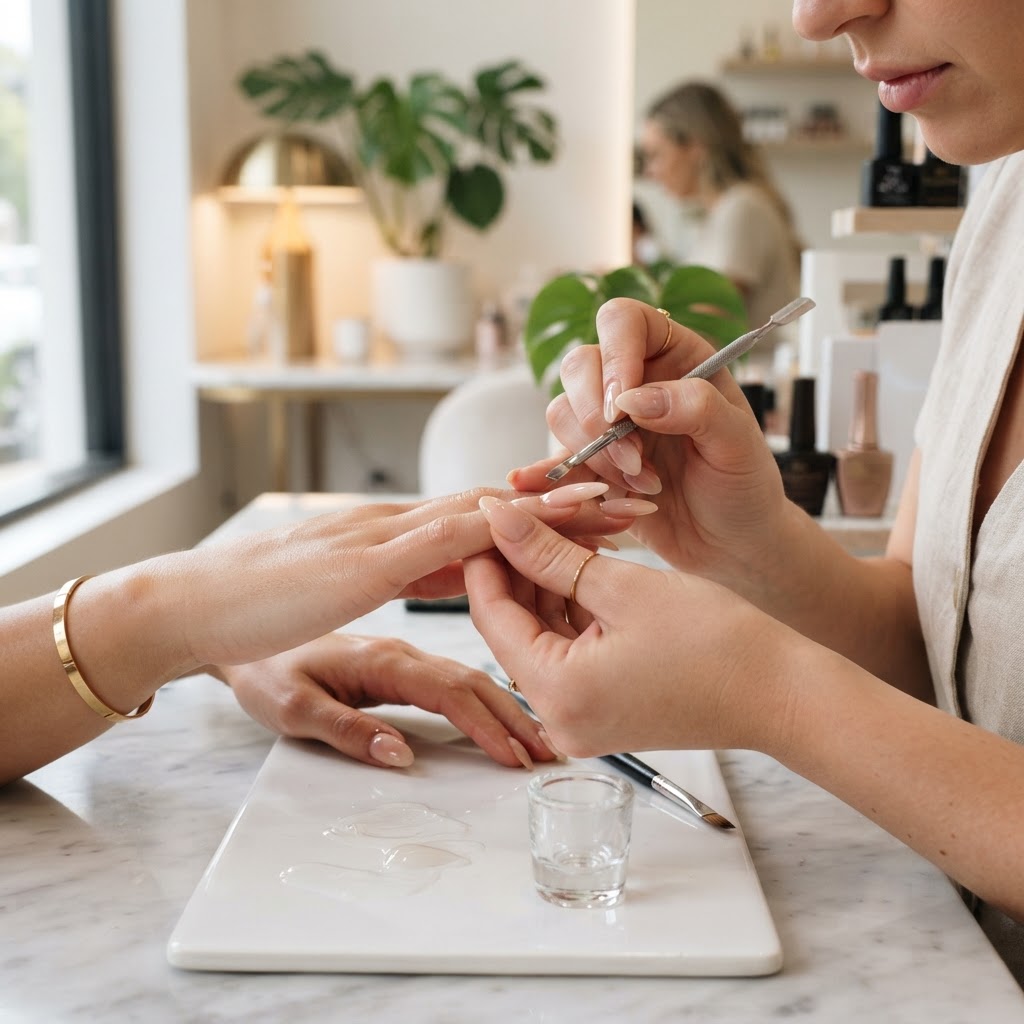
Understanding Structural Failure in Long-Form Enhancements
For nail artists specializing in long extensions, the primary challenge is not aesthetics, but physics. When you increase the length of a nail, you drastically alter the lever arm, moving the point of maximum stress away from the nail bed. Without an accurately placed apex, the center of gravity of the enhancement shifts, leading to stress fractures at the 'strike zone'—the area just behind the free edge where the nail is most likely to snap.
The Anatomy of the Orbital-Apex
The 'Orbital-Apex' is a technique that views the nail plate as a curved, load-bearing bridge rather than a flat surface. To achieve professional-grade durability, you must shift your focus from simply applying product to engineering a curve that distributes pressure toward the lateral walls.
Step 1: Determining the Stress Point
Before you pick up your brush, measure the client's natural nail length. The ideal apex is located at the 'transition zone'—where the natural nail meets the extension form. If the apex is placed too far forward, the tip becomes brittle. If it is too far back, the nail will look 'bulky' and unnatural.
Join the newsletter
Get fresh nail tutorials, trends, and business tips straight to your inbox.
Step 2: The Two-Zone Bead Application
Instead of applying one large bead of sculpting gel, utilize a two-zone approach to maintain control over surface tension:
Managing Polymerization Geometry
High-viscosity gels behave differently under an LED lamp. When curing, the outer surface polymerizes faster than the deep center of the apex, which can lead to 'heat spikes.' To mitigate this, use the 'Pulse-Cure' method: flash-cure for 5 seconds at a lower intensity setting before committing to a full 60-second cycle. This allows the molecules to align gradually, preventing microscopic air bubbles that weaken the structural integrity of the apex.
Troubleshooting the Finish
Once the product is cured, perform a profile check. Hold the finger at eye level and look for a continuous, gentle curve that starts from the cuticle, rises to the apex, and descends smoothly to the free edge. If the transition between the apex and the cuticle is steep, your enhancement is prone to lifting. If the slope to the free edge is too abrupt, your structure will be top-heavy.
By prioritizing the 'Orbital-Apex' calibration, you move beyond mere decoration into the realm of architectural nail design, ensuring your work remains pristine for weeks between fill-ins.
Join the newsletter
Get fresh nail tutorials, trends, and business tips straight to your inbox.
