
Style7 min readby NailRush Live Team5 views
The 'Negative Space' Geometric Framework: A Technical Approach to High-End Minimalist Nail Art
Move beyond freehand guesswork by mastering the geometric scaffolding required to create crisp, high-contrast negative space designs that demand a premium service fee.
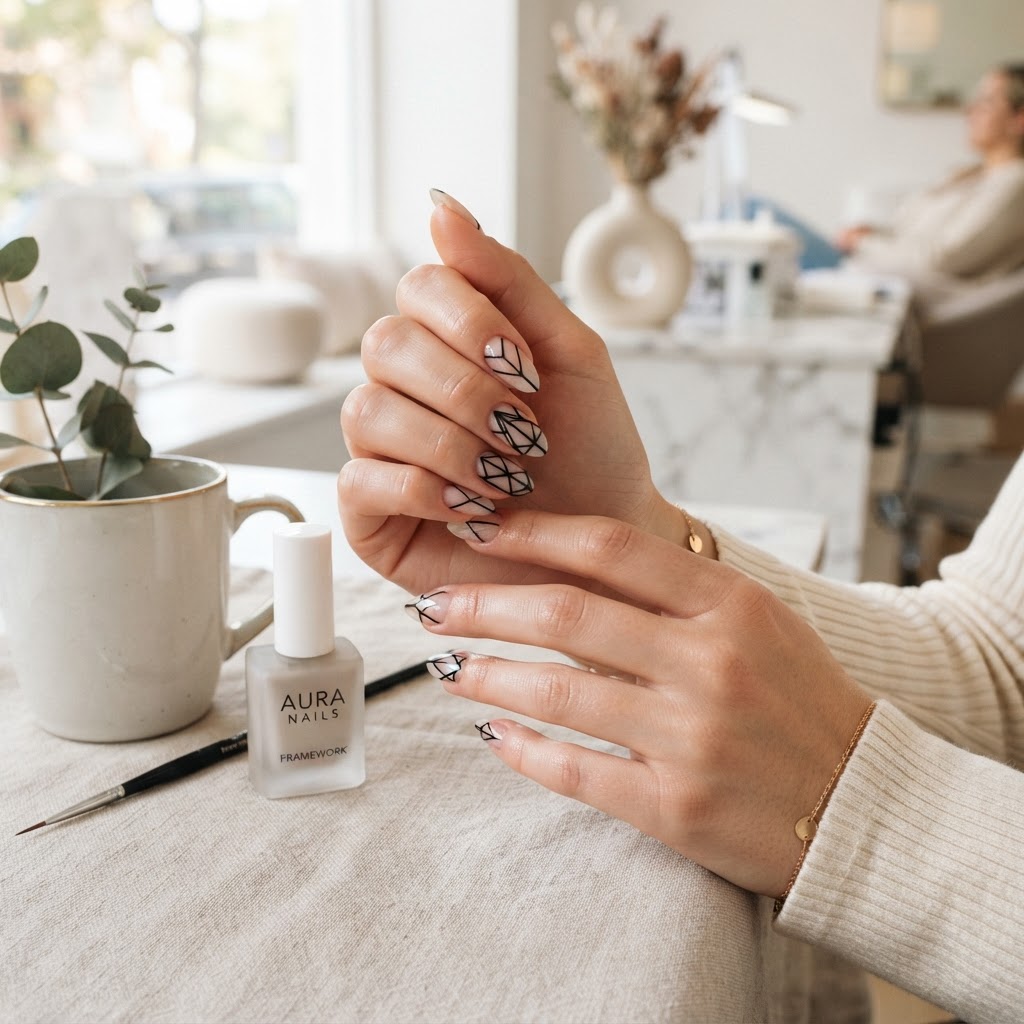
The Architecture of Minimalist Precision In the world of high-end nail artistry, the most sought-after designs are often those that look deceptively simple. The 'negative space' aesthetic requires more than just a steady hand; it demands an understanding of structural proportion and product control. When you strip away elaborate 3D embellishments, you are left with nothing but the precision of your line work and the clarity of your clean-up. This guide outlines the framework for executing high-impact, geometric minimalist designs. ### Phase 1: The Foundation Prep and Mapping Before a single drop of pigment touches the nail, the foundation must be flawless. Any imperfections in the cuticle area or uneven nail plate textures will be magnified by negative space. 1. Dehydration and pH Balancing: Because you are leaving sections of the natural nail exposed, ensure the nail plate is perfectly dehydrated to prevent premature lifting at the 'frame' edges. 2. Mapping the Grid: Use a sharpened water-soluble pencil to lightly sketch your geometric paths. This allows you to check for symmetry against the client’s cuticle line and sidewalls before committing to gel. 3. The 'Base-Lock' Method: Apply a clear, high-viscosity builder gel to the areas designated for art, but leave the intended 'negative' sections entirely free of product. This provides a crisp ridge for your color to 'snap' against. ### Phase 2: Technical Execution of Sharp Lines The biggest failure in geometric art is 'bleeding'—where the gel migrates slightly, softening the edges of your shapes. To prevent this, change your chemical approach: - Use High-Pigment Gel Paints: Never use standard gel polish for fine lines; the viscosity is too low. Gel paints allow for a 'one-stroke' saturation without the need for multiple layers that can create bulk and lead to uncured pigment at the edges. - The 'Flash-Cure' Workflow: Do not attempt to complete the full design in one go. Flash-cure each geometric element for 10 seconds under a portable LED lamp. This locks the pigment in place, ensuring that subsequent lines remain sharp and distinct. - Negative Space Clean-up: If you encounter minor smudging, do not use a brush dipped in acetone; it will cause the color to streak into the bare nail. Instead, use a firm, flat square-edged brush dipped in a high-viscosity base coat. The clear gel will 'erase' the error while simultaneously filling in the void, maintaining the perfect surface tension of the nail. ### Phase 3: Balancing the Composition A common pitfall is over-complicating the design. High-end minimalist art relies on the 'Rule of Thirds.' If you are creating a chevron or linear design, ensure the intersection points are not centered perfectly—offsetting them creates visual interest that feels curated rather than accidental. Furthermore, vary the width of your lines. Using a 1:3 ratio (a thin line paired with a slightly wider border) adds a professional, sophisticated depth that signals to the client they are paying for artistry, not just a standard polish application. By moving away from cluttered designs and embracing the constraints of negative space, you elevate your brand positioning and justify a premium 'artistry' surcharge on your service menu.
Join the newsletter
Get fresh nail tutorials, trends, and business tips straight to your inbox.
Join the newsletter
Get fresh nail tutorials, trends, and business tips straight to your inbox.
