
The Nail Artist’s Guide to Practical Color Theory: Mixing Custom Shades for Every Client
Stop relying solely on pre-mixed polish bottles. Learn how to leverage the color wheel to mix custom shades, correct muddy tones, and create bespoke palettes that keep clients coming back.
# The Nail Artist’s Guide to Practical Color Theory: Mixing Custom Shades for Every Client
Excerpt
Stop relying solely on pre-mixed polish bottles. Learn how to leverage the color wheel to mix custom shades, correct muddy tones, and create bespoke palettes that keep clients coming back.
---
Why Custom Mixing is a Game-Changer
In a world where clients have endless access to Pinterest mood boards and viral TikTok nail trends, sometimes the exact shade they want doesn’t exist in your current polish collection. Instead of ordering a new bottle and making them wait, mastering basic color theory allows you to become a true bespoke nail artist. Mixing custom shades not only saves you money on inventory, but it elevates the client experience, turning a standard manicure into a personalized luxury service.
Whether you work with gel, traditional polish, or acrylic, understanding how colors interact is the secret to flawless, high-end results. Here is your practical guide to color theory for nail artists.
The Foundation: Understanding the Wheel
Before you start mixing, you need to understand the three tiers of the color wheel:
The Actionable Takeaway: Keep a physical color wheel at your desk. When a client brings in a photo of a color that falls between two of your polishes, the wheel tells you exactly which two colors to mix to get there.
Warm vs. Cool Undertones
Every color has an undertone—either warm (yellow, orange, red-based) or cool (blue, green, purple-based). This is why a "true red" might look orange on one client’s skin but pinkish on another's.
When mixing custom shades, undertones matter immensely. If you mix a warm yellow with a cool blue, you won’t get a vibrant, jewel-toned green; you will get a muddy, olive-toned green.
Join the newsletter
Get fresh nail tutorials, trends, and business tips straight to your inbox.
To keep colors vibrant:
Adjusting Depth: Tints, Shades, and Tones
Rarely will a client want a pure, saturated color straight from the bottle. Most want a softer, more muted, or deeper version. Here is how to adjust your mix:
Fixing "Mud": What to Do When Colors Go Wrong
The most common fear artists have about mixing is creating a muddy, grayish-brown mess. This happens when complementary colors (colors opposite each other on the wheel, like red and green, or blue and orange) are mixed together.
If your mix turns muddy and you didn't want it to:
Creating Cohesive Palettes for Multi-Colored Sets
If a client wants a multi-colored French tip or a mismatched "skittle" set, color theory helps you ensure the colors look like a family rather than a chaotic mess.
Actionable Step: Build Your Mixing Station
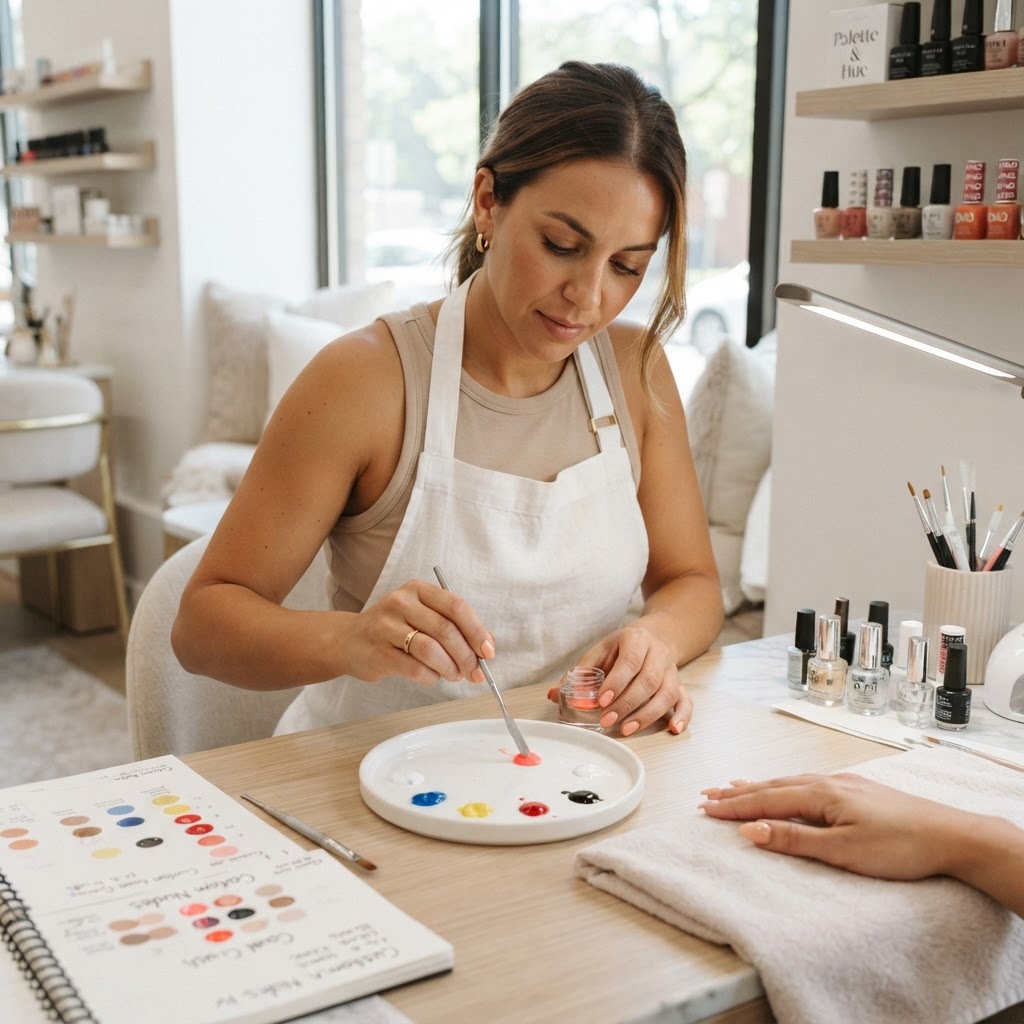
To put this into practice immediately, set up a dedicated mixing area in your salon:
---
SEO Tags: Nail art color theory, mixing custom nail polish, gel polish mixing techniques, bespoke nail design, nail artist tips
Estimated Read Time: 5 min read
Join the newsletter
Get fresh nail tutorials, trends, and business tips straight to your inbox.
