
The 'Morphological-Fit' Analysis: Precision Shaping for Diverse Nail Bed Architectures
Move beyond cookie-cutter shapes and learn how to engineer the perfect nail contour based on individual nail plate geometry and lateral wall tension.
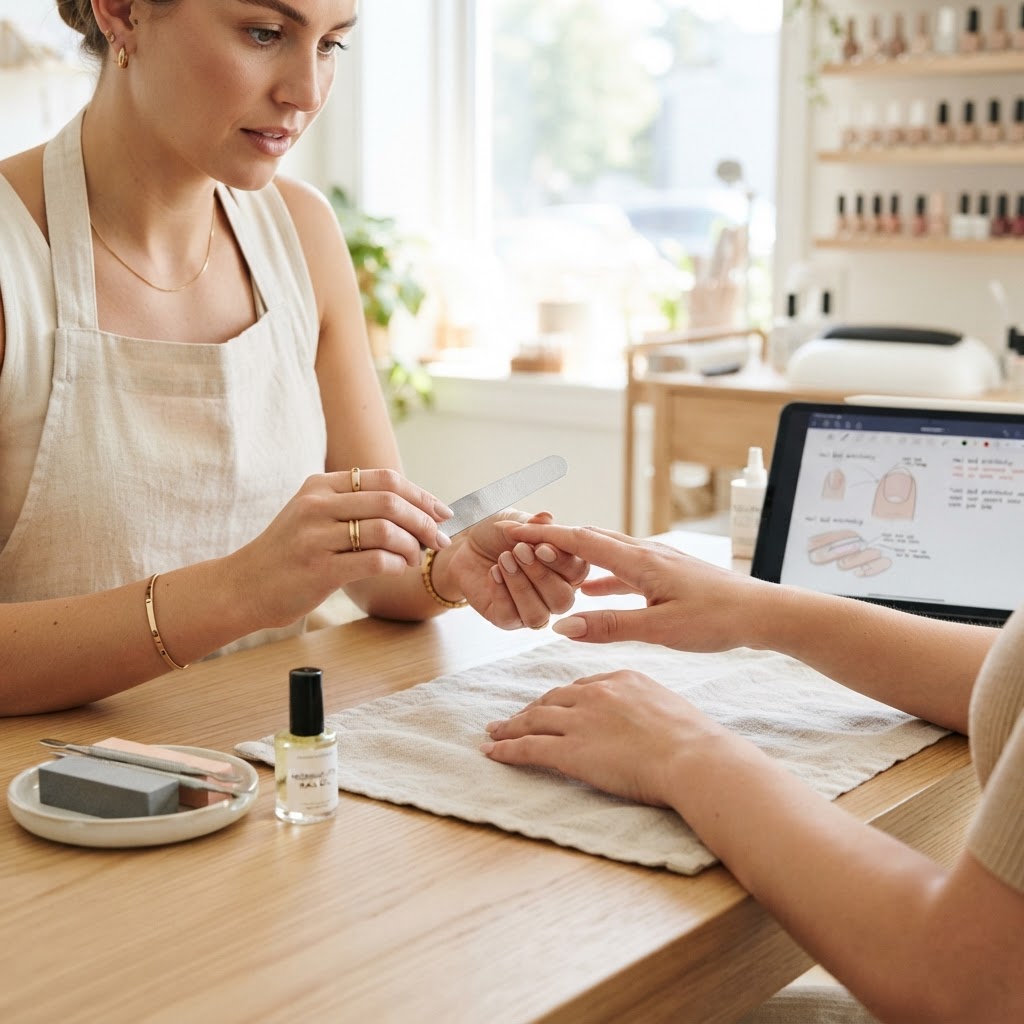
Mastering Morphological Shaping
For many nail technicians, shaping is a procedural habit—a series of predictable strokes applied to every client regardless of their natural anatomy. However, the secret to long-lasting enhancements and aesthetic harmony lies in 'Morphological-Fit' analysis. This is the art of tailoring your filing angles and apex placement to the specific structural constraints of the client's nail bed.
Identifying the Three Primary Morphologies
Before you reach for your file, you must identify which structural category your client falls into:
* The Convex-High-Arch: These clients have a significant C-curve. If you file the side walls too aggressively, you risk 'thinning' the structure at the stress points. The goal here is to maintain material thickness at the lateral walls while thinning the bulk at the free edge.
* The Flat-Platypus Plate: Common in clients who bite their nails or have wide, thin nail beds. Here, the challenge is structural integrity. You must build a 'faux' C-curve into the enhancement to prevent lateral cracking.
* The Down-Turned Hook: Often seen in longer natural nails. This requires a 'Corrective Filing Angle' where you file from the underside of the free edge to reduce mass, effectively 'lifting' the look of the nail through visual weight reduction.
Join the newsletter
Get fresh nail tutorials, trends, and business tips straight to your inbox.
The 'Radial-Point' Filing Technique
Instead of long, sweeping strokes, adopt the Radial-Point filing technique. This method involves anchoring your elbow at a fixed point on your table and rotating the client's finger 360 degrees around the file. This ensures that the sidewalls are filed at a consistent angle relative to the finger's axis rather than the technician's perspective.
Aligning Shape with Lifestyle
Precision shaping is not just about looks; it is about ergonomics. A client who uses a keyboard all day requires a shorter, 'soft-square' morphology to reduce the force of impact on the free edge. A client who performs manual labor requires a rounded shape that lacks corner stress points. By analyzing the client's hands at the start of the service, you can recommend a shape that actually sustains the integrity of the enhancement.
Summary of Best Practices
* Never 'chase' the shape: If you find yourself filing too much, step back. Over-filing destroys the polymer bonds of your hard gel or acrylic.
* Lateral Wall Integrity: Always leave a 0.5mm buffer of product on the very edge of the sidewall to act as a 'bumper' against impact.
* The Mirror Test: Hold the client's hand up to a mirror. Looking at the reflection reveals imbalances in shape that your eyes become 'blind' to when looking directly at the hand for too long.
Join the newsletter
Get fresh nail tutorials, trends, and business tips straight to your inbox.
