
The 'Morphological-Contour' Mapping: Sculpting the Perfect Apex on Flat Nail Beds
Master the art of architectural nail geometry to ensure long-term structural integrity and elegant aesthetics for clients with flat or fan-shaped nail plates.
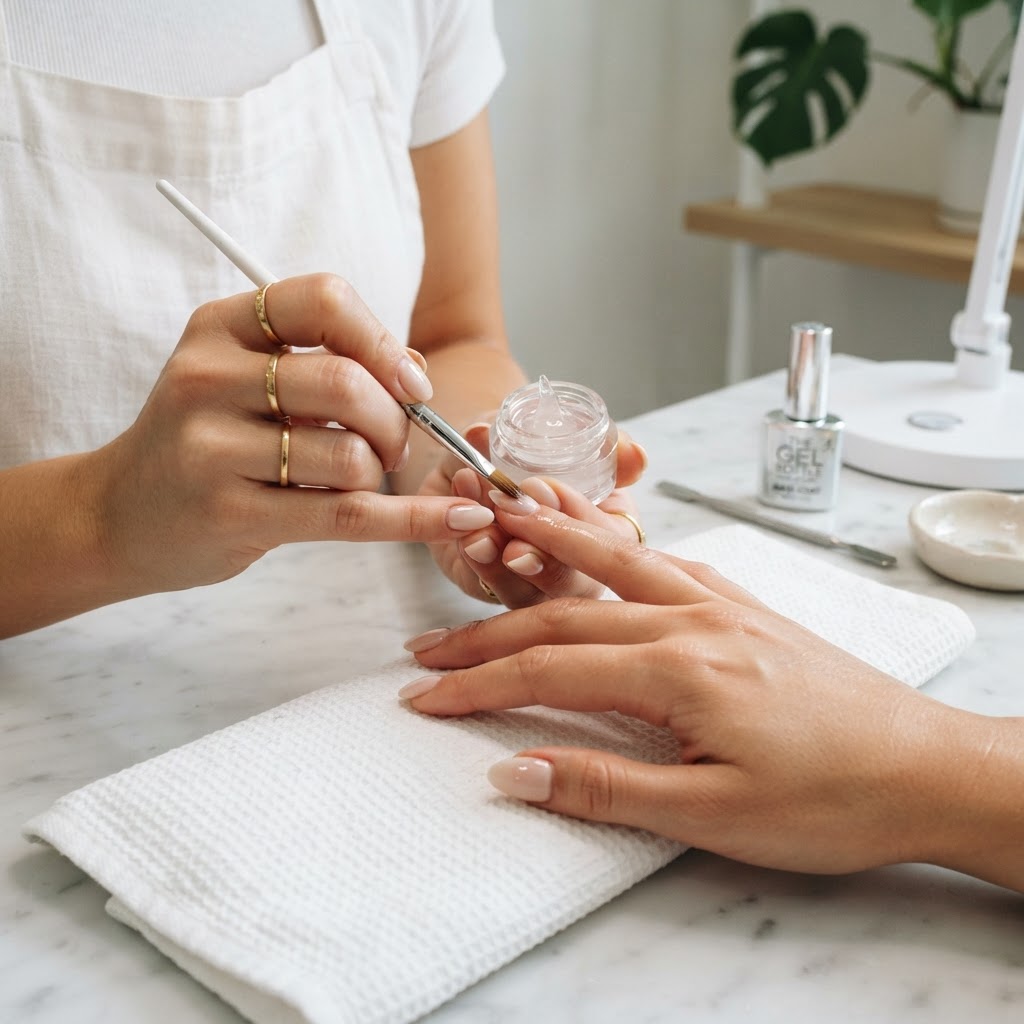
The Architecture of the Flat Plate
Many nail technicians struggle with the structural longevity of enhancements on flat or 'ski-jump' nail plates. Because these nails lack a natural apex, the traditional 'brush-on' method often results in a weak stress zone, leading to premature snapping at the point of tension. The 'Morphological-Contour' mapping method focuses on creating a synthetic skeletal arch that mimics the strength of a natural, convex nail bed, effectively redistributing stress away from the center of the nail.
Step 1: The Base-Layer Compensation
Before applying your structured builder gel, you must compensate for the lack of a natural arch. Start with a thin, scrubbed-in layer of base coat to ensure adhesion. Crucially, if the nail bed is excessively flat or wide (fan-shaped), do not pull the product to the free edge immediately. Instead, apply a small bead at the proximal nail fold (the cuticle area) and allow it to gravity-level toward the center, creating a 'foundation mound' that compensates for the flatness of the natural plate.
Step 2: Volumetric Apex Placement
Join the newsletter
Get fresh nail tutorials, trends, and business tips straight to your inbox.
Unlike standard applications, the Apex-Mapping method requires a two-drop approach:
* The Primary Drop: Place your builder gel at approximately 60% of the way down from the cuticle. This is your structural core. Do not spread it thin. Let the product self-level for 10 seconds to establish the height.
* The Secondary Drop: Place a much smaller amount near the cuticle area. Use a fine-liner brush to drag this drop back toward the primary drop, feathering the edges to eliminate any 'lip' or 'step' in the gel thickness.
Step 3: The 'Inverse-Gravity' Inversion
For flat nails, standard self-leveling is often insufficient. After placing your primary drop, have the client turn their hand palm-up for 3-5 seconds. This 'Inverse-Gravity' technique forces the product to flow toward the center of the nail, automatically creating the 'dome' shape that the flat natural nail lacks. Immediately flip the hand back and move to a 10-second flash cure.
Troubleshooting Common Failures
Why This Matters for Your Business
Mastering morphological contouring is more than a technical skill; it is a retention strategy. Clients with flat nail beds are often 'chronic breakers' who blame the technician's prep or product quality. By educating your client on the necessity of this structural build, you position yourself as an authority in nail architecture. When their nails survive a three-week growth cycle without a single crack or lift, you transition from a 'nail painter' to a 'structural nail engineer'—a title that commands higher service pricing and guarantees client loyalty.
Join the newsletter
Get fresh nail tutorials, trends, and business tips straight to your inbox.
