
The 'Molecular-Adhesion' Protocol: Enhancing Gel-to-Keratin Interlocking via Dehydration Calibration
Stop blaming product quality for lifting. Learn the scientific approach to optimizing natural nail surface energy to ensure long-term gel enhancement durability.
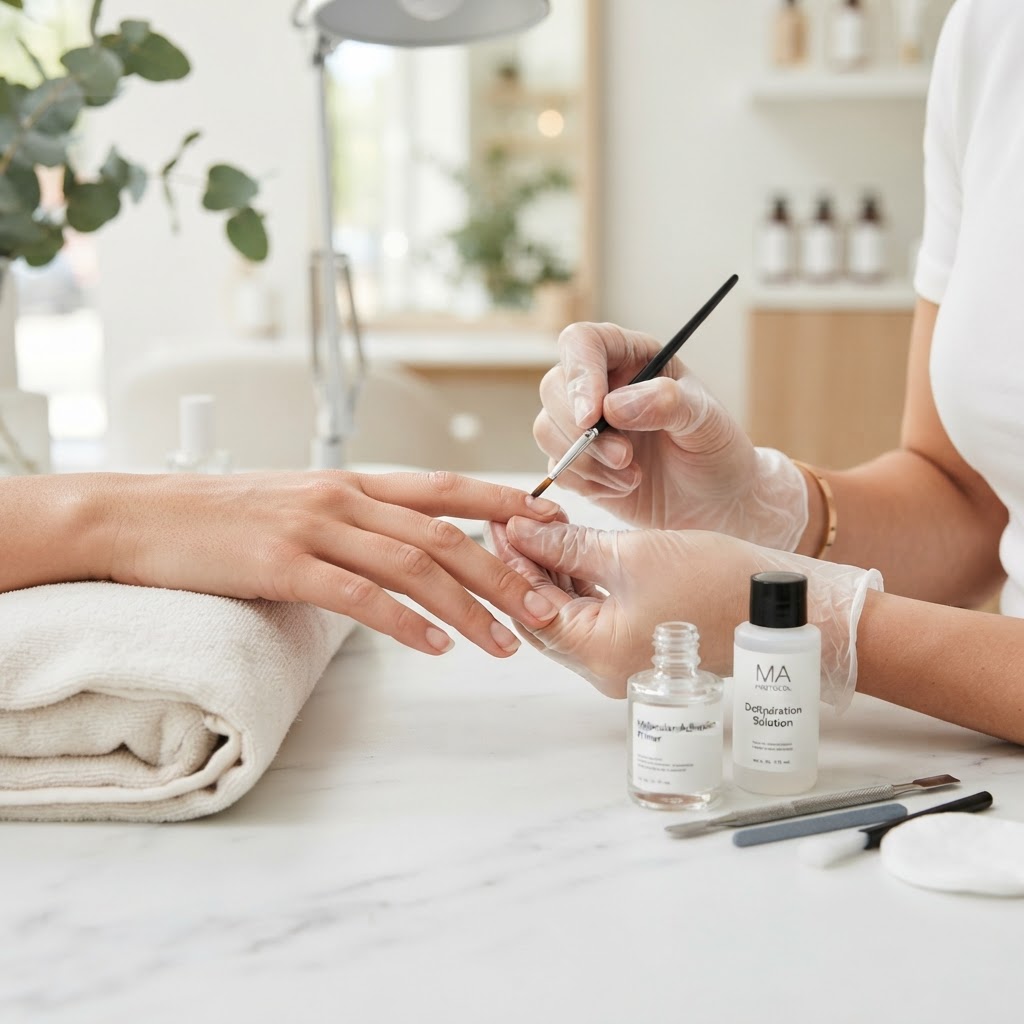
The Science of Attachment
Lifting at the proximal fold or lateral grooves is rarely a failure of the product itself; it is almost universally a failure of the interface between the synthetic polymer and the natural keratin plate. To achieve a true 3-to-4-week wear time, you must view the nail plate not just as a canvas, but as a porous, biological substrate that requires specific chemical preparation.
Phase 1: The 'Dermal-Moisture' Baseline
Before you touch an e-file, you must assess the client's natural nail environment. High-moisture nails—often characterized by a flexible, translucent appearance—require a different preparatory sequence than brittle, low-porosity nails.
Phase 2: Mastering Surface Energy
Join the newsletter
Get fresh nail tutorials, trends, and business tips straight to your inbox.
Adhesion is governed by surface energy. A smooth, oily nail has low surface energy, causing gels to bead rather than bond. A properly prepared nail increases surface area, allowing the base coat to anchor into the microscopic grooves created during your prep.
The 'Peripheral-Anchor' Technique
When applying your base coat or builder gel, utilize a 'stippling' motion at the cuticle zone. By lightly pressing the product into the lateral grooves rather than swiping it, you force the gel into the microscopic texture created during the buffing stage. This mechanical interlocking is the most effective defense against edge-lifting.
Phase 3: The 'Polymer-Calibration' Audit
If your clients still experience micro-lifting, audit your process against these three variables:
* The 'Product-to-Cuticle' Gap: Maintain a strict 0.5mm buffer between the cuticle tissue and the product line. Product touching live tissue is the number one cause of allergic sensitization and premature lifting as the nail grows.
* The Lamp Calibration: Are your bulbs reaching the end of their lifespan? Under-cured gel is chemically unstable and will lose its bond prematurely. Test your lamp intensity using a curing card monthly.
* Contamination Control: Never touch the prepared nail plate with your fingers after dehydration. The natural sebum on your skin will immediately neutralize the surface energy you just created, effectively creating a 'slip-layer' where the gel will not adhere.
Implementing the Protocol
Success in long-term wear is about consistency, not magic products. By standardizing your dehydration steps and adopting a stippling application method, you transform your service from a basic aesthetic application into a durable, engineered enhancement. Remember: A perfect application is only as good as the molecular bond beneath it.
Join the newsletter
Get fresh nail tutorials, trends, and business tips straight to your inbox.
