
The 'Micro-Volume' Sculpting Protocol: Mastering Precision Apex Placement in Short-Bed Architecture
Learn how to calculate and apply the exact volume of structural gel required to support short, high-stress nail beds without creating bulk or premature breakage.
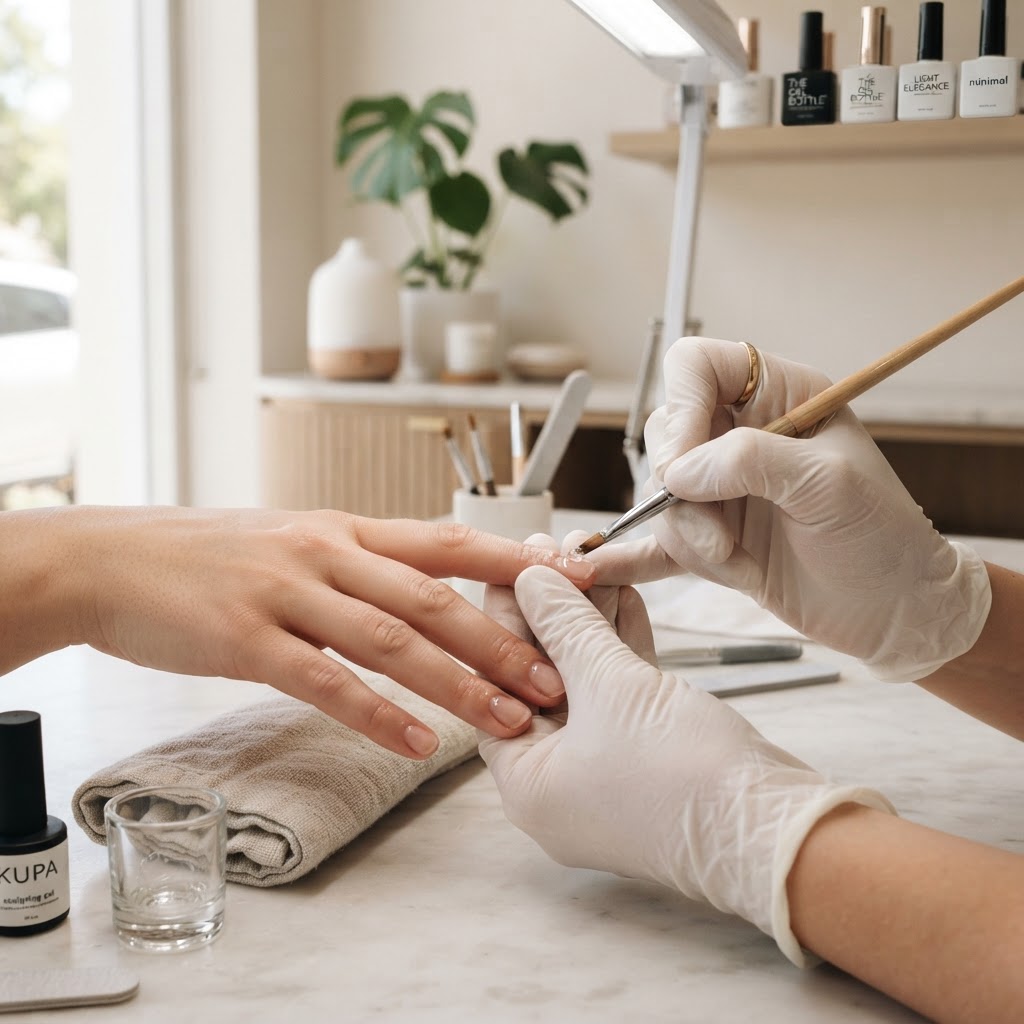
The Architectural Challenge of the Short Nail Bed
Many nail technicians fall into the trap of applying the same structural principles to short, wide, or 'bitten' nail beds as they do to long, slender almond shapes. In reality, short nail beds present a unique biomechanical challenge: the 'pivot point' of the natural nail is closer to the cuticle, meaning the stress exerted on the extension or overlay is significantly more concentrated. When you over-apply product to compensate for a lack of length, you create a top-heavy structure that leads to micro-cracking at the stress zone.
The 'Micro-Volume' Calculation
To achieve a balanced look that is both durable and aesthetically slim, you must move away from the 'eyeballing' method. The Micro-Volume protocol relies on three specific zones:
1. The Anchoring Zone (Cuticle to Mid-Plate)
This zone requires the thinnest application—often referred to as a 'feather-edge.' Your structural gel here should be no thicker than 0.5mm. Any thicker, and you risk a bulky grow-out that catches on hair and clothing.
Join the newsletter
Get fresh nail tutorials, trends, and business tips straight to your inbox.
2. The Apex Zone (The Structural Heart)
The apex on a short nail should be centered exactly over the natural stress point (the junction between the natural nail bed and the free edge). For short extensions, use a high-viscosity sculpting gel. A pea-sized bead is almost always too large; aim for a 'half-grain' sized application to maintain the natural curvature without adding unnecessary height.
3. The Reinforcement Zone (Free Edge)
On short nails, the free edge is the most vulnerable to impact. Wrap the gel over the tip of the free edge to create a 'cap.' This seal prevents water penetration and delamination, which are the primary causes of lifting in shorter enhancements.
Implementation: The Step-by-Step Protocol
* Surface Topology Prep: Before application, ensure the nail plate has been etched at a 180-grit level to create enough 'tooth' for the resin. A smooth surface on a short, high-stress nail is a recipe for popping.
* The 'Gravity-Flip' Technique: After placing your apex bead, turn the client’s hand upside down for exactly five seconds. This allows gravity to pull the product into a natural apex shape, reducing the amount of hand-filing required later.
* Post-Cure Compression: If working with high-density gels, perform a 'flash cure' (10 seconds) followed by a structural pinch. For short nails, use a smaller pinch-tool to maintain a 'C-curve' that mirrors the natural cuticle line.
Why This Matters for Your Bottom Line
Clients with shorter nails often feel their manicures don't last as long as those with long enhancements. By mastering the Micro-Volume protocol, you provide a 'high-performance' finish that is invisible to the eye but structurally superior. This leads to increased retention, fewer 'fix-it' appointments, and higher client trust, allowing you to charge a premium for technical precision rather than just nail length. Focus on the geometry of the bond, and the durability will speak for itself.
Join the newsletter
Get fresh nail tutorials, trends, and business tips straight to your inbox.